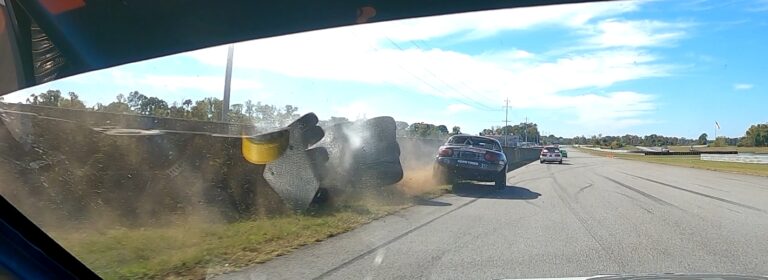
The now ST6 Miata has had some serious electrical gremlins from day one. Intermittent starting issues, random fuel cuts, and erratic idling to name a few. I knew at some point I would rewire the car completely. What I didn’t anticipate however, is that I would give the rewire a first pass just days before the regional championship at Nashville Superspeedway.
What was I Thinking?
I have no one to blame for this pickle but myself. I’m the one that decided to marry my love for weight reduction (Converting the Budget Spec Miata to ST6 ) with my disdain for the wiring harness and its associated issues…before the most important race of the season.
In my defense, I honestly thought I had 2 weeks before the championship. Armed with that improper timeline, I dug in and got too aggressive with the wire snips. After all, over the last year, I had been staring at over 20 connectors on this wiring harness that connect to absolutely nothing. Always seeking efficiency in my builds, I got to cutting.
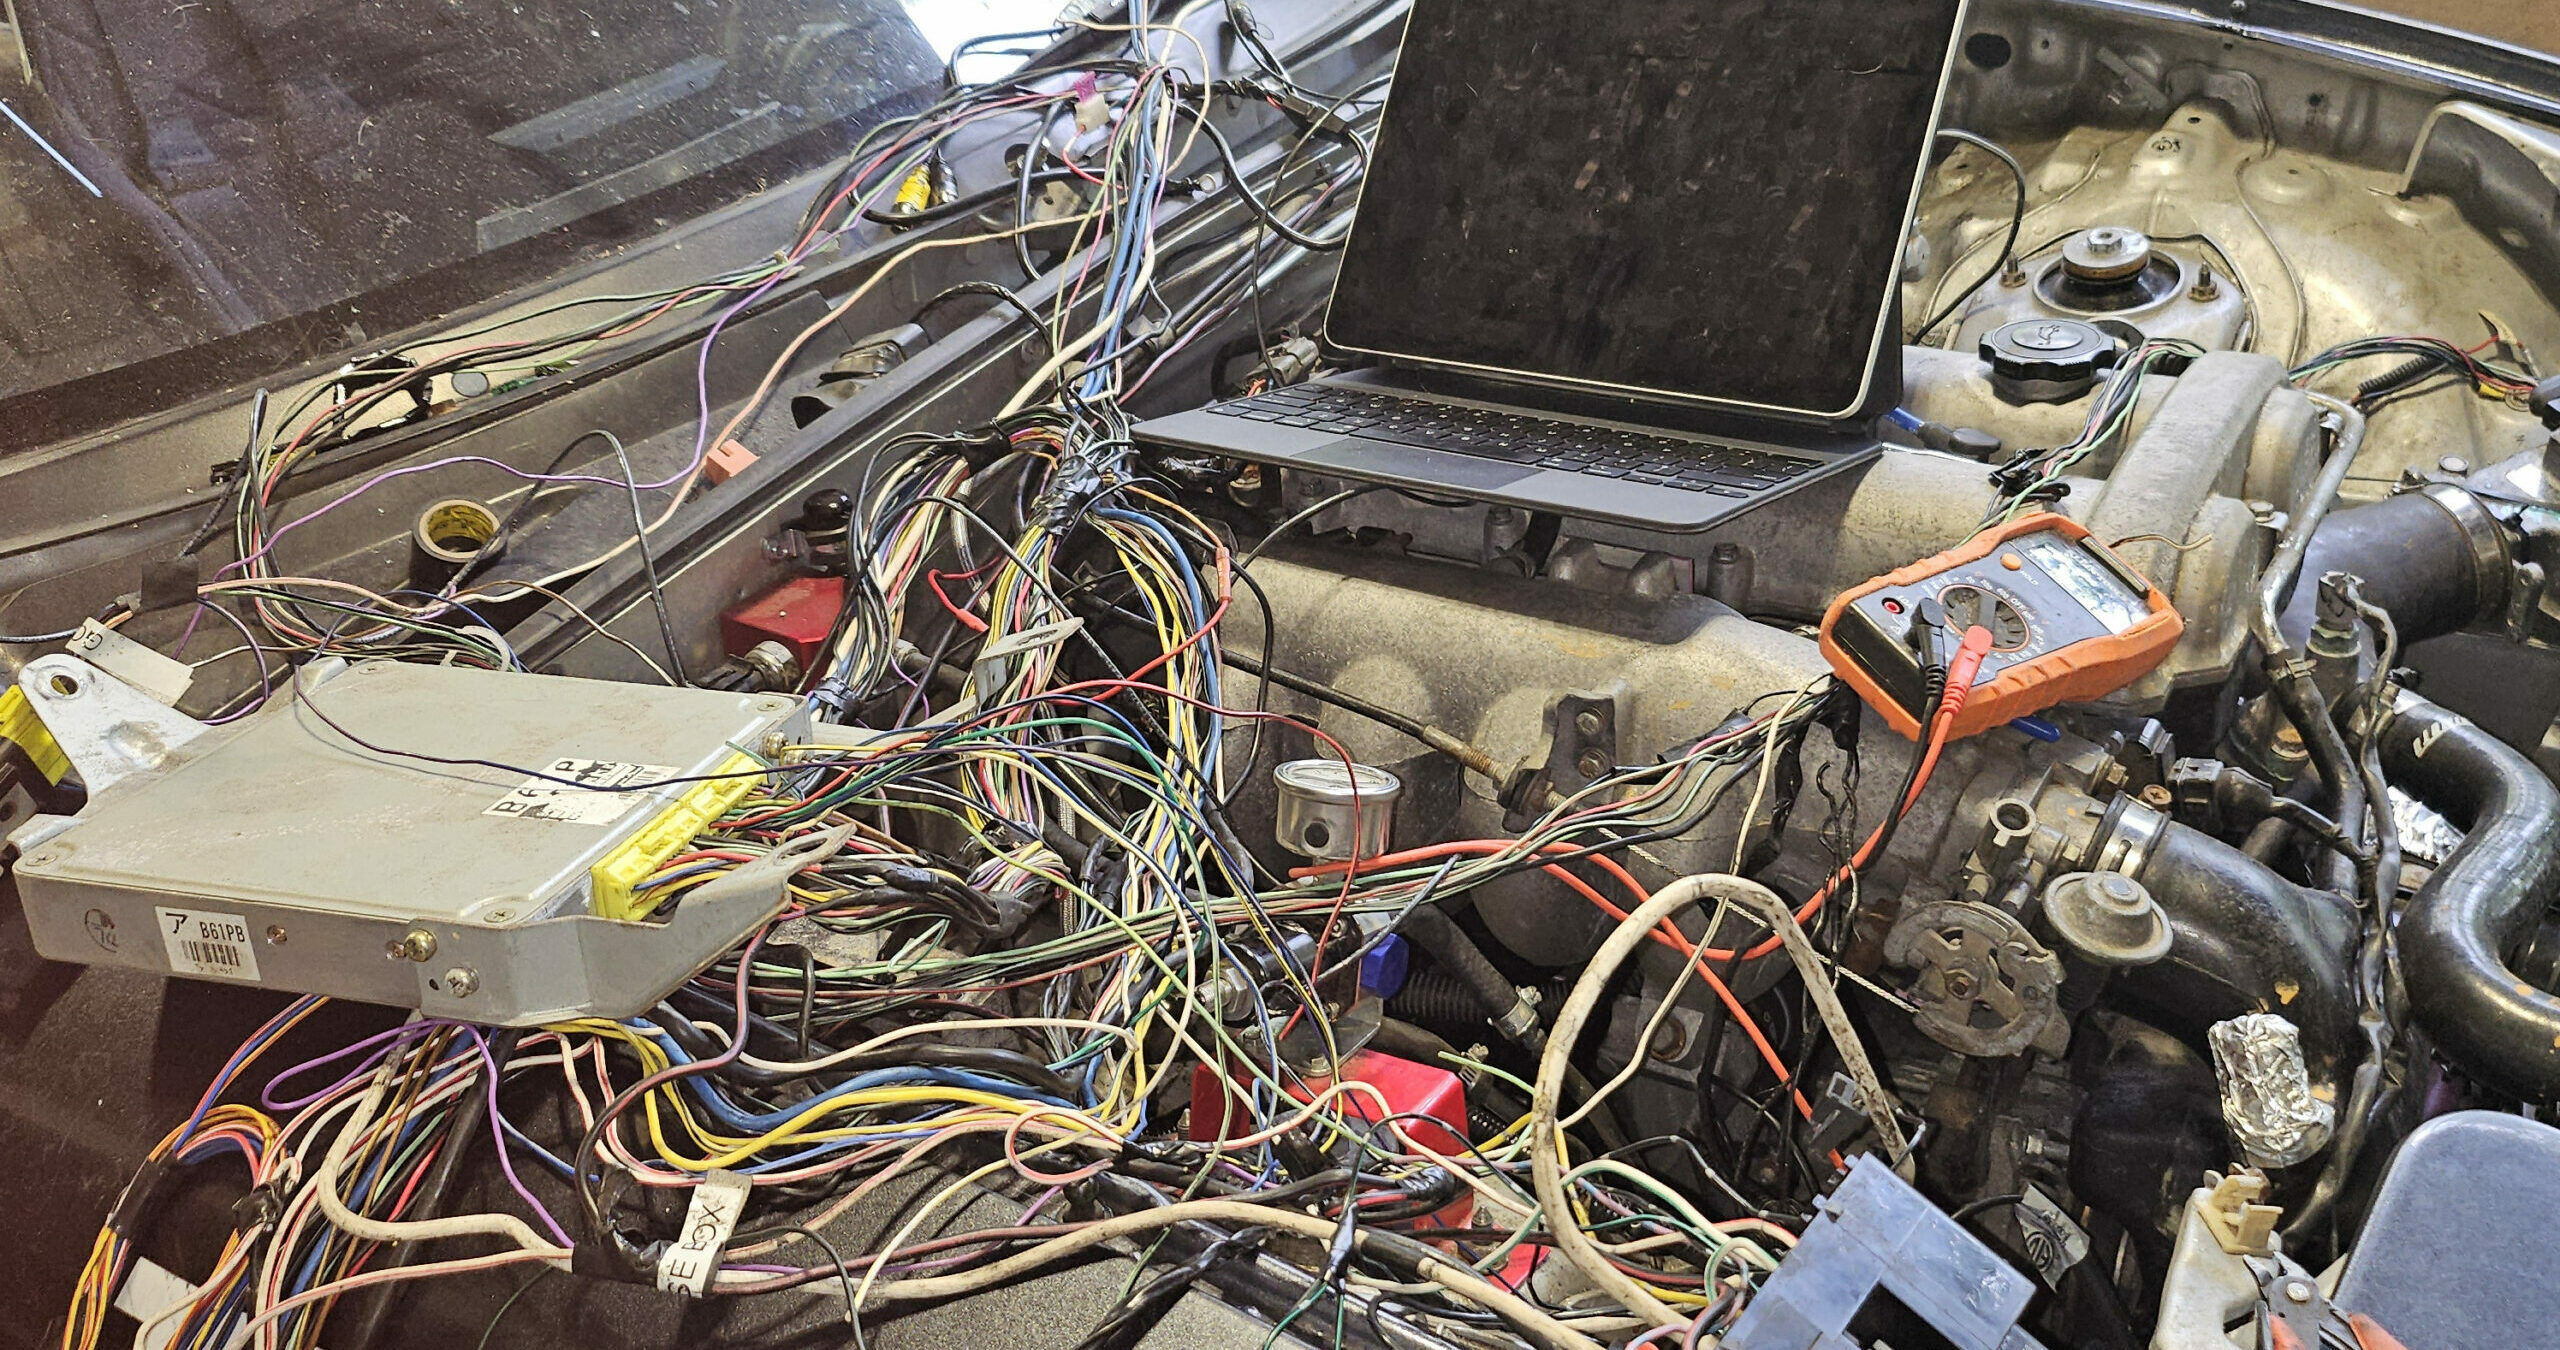
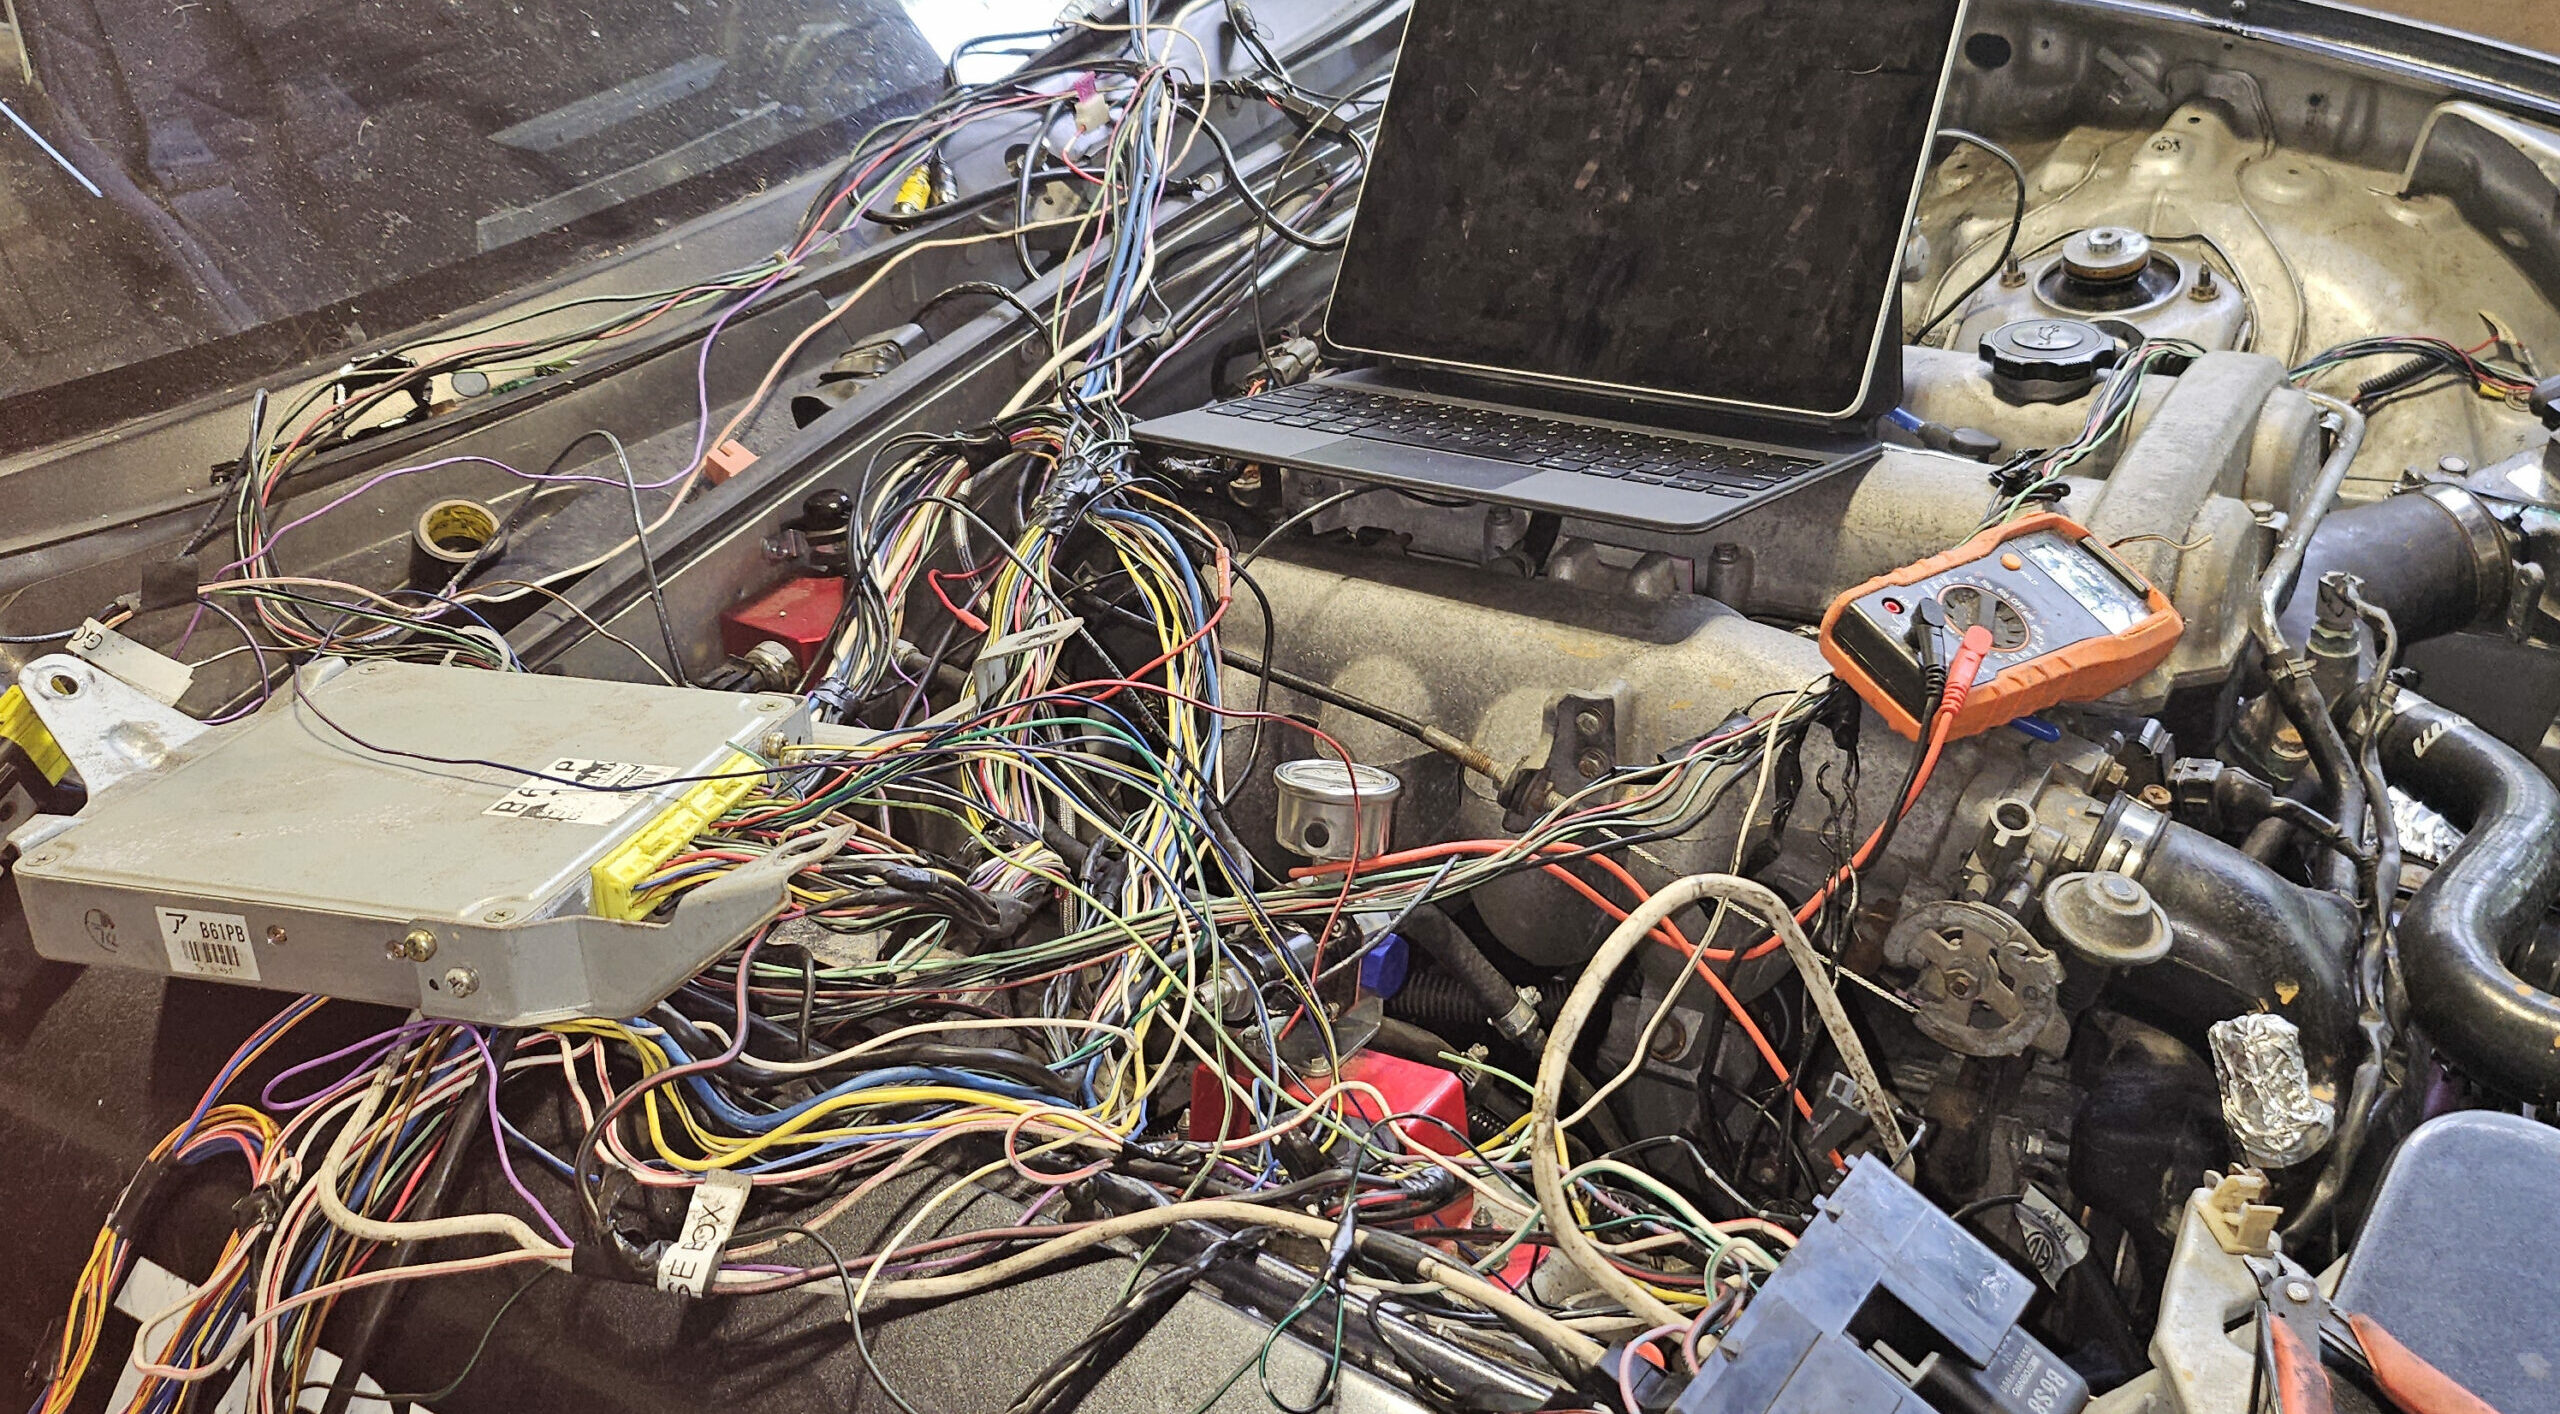
And that is why this is part 1 of a series on rewiring the 1.6l NA Miata MX-5. As you can tell from the pic below, I exhibited a distinct lack of logic to get to this point just days before the event. In this part I will discuss my initial weight reduction goals and how I solved this mess one day before the championship. Part 2 will be a proper guide for anyone looking to simplify the wiring of their NA Miata to the bare minimum and do it the right way.
Flawed Process
I began this project by removing/unwinding as much of the harness as I could. I started with the air bag wiring, headlight/popup wiring, and the dozen other open connectors throughout the car. I would trace a sector, such as the headlights and trace them to an origin point. Then I would cut the connector out if it didn’t branch to other circuits. After cutting I would verify the car started.
This worked great until it didn’t. There is a lot of wiring that branches to multiple points in this harness, and very early I caused something to be unhappy. I didn’t want to turn back at this point knowing the ultimate goal was weight reduction. And with the car no longer able to start, I no longer had to be careful. I switched to the always fun, ‘do I need/want this mode’.
How Much Weight Did I Remove from the Miata Wiring Harness?
The Miata has a main relay, fuel relay, and a few sensors that communicate to the ECU to run. Almost everything else is unnecessary in a race car. Things like the diagnostic port, fan relay, gauge cluster aren’t needed/wanted in my case. I cut each associated connector out and the grand total with wiring was 13lbs. I count that a huge victory as I was looking for a 15lbs reduction.

Getting the Car Running Again
With days before the race, the two previous pics should impress how much I was in crisis mode at this point. In hindsight the solution sounds easy. I poured over the wiring diagram for the car until it started to make sense.

I slowly realized that there was absolutely no way that I was going to trace and verify what was left of the hacked-up harness, so I started verifying every connection that connects the ECU to the engine or power. Then I verified the two remaining relays. Found a few things that weren’t seeing each other. Cleaned up some grounds, replaced a few fuses, and rewired the ignition.
Although it sounds easy, this process took 2 days. Afterwards, the Miata fired right up and idled better than ever.
Conclusion and Part 2
I am the first to admit that wiring the car was outside my skillset. I love learning but appreciate a more relaxed approach than this issue presented. And this issue was a mountain. However, I can confidently say that I climbed this one and now have a very good understanding of the Miata wiring.
During this process, I used a couple of critical resources but found lots of gaps. As a result, in part 2, I will walk through a step-by-step guide to simplify the wiring on the NA Miata to the bare minimum.