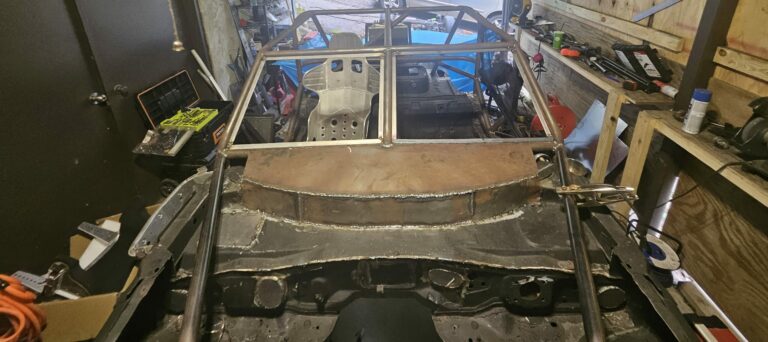
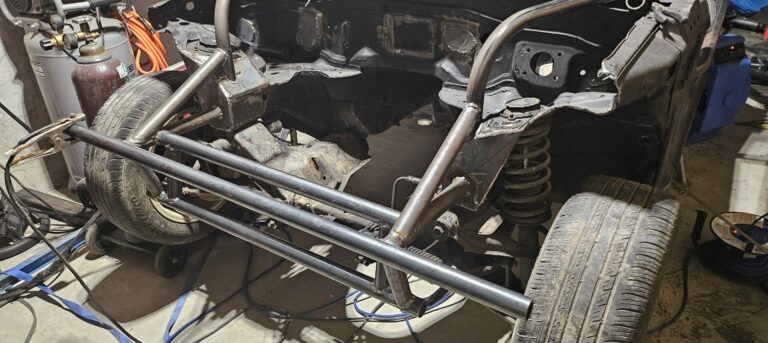
Didn’t I mention this may get a little confusing? In part 4, I cleaned up the chassis, removing any remnants attached to the car, cleaning up the cuts, and grinding a few miscellaneous brackets off. Now, I am physically cleaning the chassis to prepare for the final prep and welding. Taking the quick and easy route to get it done.
Chassis Cleaning Considerations
From the outset, I mentioned that I wouldn’t be cutting too many corners in this build, and I meant it. When it comes to chassis cleaning, there are a few approaches, most of which are overboard for my purposes. On the extreme end,there’s acid dipping, sandblasting, laser cleaning, hand scraping, etc… I’m forgoing these methods to stay within the mindset of a budget project that can be completed at home to great results. Instead, I pressure-washed the bare chassis to remove anything that wasn’t firmly adhered to it.
For instance, the carpet in the floor pan left fiber that must be tediously removed. Additionally, the bonding agent flakes off, as does excess sound deadening. I also plan to recoat the bottom of the car, so any road grime, dirt, or loose material needs to go. For my plan, pressure washing is the easy button.
Pressure Washing the Chassis
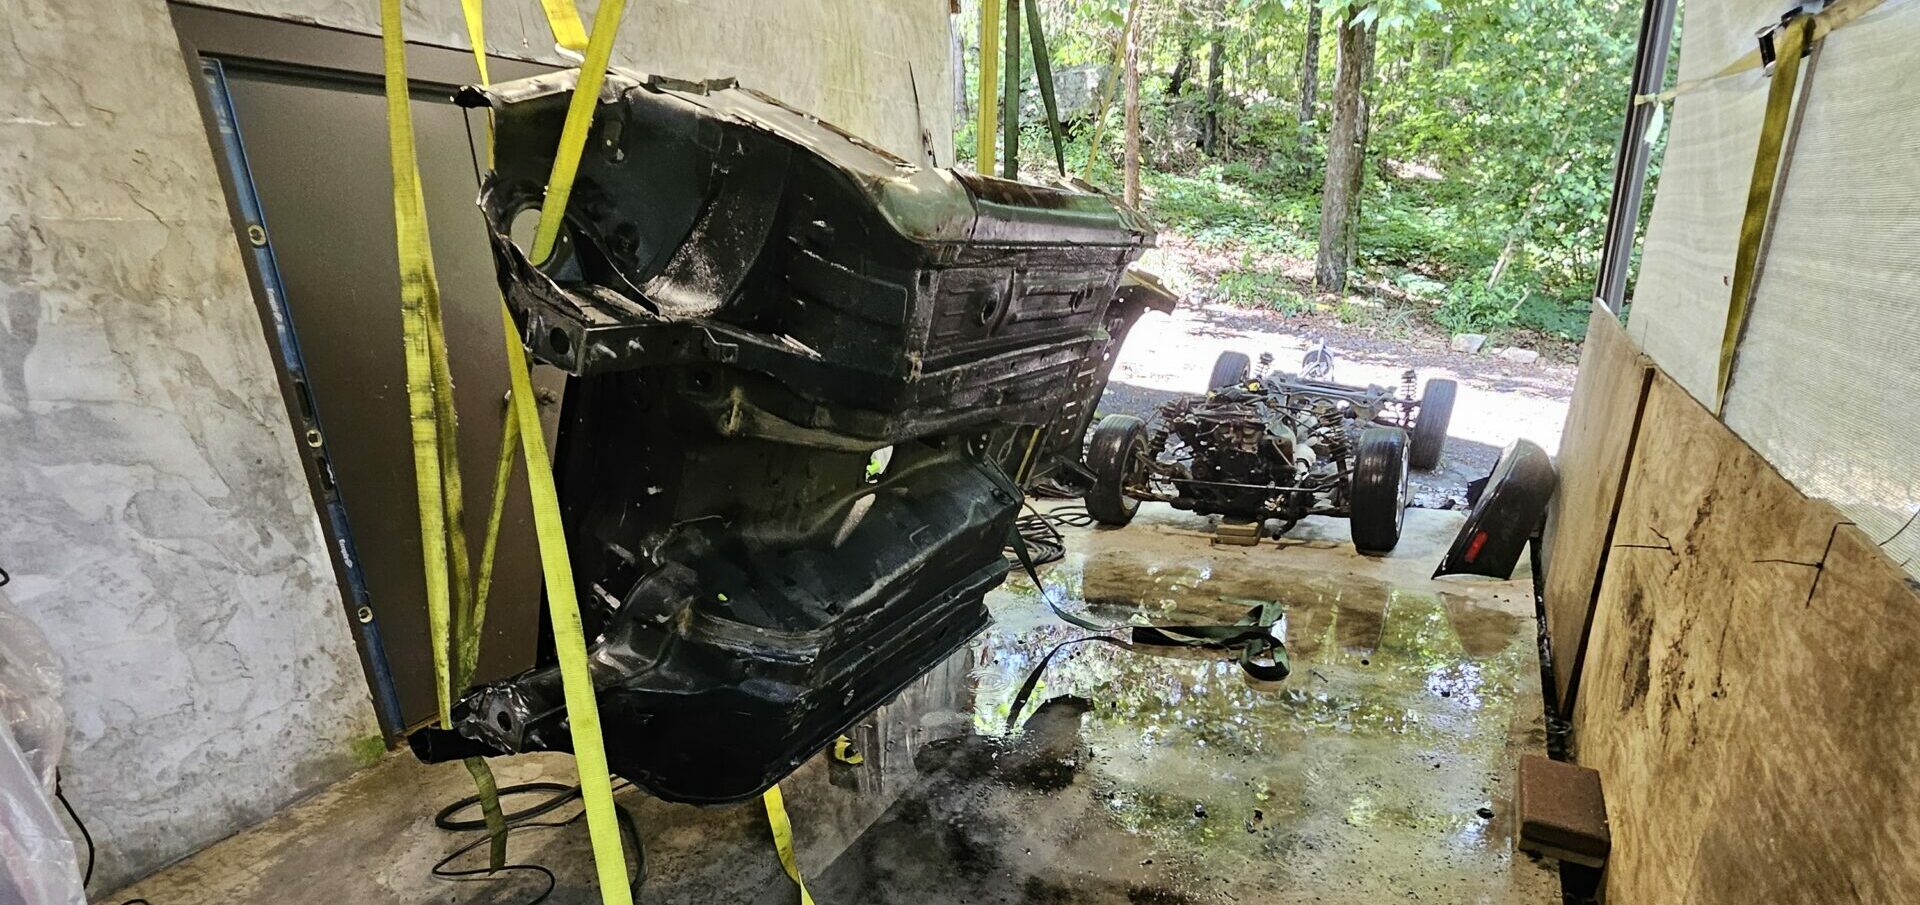
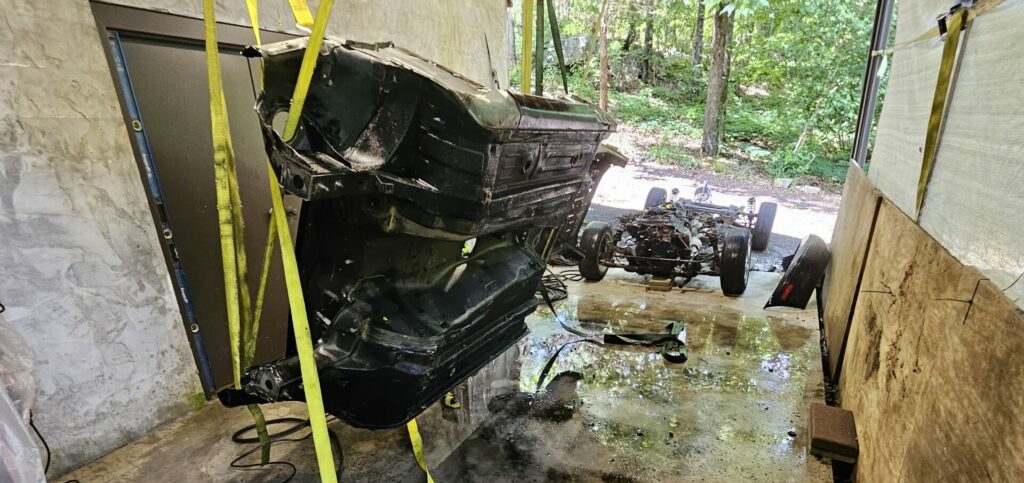
I used tow straps again to suspend the car above my workspace. Then, I used two additional straps, at the front and rear, attached to the passenger’s side. As these were tightened, the chassis rotates through the forward axis. Making a cheap car rotisserie, as the picture below demonstrates.
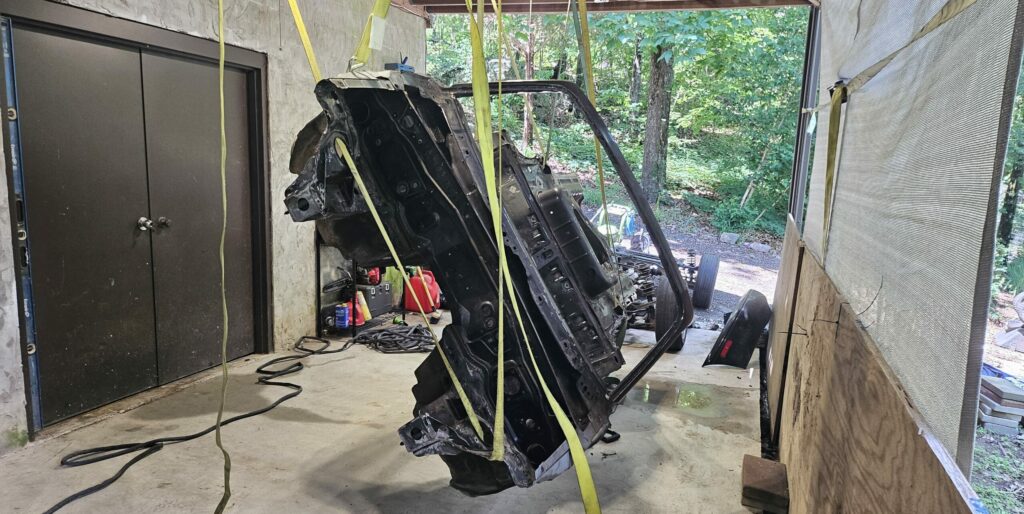
At that point, it was just a matter of washing. I used the two most aggressive tips on the pressure washer and worked around the car twice. Then, I repositioned the rotation straps to the other side, rotated the chassis the back around, and repeated the wash. The process took around 2 hours, generated a lot of mess, and left the chassis thoroughly cleaned. My work area is a shaded slab outside, so the cleanup was easy.
Next
The chassis is thoroughly cleaned and now a few areas of rust need to be addressed. Then it’s time to weld: closing off holes in the firewall, fixing and reinforcing the front rails, and finally, roll cage time.

