I have a bit more work to do before starting the roll cage on the exo car build. One of those tasks is converting my 15-plus-year-old mechanical tube bender to hydraulics. To risk sounding like a broken record, my workspace is small and not tube-bender-friendly. I can save space by converting the tube bender to hydraulics and mounting it on a portable kart instead of anchoring it to the floor.
JD2 Model 3 Mechanical Tube Bender
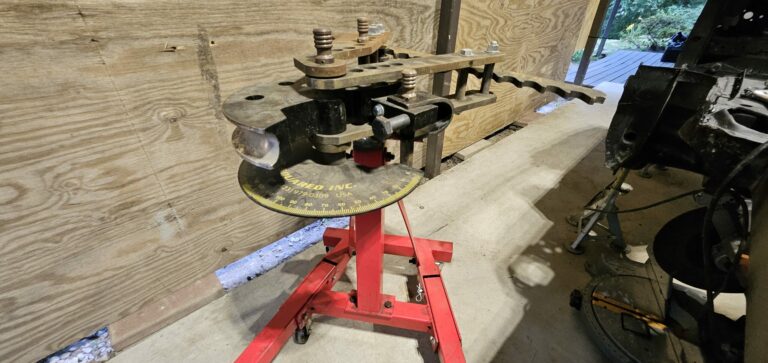
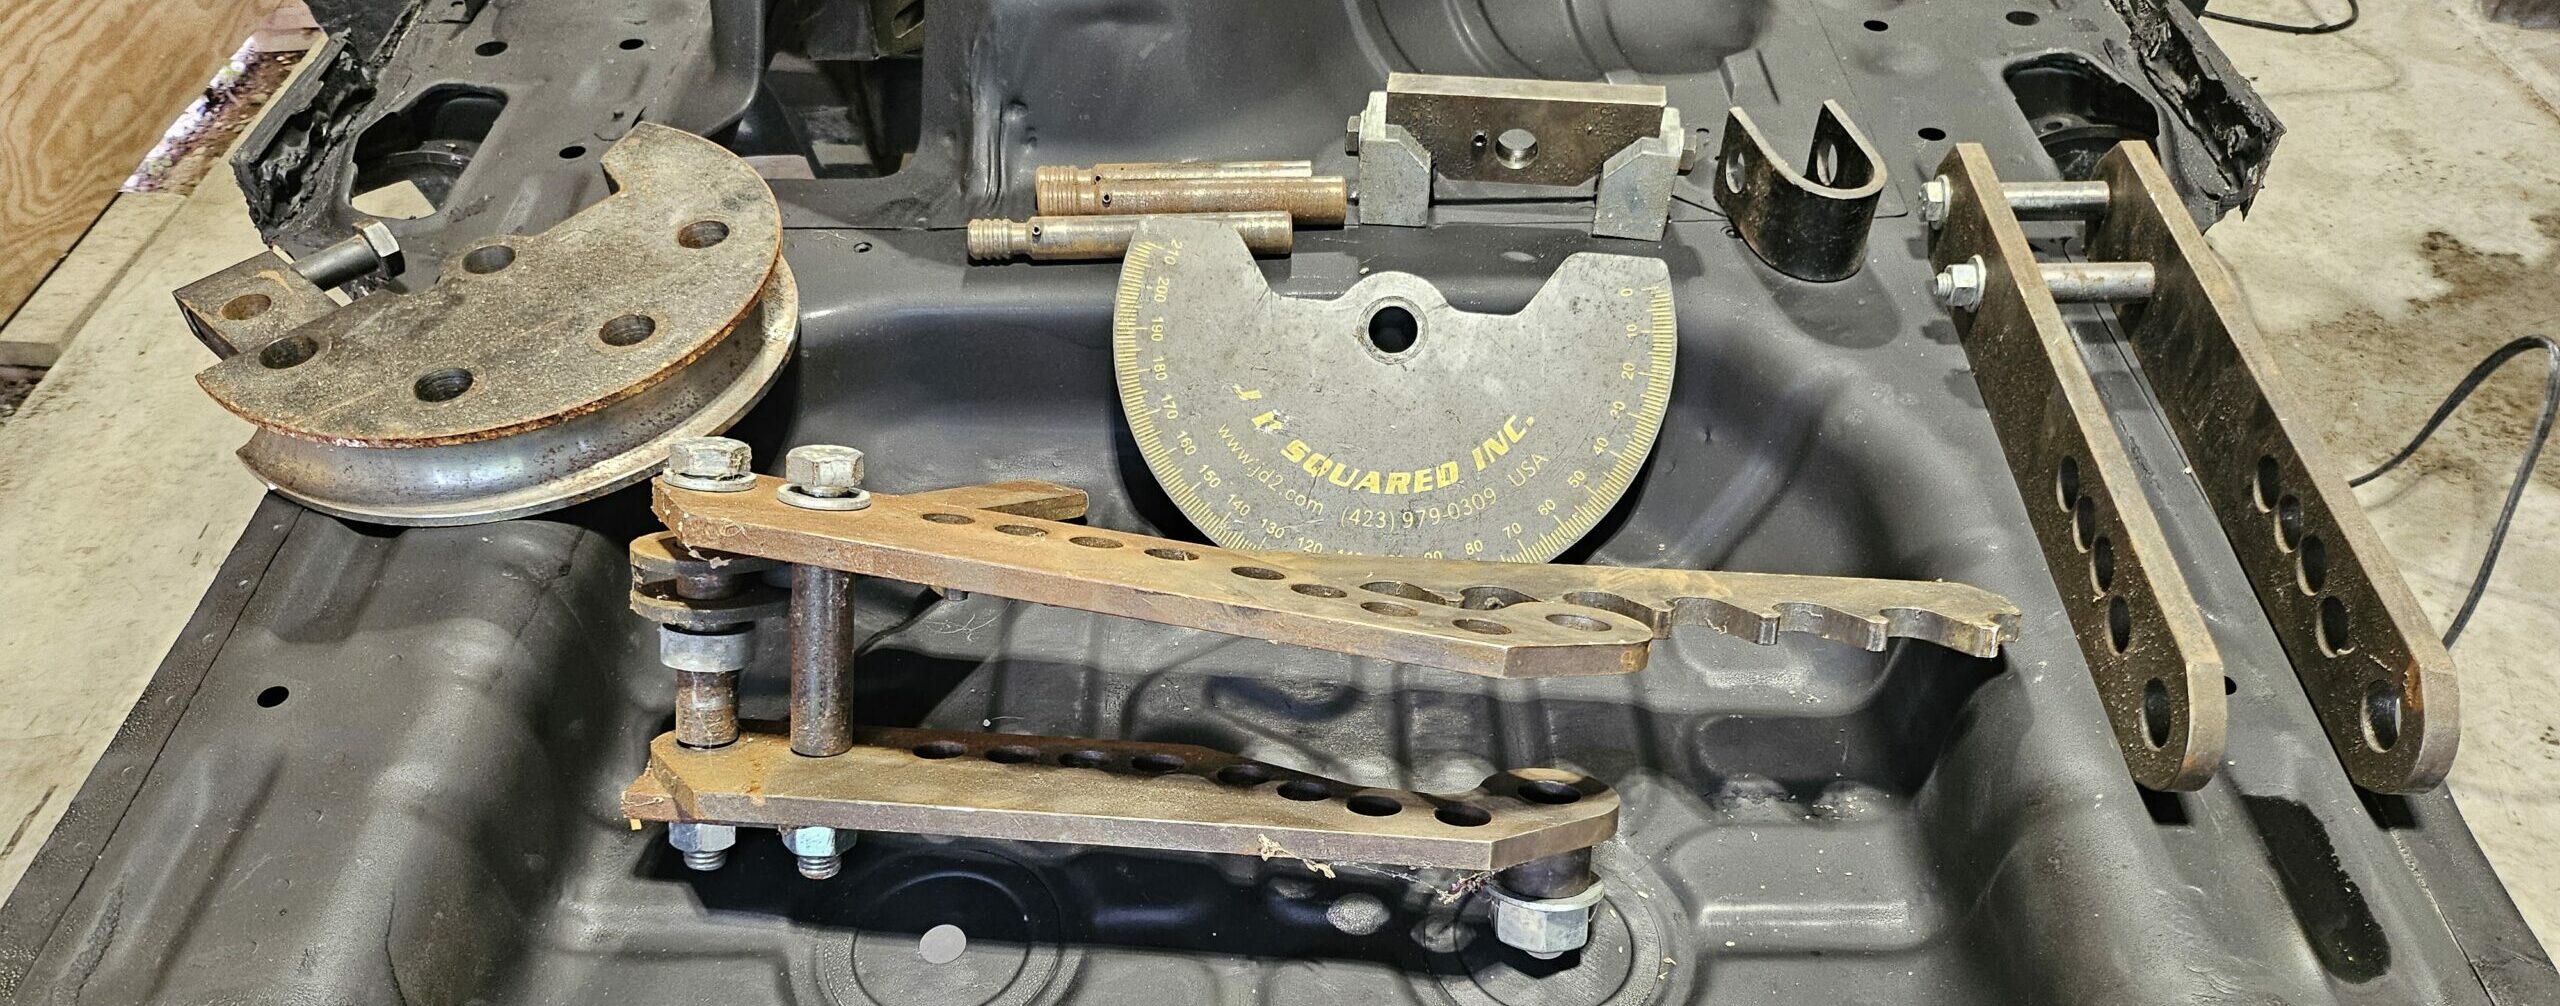
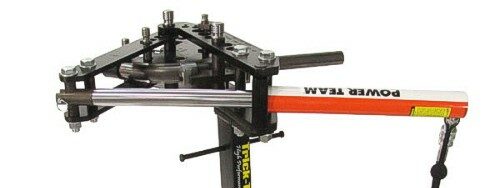
I am using my old JD2 Model 3 mechanical tube bender for this process. It is north of 15 years old, has been in storage for 5 years, and looks ready to bend tubes again, aside from a little surface rust. However, JD2 no longer sells the Model 3, but the dies and pins are still produced. Instead, it has been replaced with the Model 32, which has a similar price point and a sturdier design.
Mechanical vs Hydraulic Tube Bending
Mechanical tube bending is cheap at the expense of space and ease of use. Promoted as using a ‘high-ratio ratchet mechanism’ for easy bending. In practice, you will find extension arms the norm with these benders. These arms, usually a long piece of square tubing slid over the action arm, greatly increase leverage. They also increase the operator’s distance from the bend, making precise, analog bend measurements difficult to see. And finally, that leverage has to go somewhere to keep the bender itself from moving around. Mounting the bender to the floor via concrete anchors and mounting pedestals is the norm.
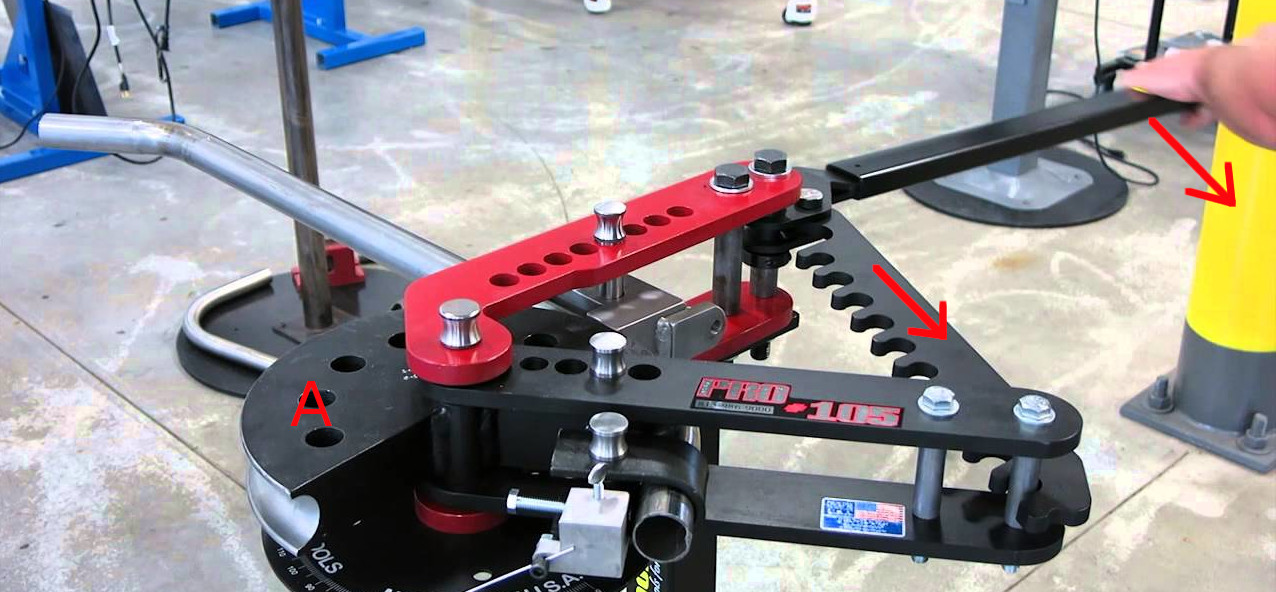
By converting the bender to hydraulic, all of these disadvantages disappear. And it is a surprisingly easy conversion. As you can see in the picture below, the standard mechanical bender arm is replaced by a mount that holds a hydraulic cylinder. The cylinder is then used to press against the bender action or swing arm. The result is that while bending, the bender is now pressing against itself instead of sending torque through the floor, which opens up a world of mounting possibilities.
Hydraulic Conversion on a Budget
JD2 sells a conversion for the Model 3 and Model 32 benders. It has three components. the adapter kit ($145), the hydraulic cylinder ($450), and either the air/hydraulic pump ($720) or the electric/hydraulic pump($1,125). Prices add up quickly.
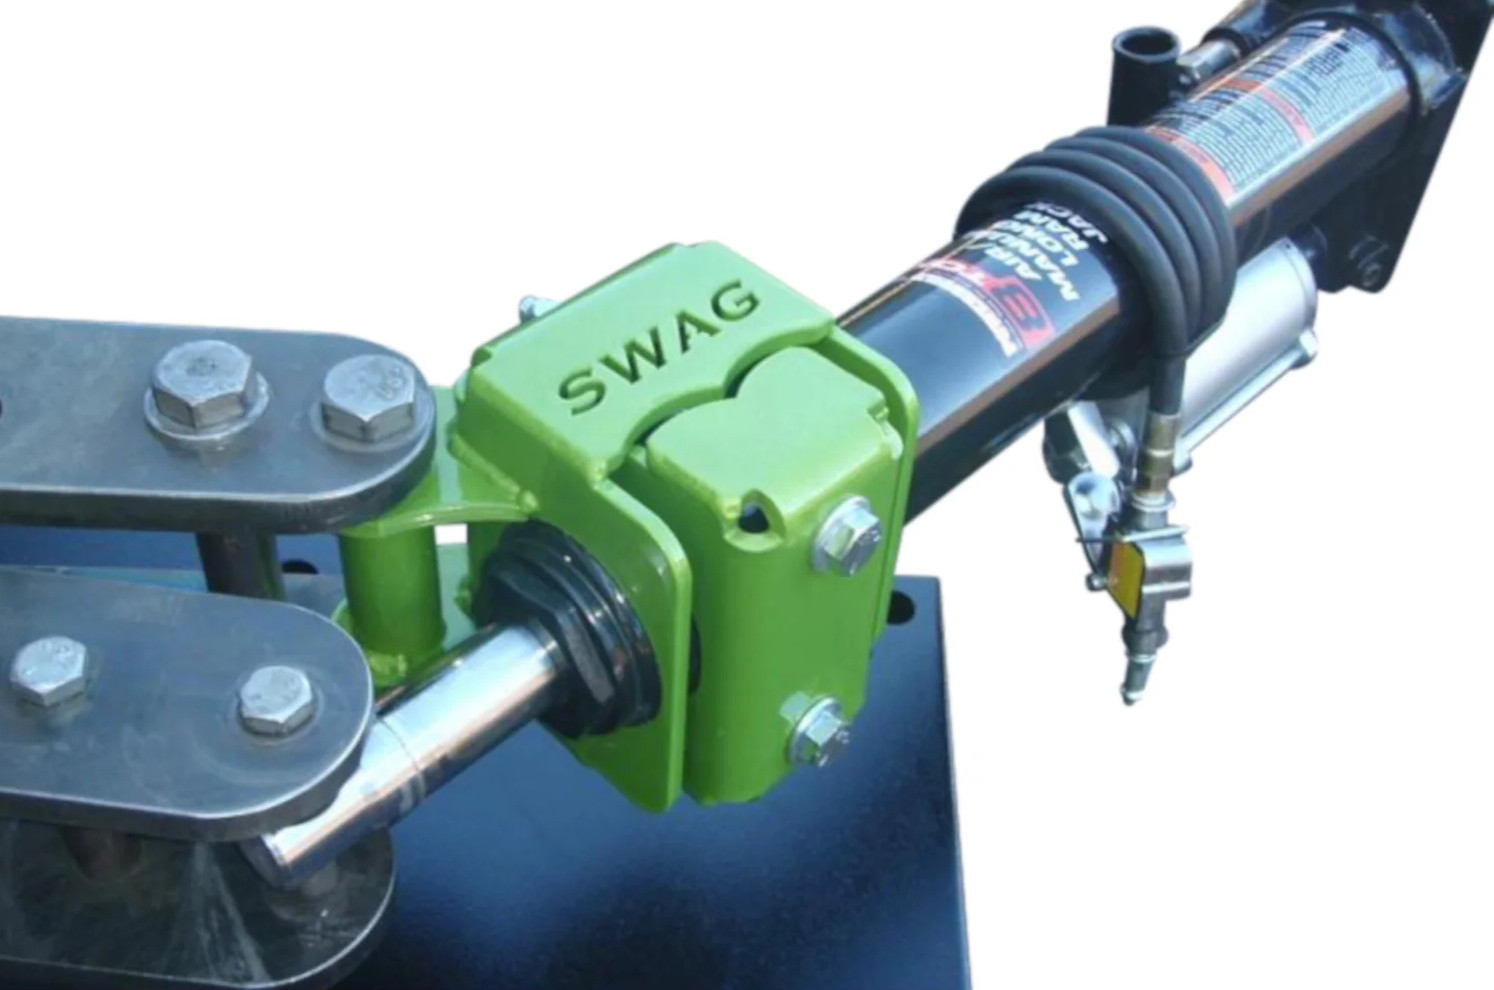
Looking to spend significantly less, I did a little research and came across SWAG Off-Road. They sell a machined ram mount for most mechanical benders, allowing you to install a long-travel air/hydraulic jack from Harbor Freight. This route costs $150 for the mount and $120 for the jack. Another advantage of this setup is that there is no need for an additional pump, as the jack and pump are a single unit.
Mounting the Tube Bender
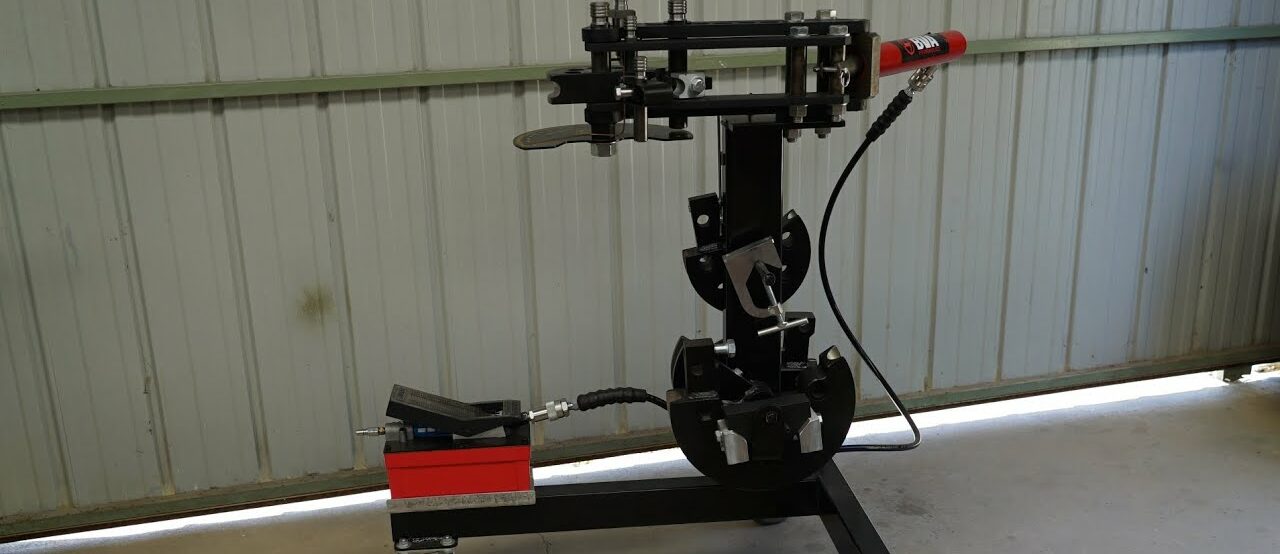
Now that I have the conversion sorted, I can mount the tube bender several ways. There are rolling bender stands and vertical mounts, but I saw an image of a repurposed engine stand that works perfectly. Having access to an old stand, I am repurposing it to become my mobile tube bender. It will be similar to the image below.
Conclusion
Another day and more progress. Although this will be the first cage I have built in around 10 years, it won’t be the last. With all the projects queuing up, setting up everything properly for my next venture seems like a reasonable approach.
Up next, I will mount the tube bender on the engine stand. (link incoming)