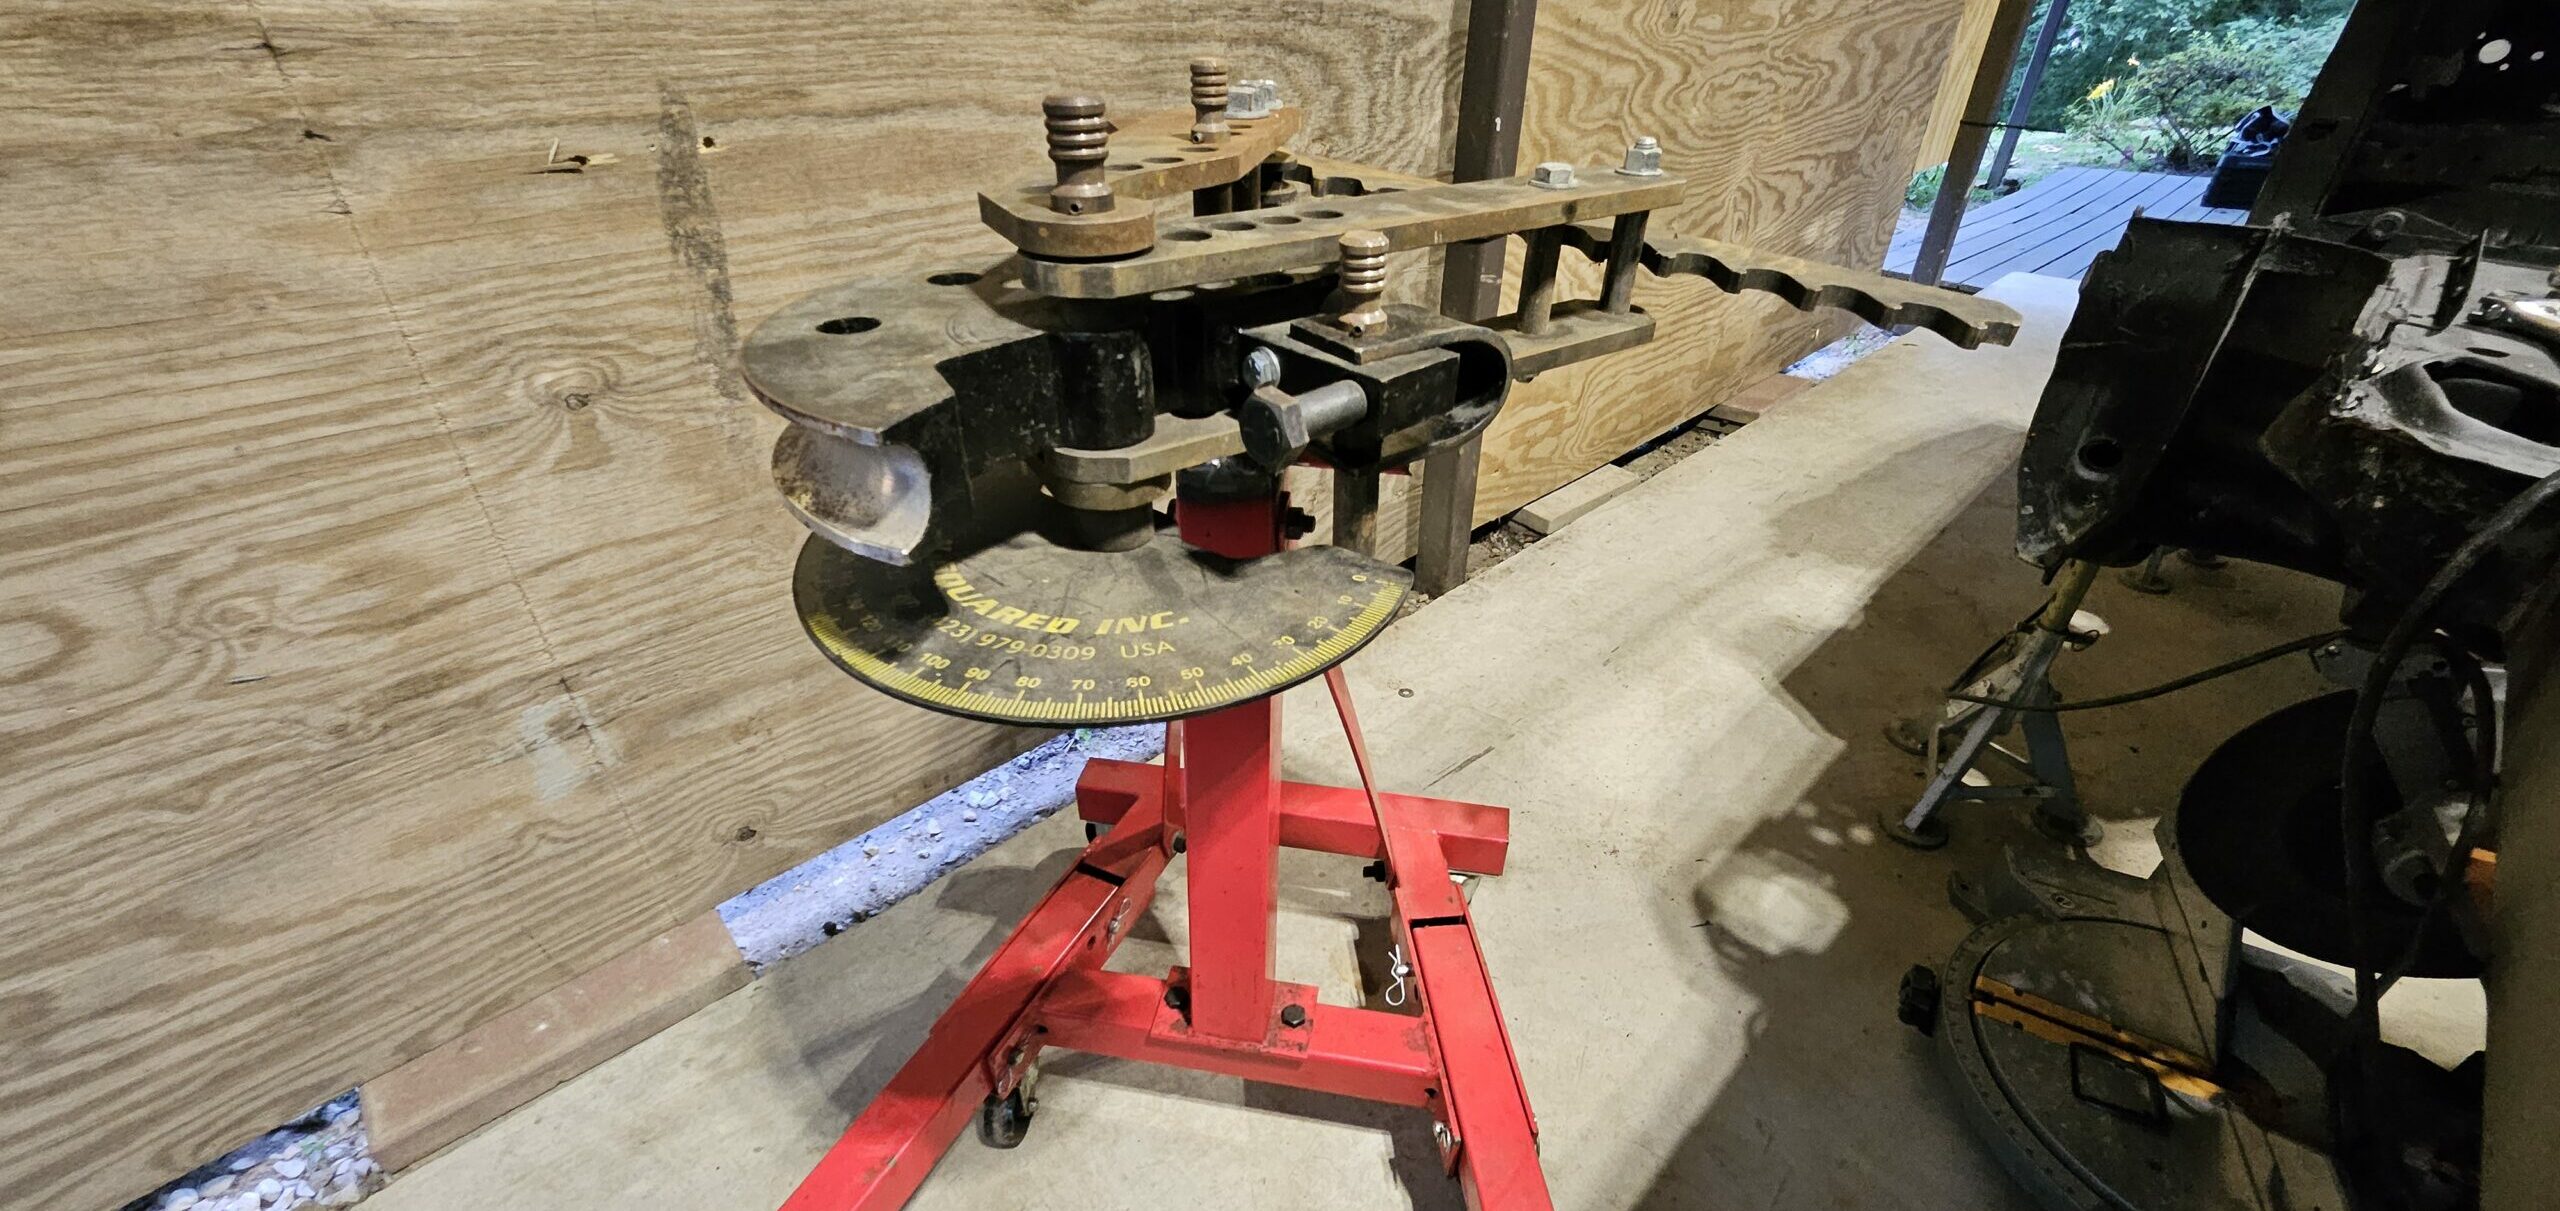
Mechanical tube benders need to be mounted securely to the floor for operation. Typically, a hammer drill and concrete anchors are used to secure the mount to the floor. This time, though, with the JD2 bender being converted to hydraulic, I am free to mount the bender in a mobile configuration. Instead of purchasing or building a mobile kart, I adapted an old engine stand to mount the bender.
Background
I love low-cost builds and repurposing old materials and ideas to new life. While looking for a way to mount the tube bender, I found several pictures of engine stand mounted tube benders. And you guessed it, I had an extra stand lying around.
I also strongly favor function over form, so this would be a quick and dirty job. But also ready to bend some tubing for the exo car.
The Build
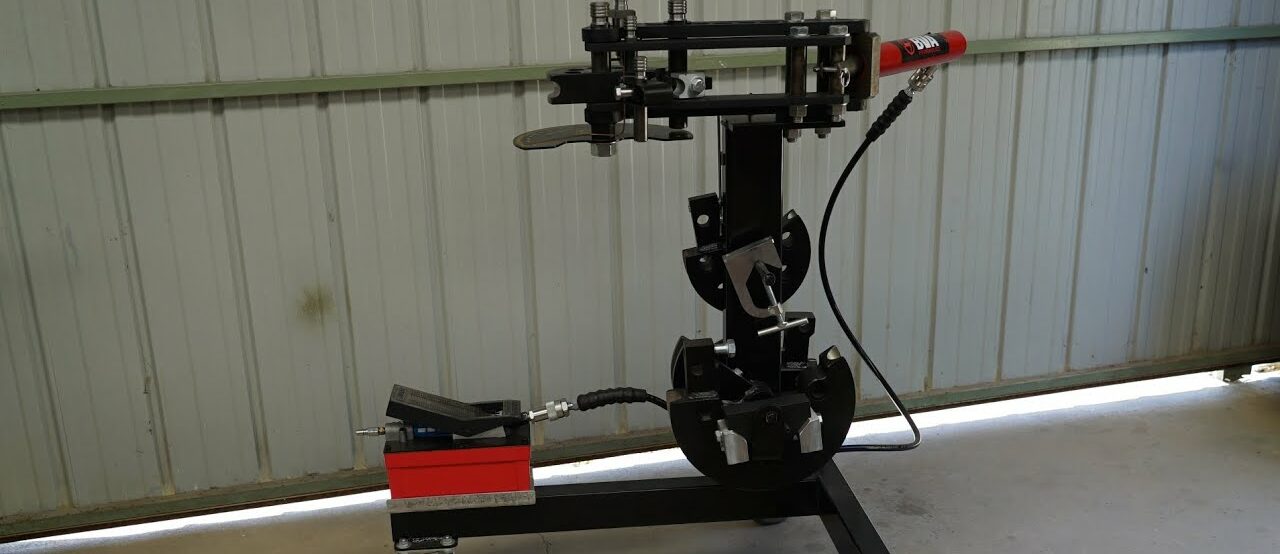
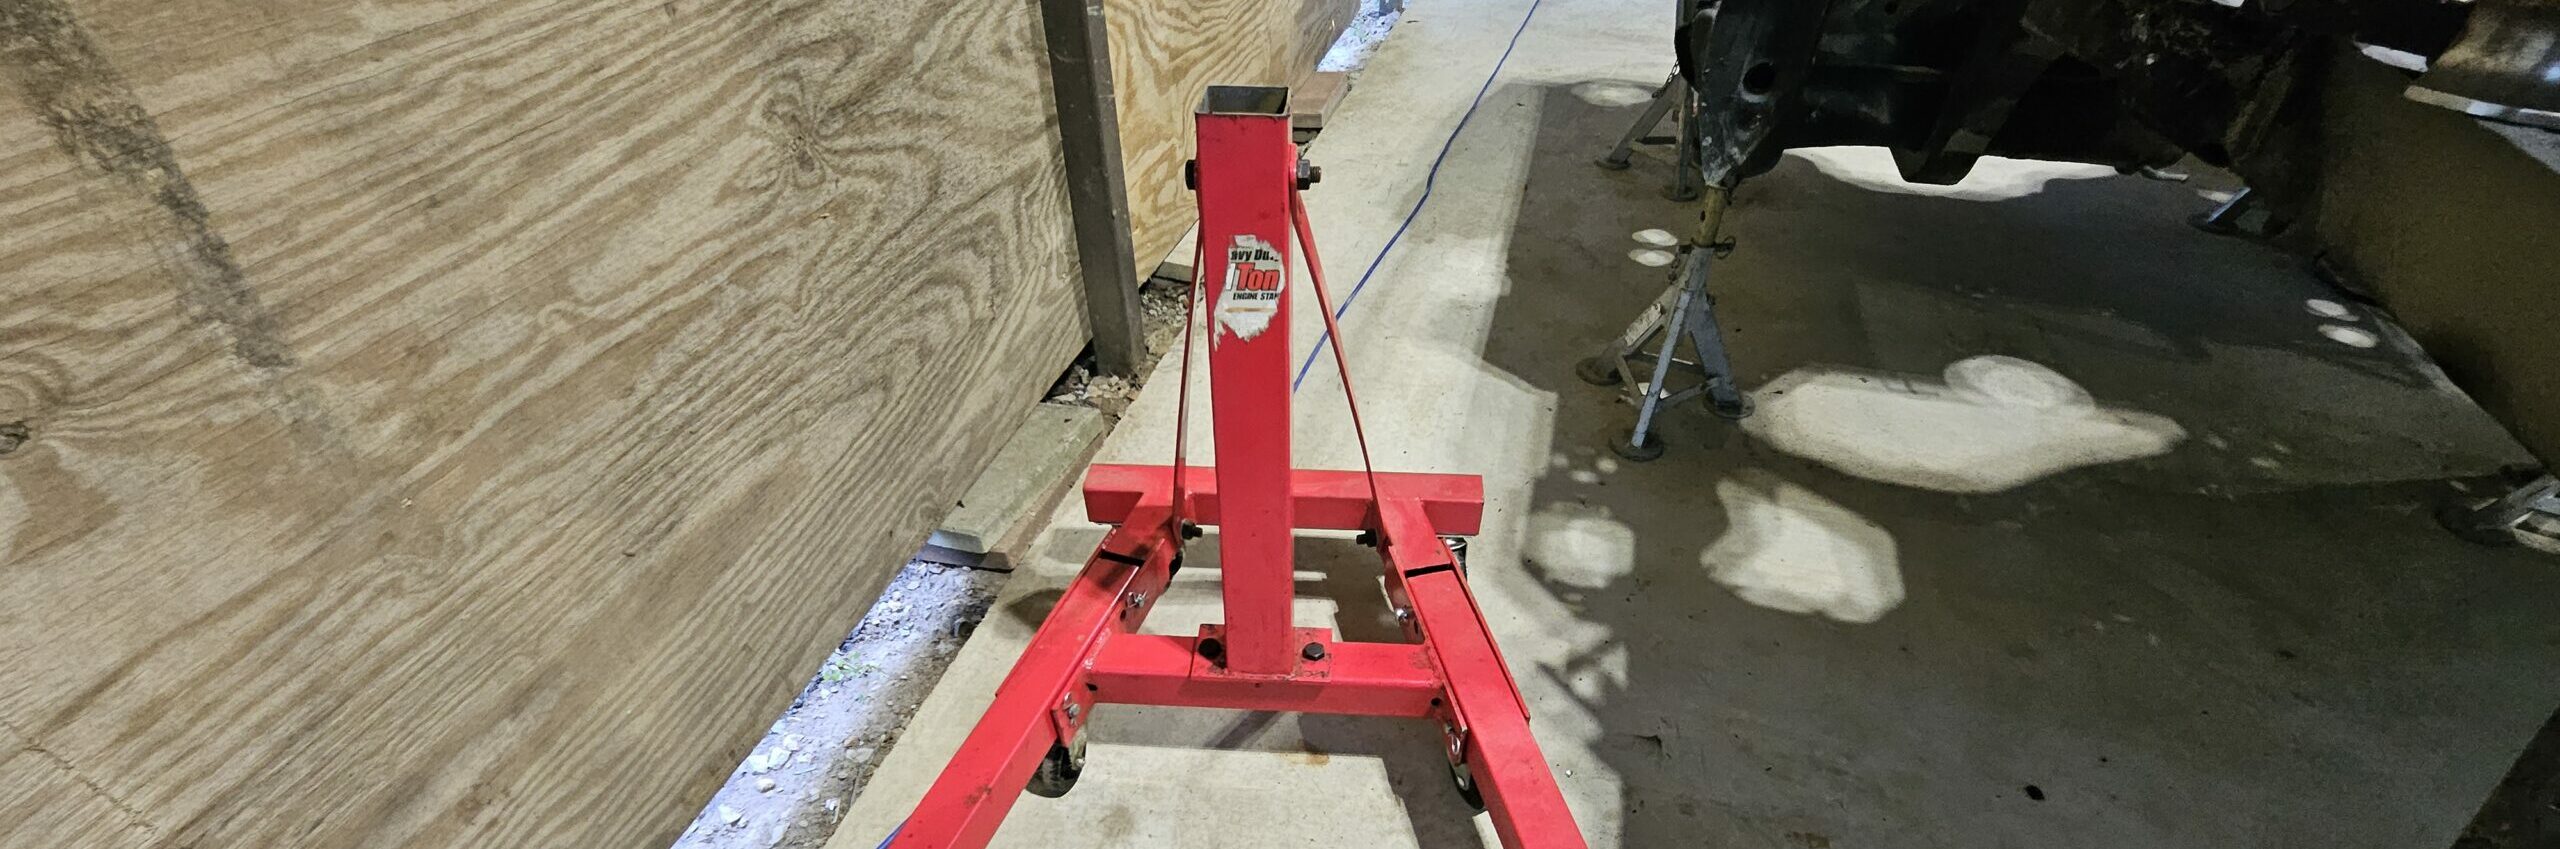
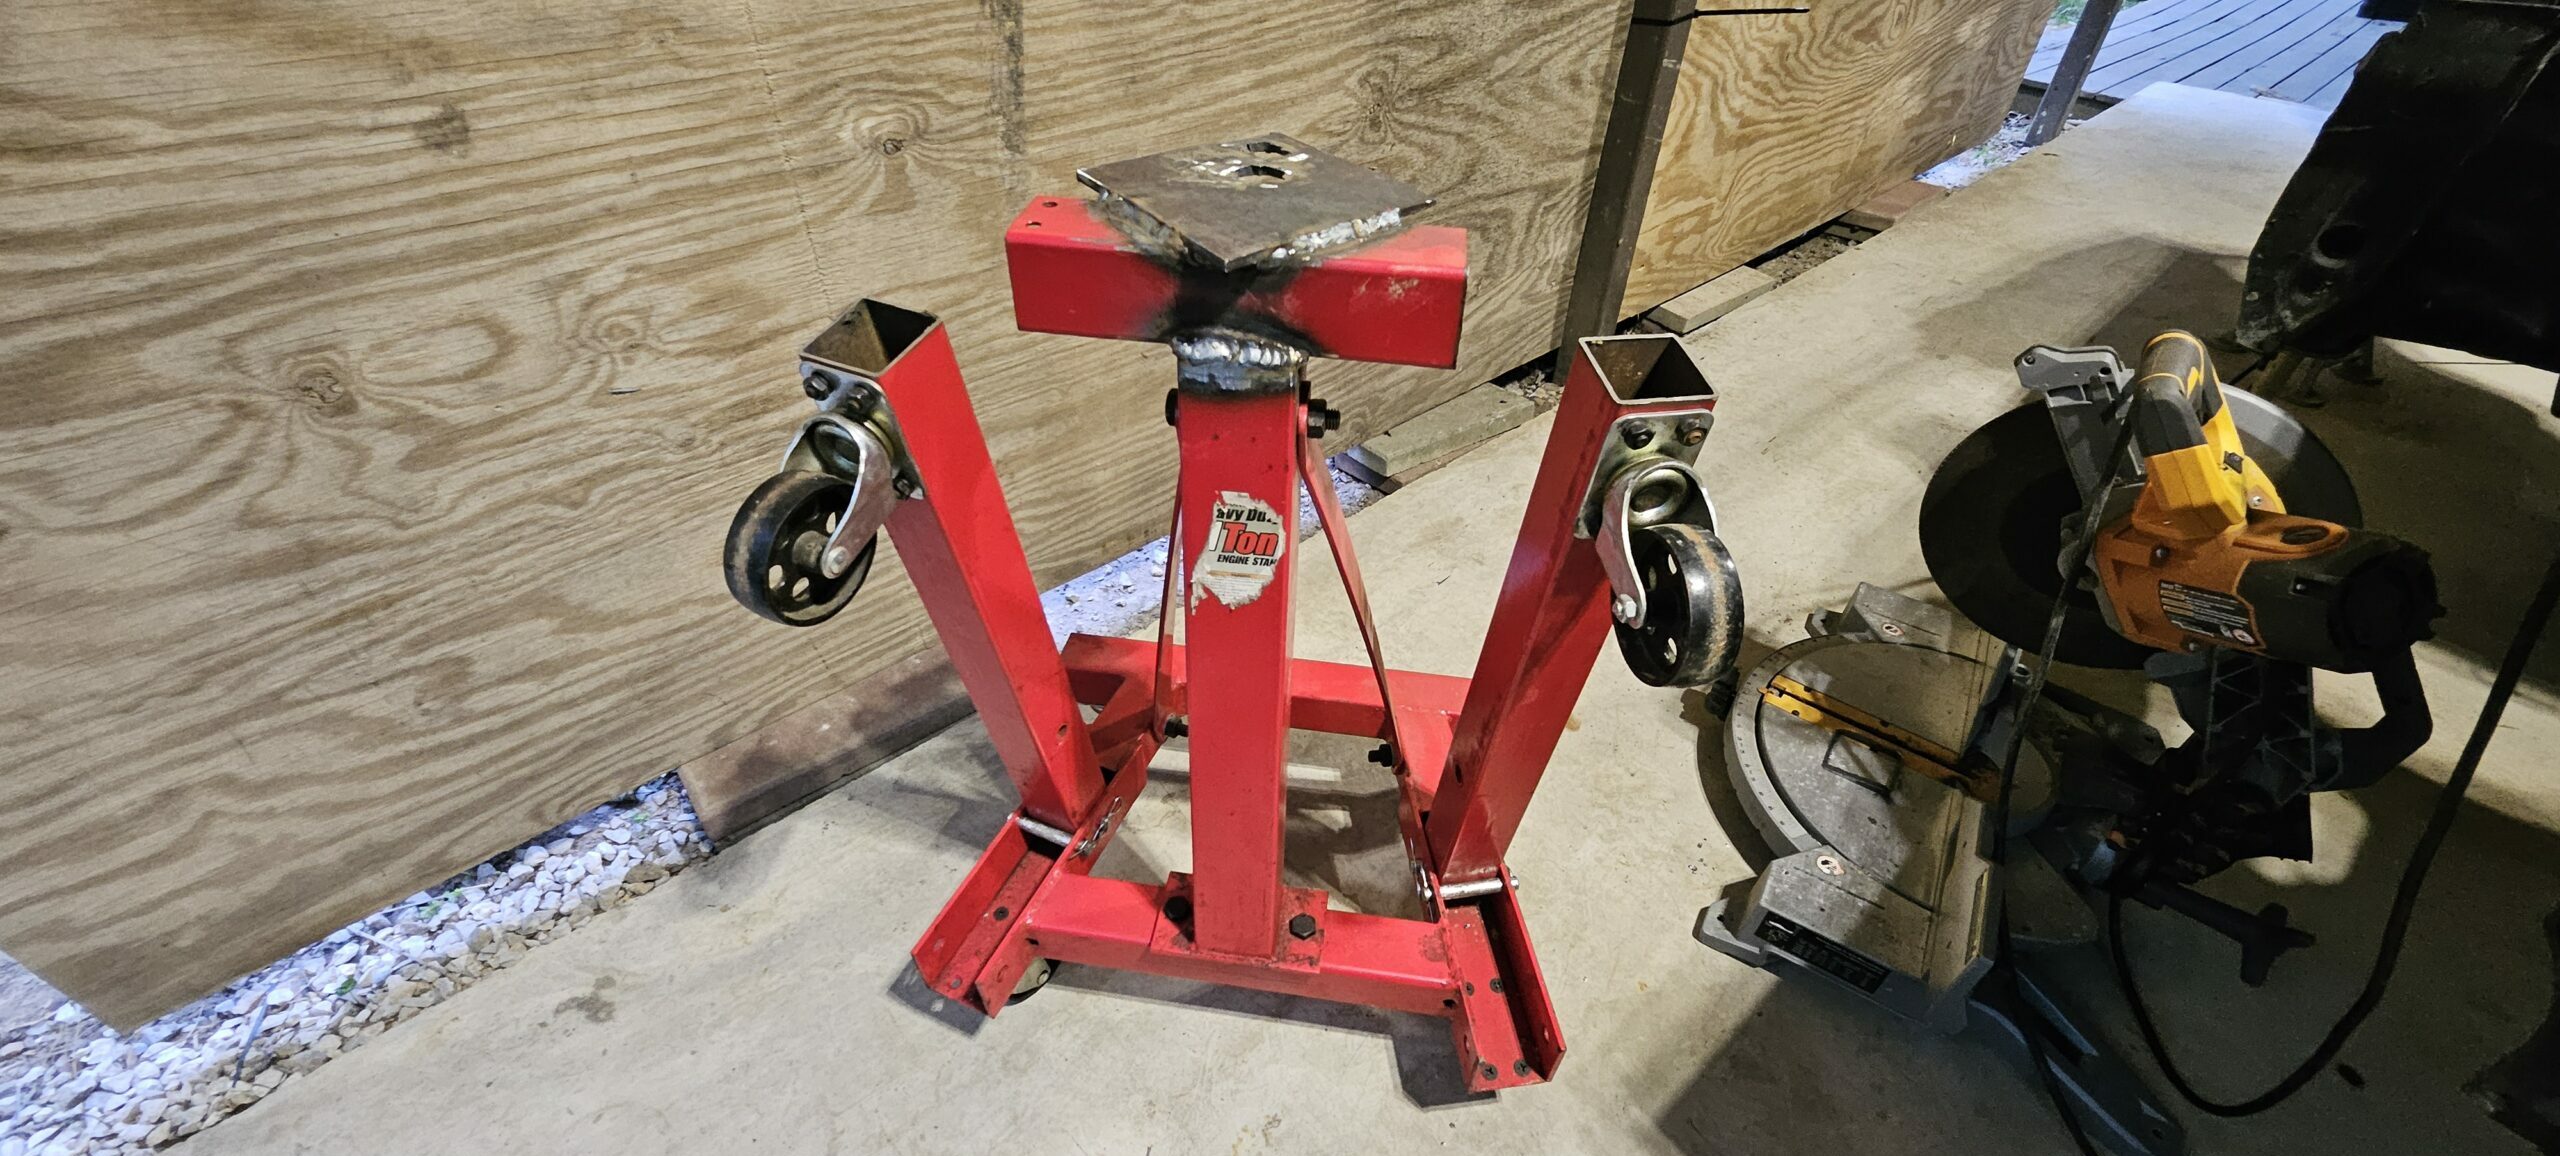
This is a very straightforward build. First, I disassembled and cleaned up the old stand. I then cut the cylinder from the center tube where the rotating engine mount plate sits. Next, I used an electric level to level the bender mount to the base of the stand. Then, I welded the mount and attached the bender. The pics below will walk you through the process.
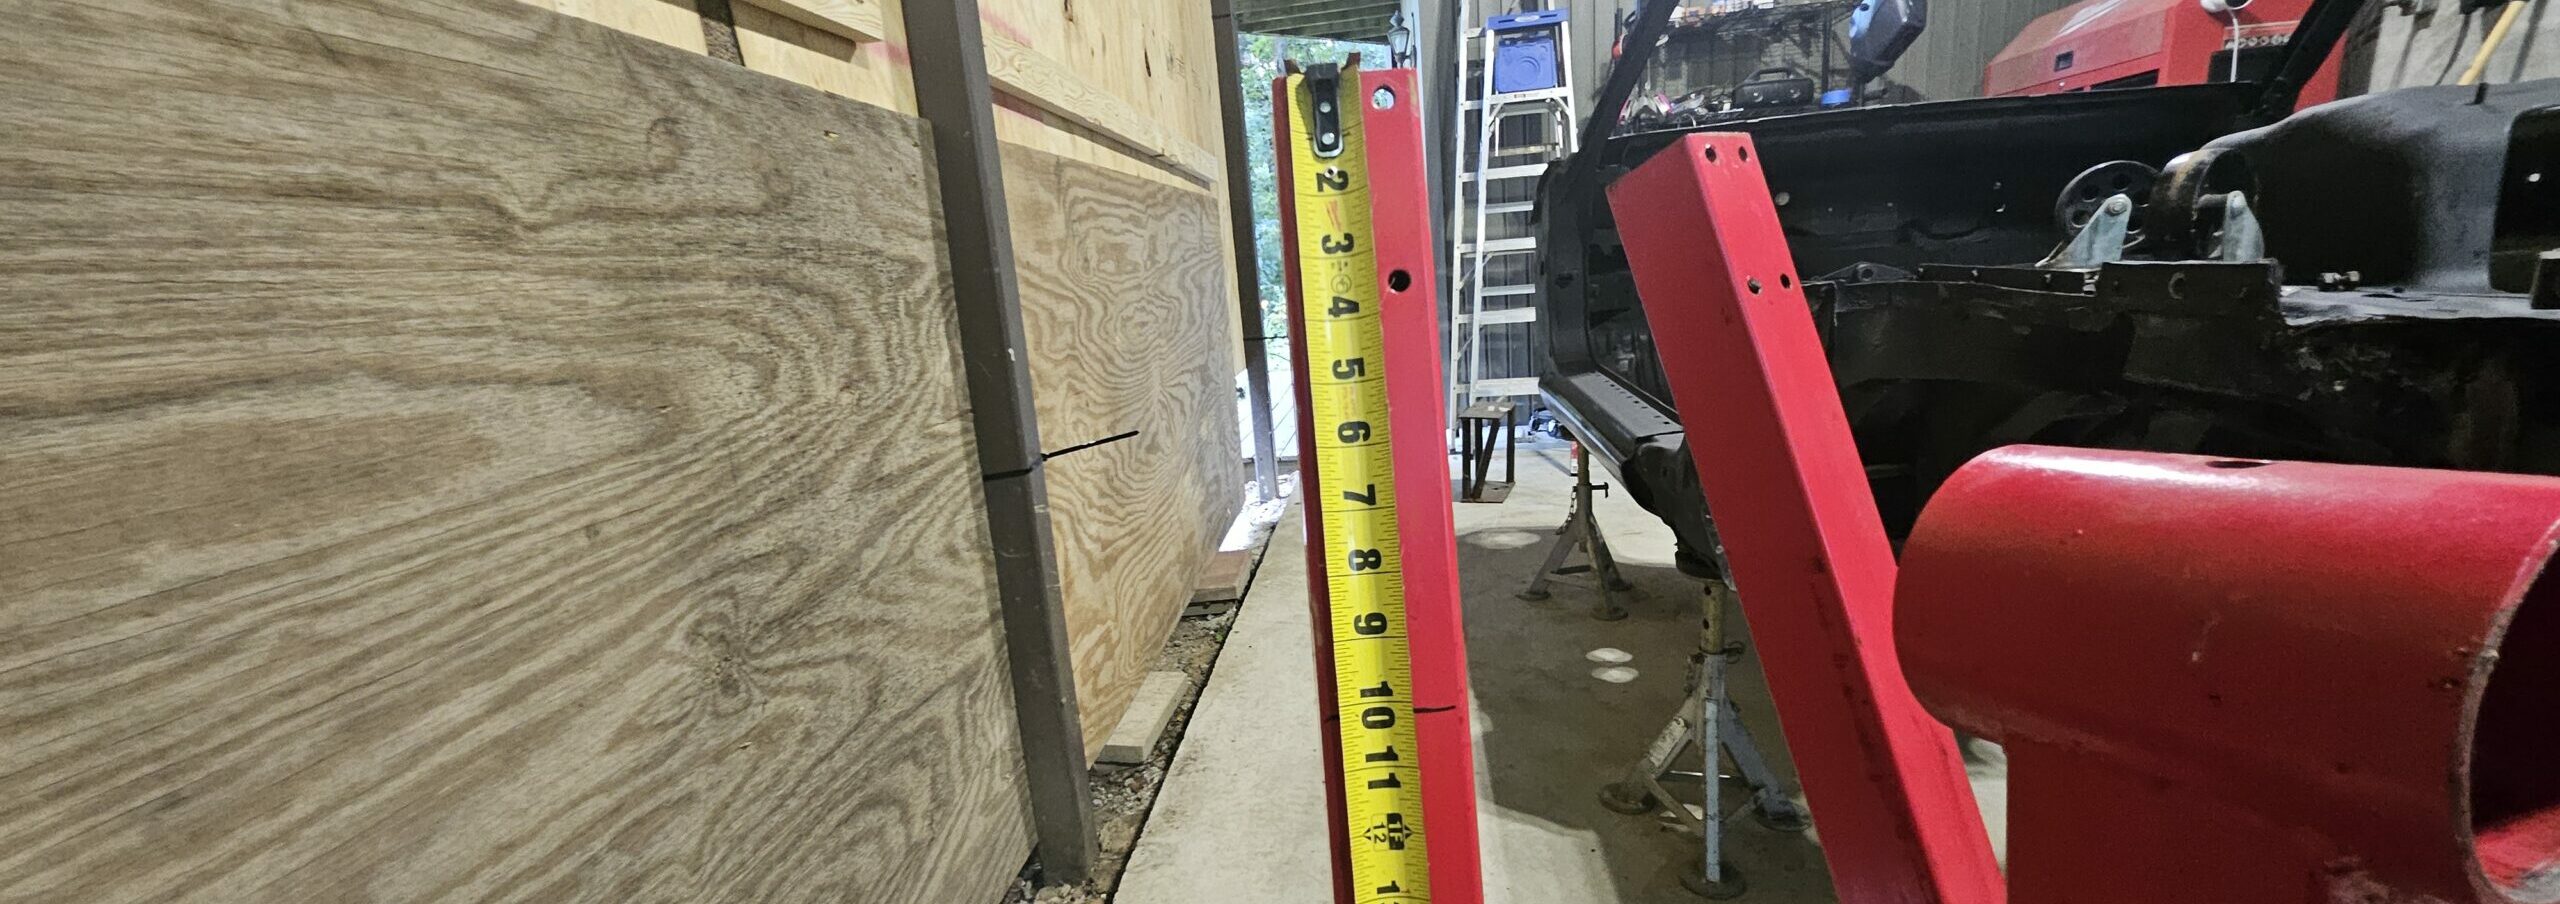
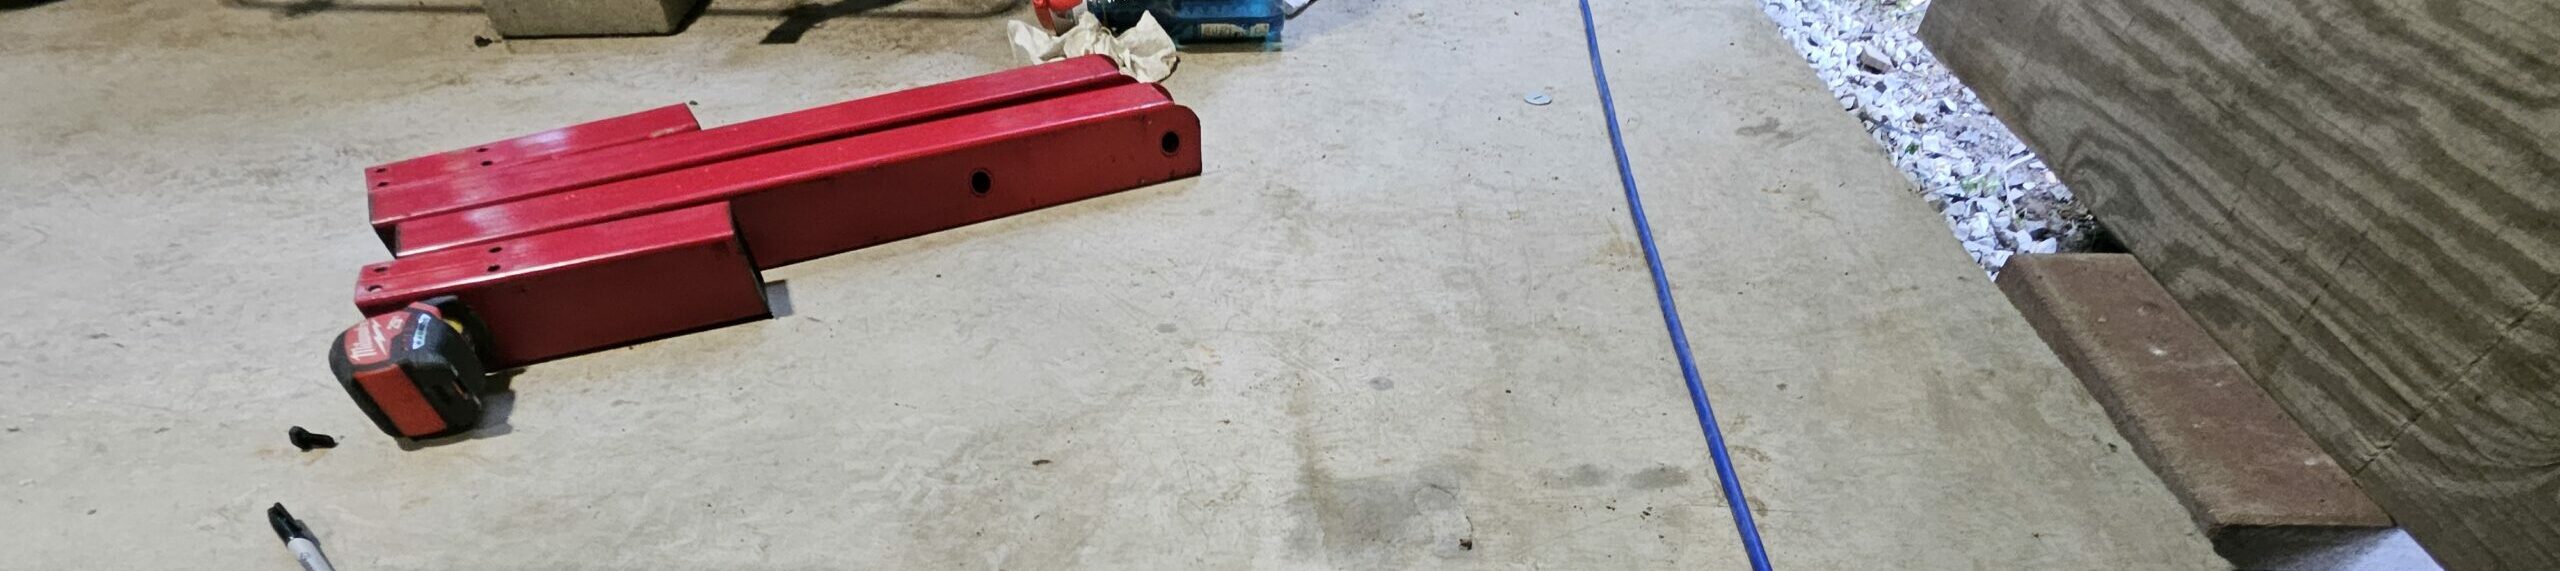
(Optional: I also removed the stabilizer arms and cut them 10 inches shorter for a smaller footprint.)
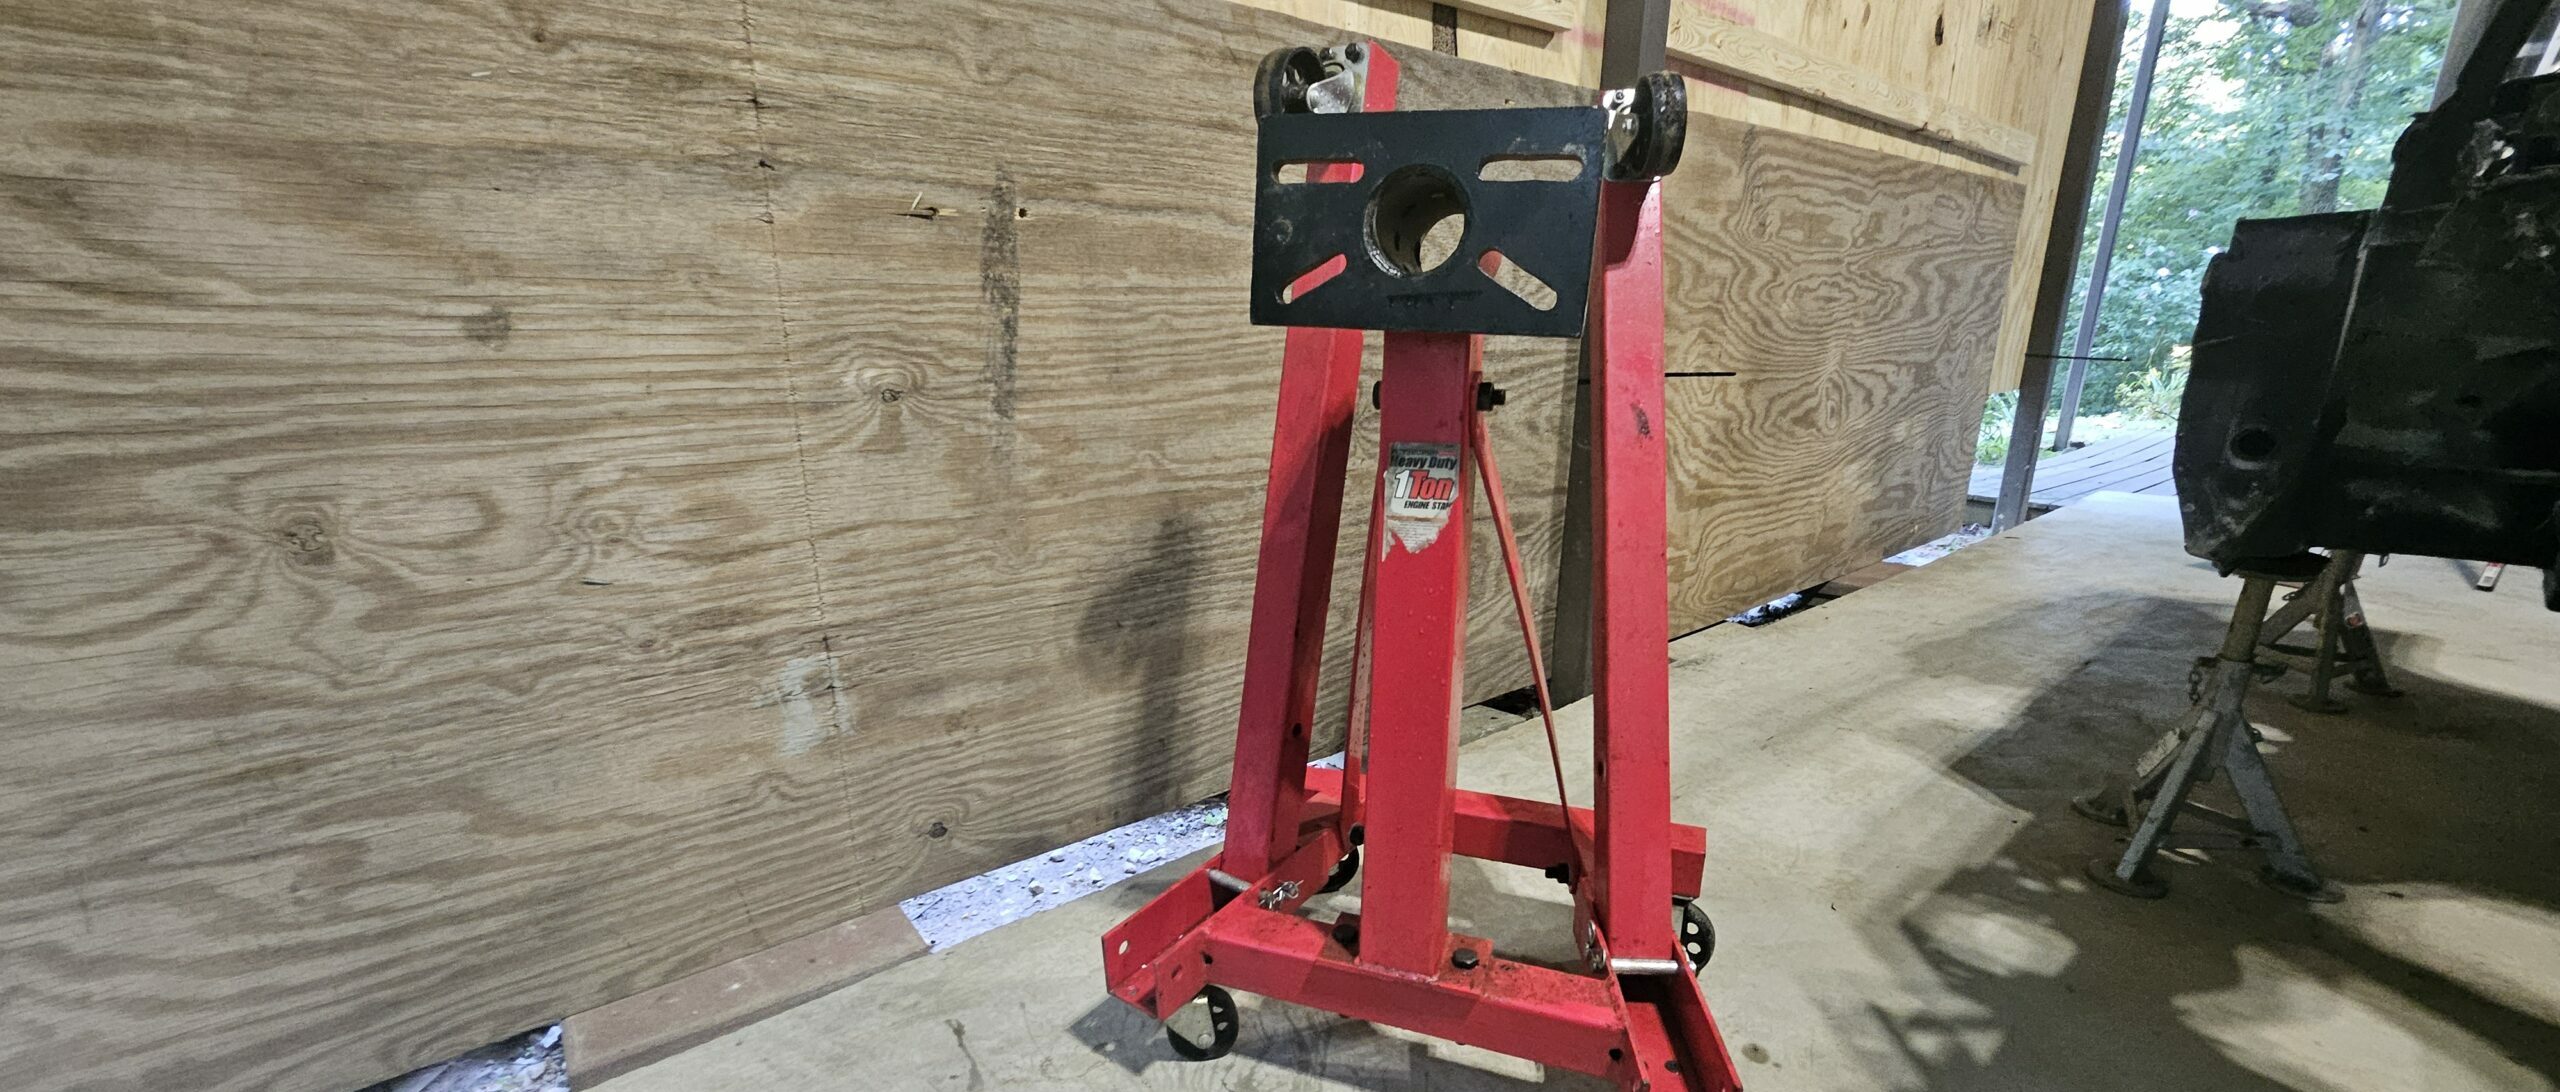
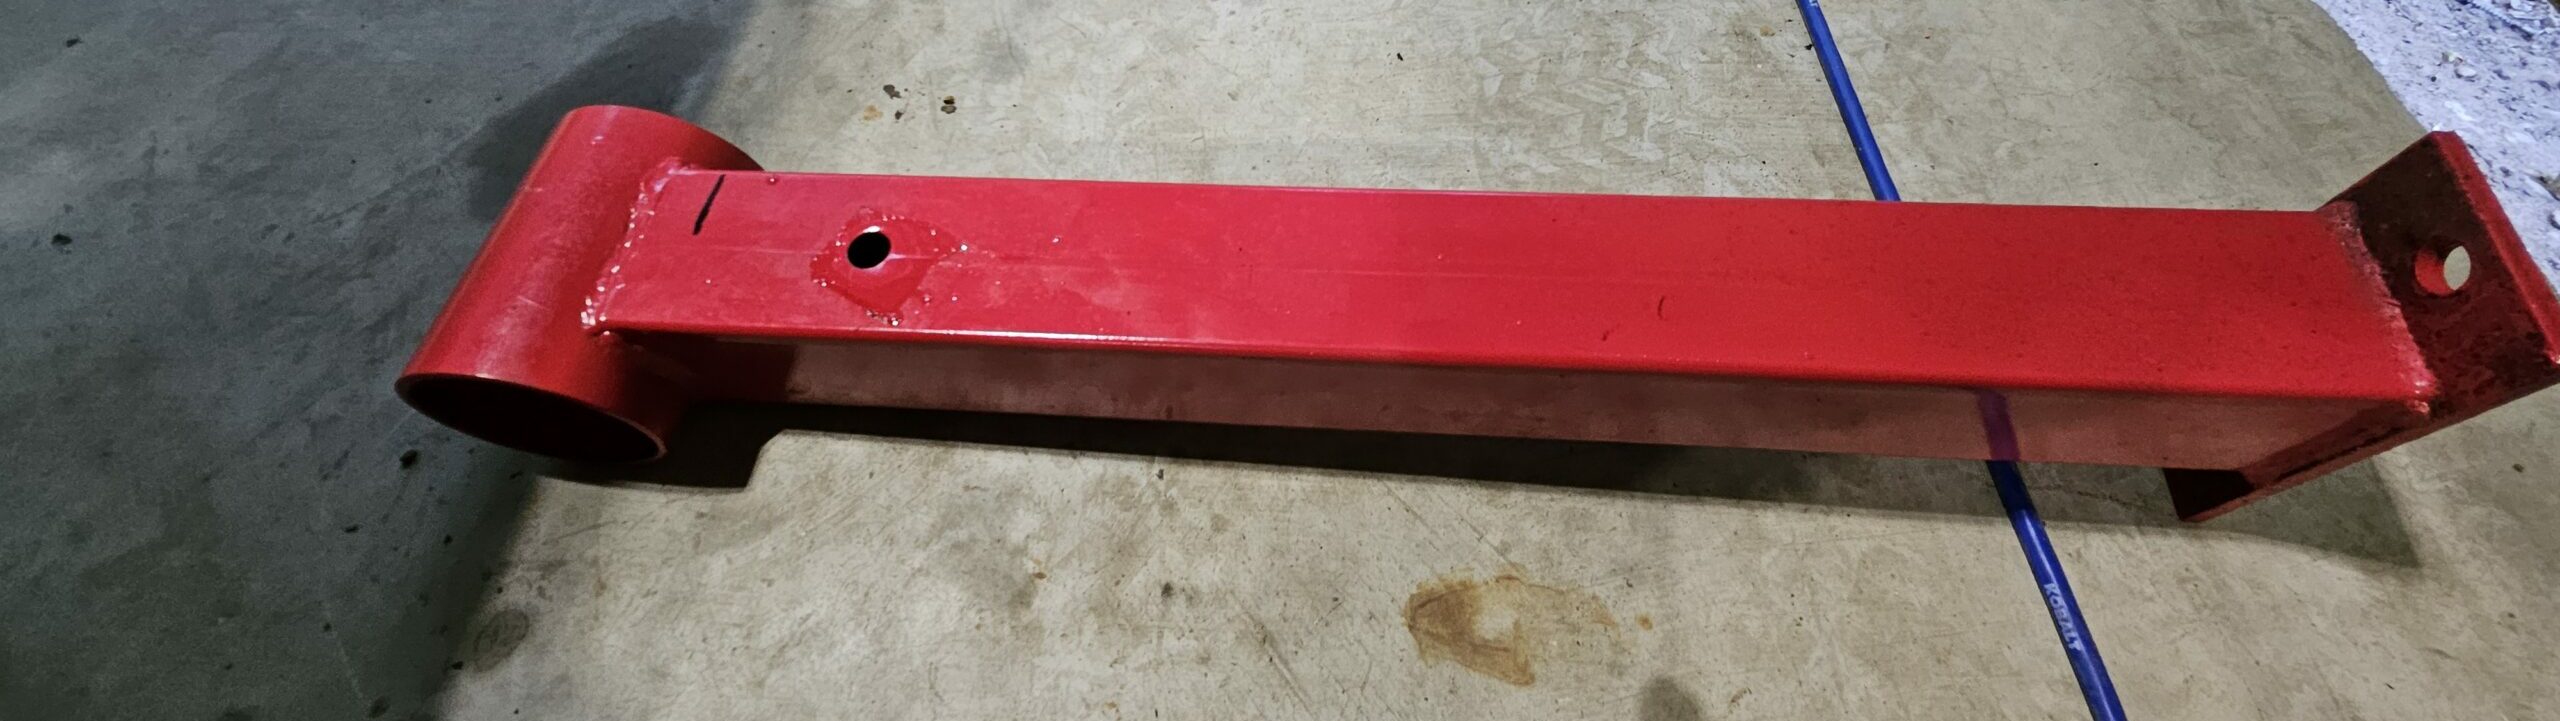
Step 1: Disassemble and Cut
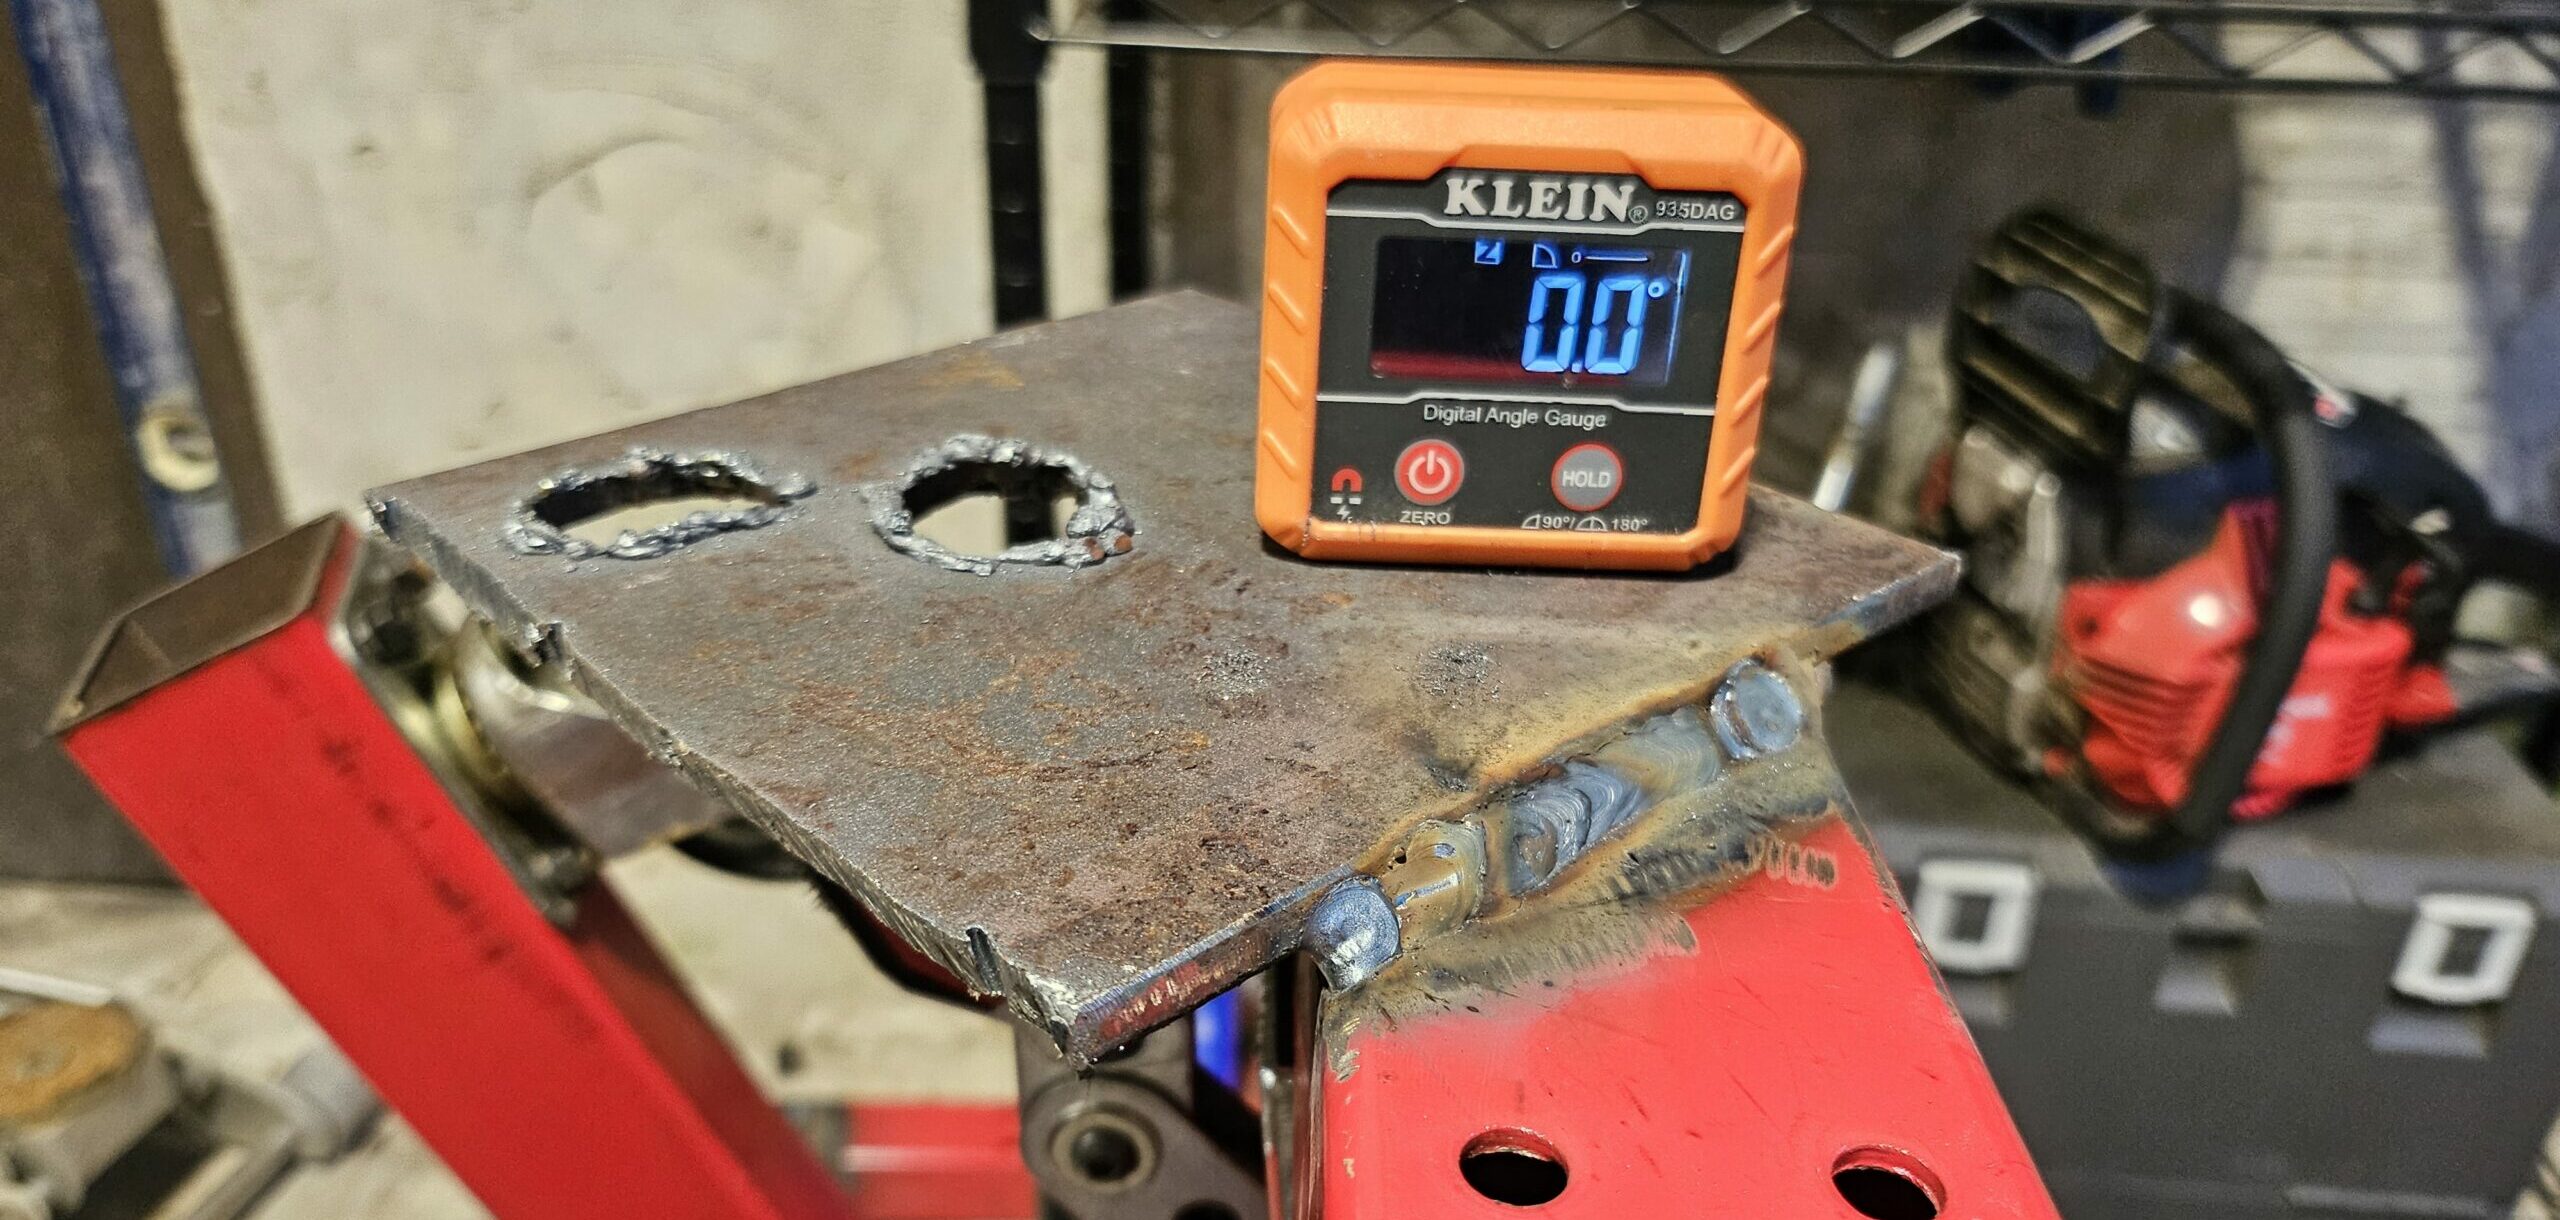
Step 2: Build and Level the Tube Bender Mounting Plate
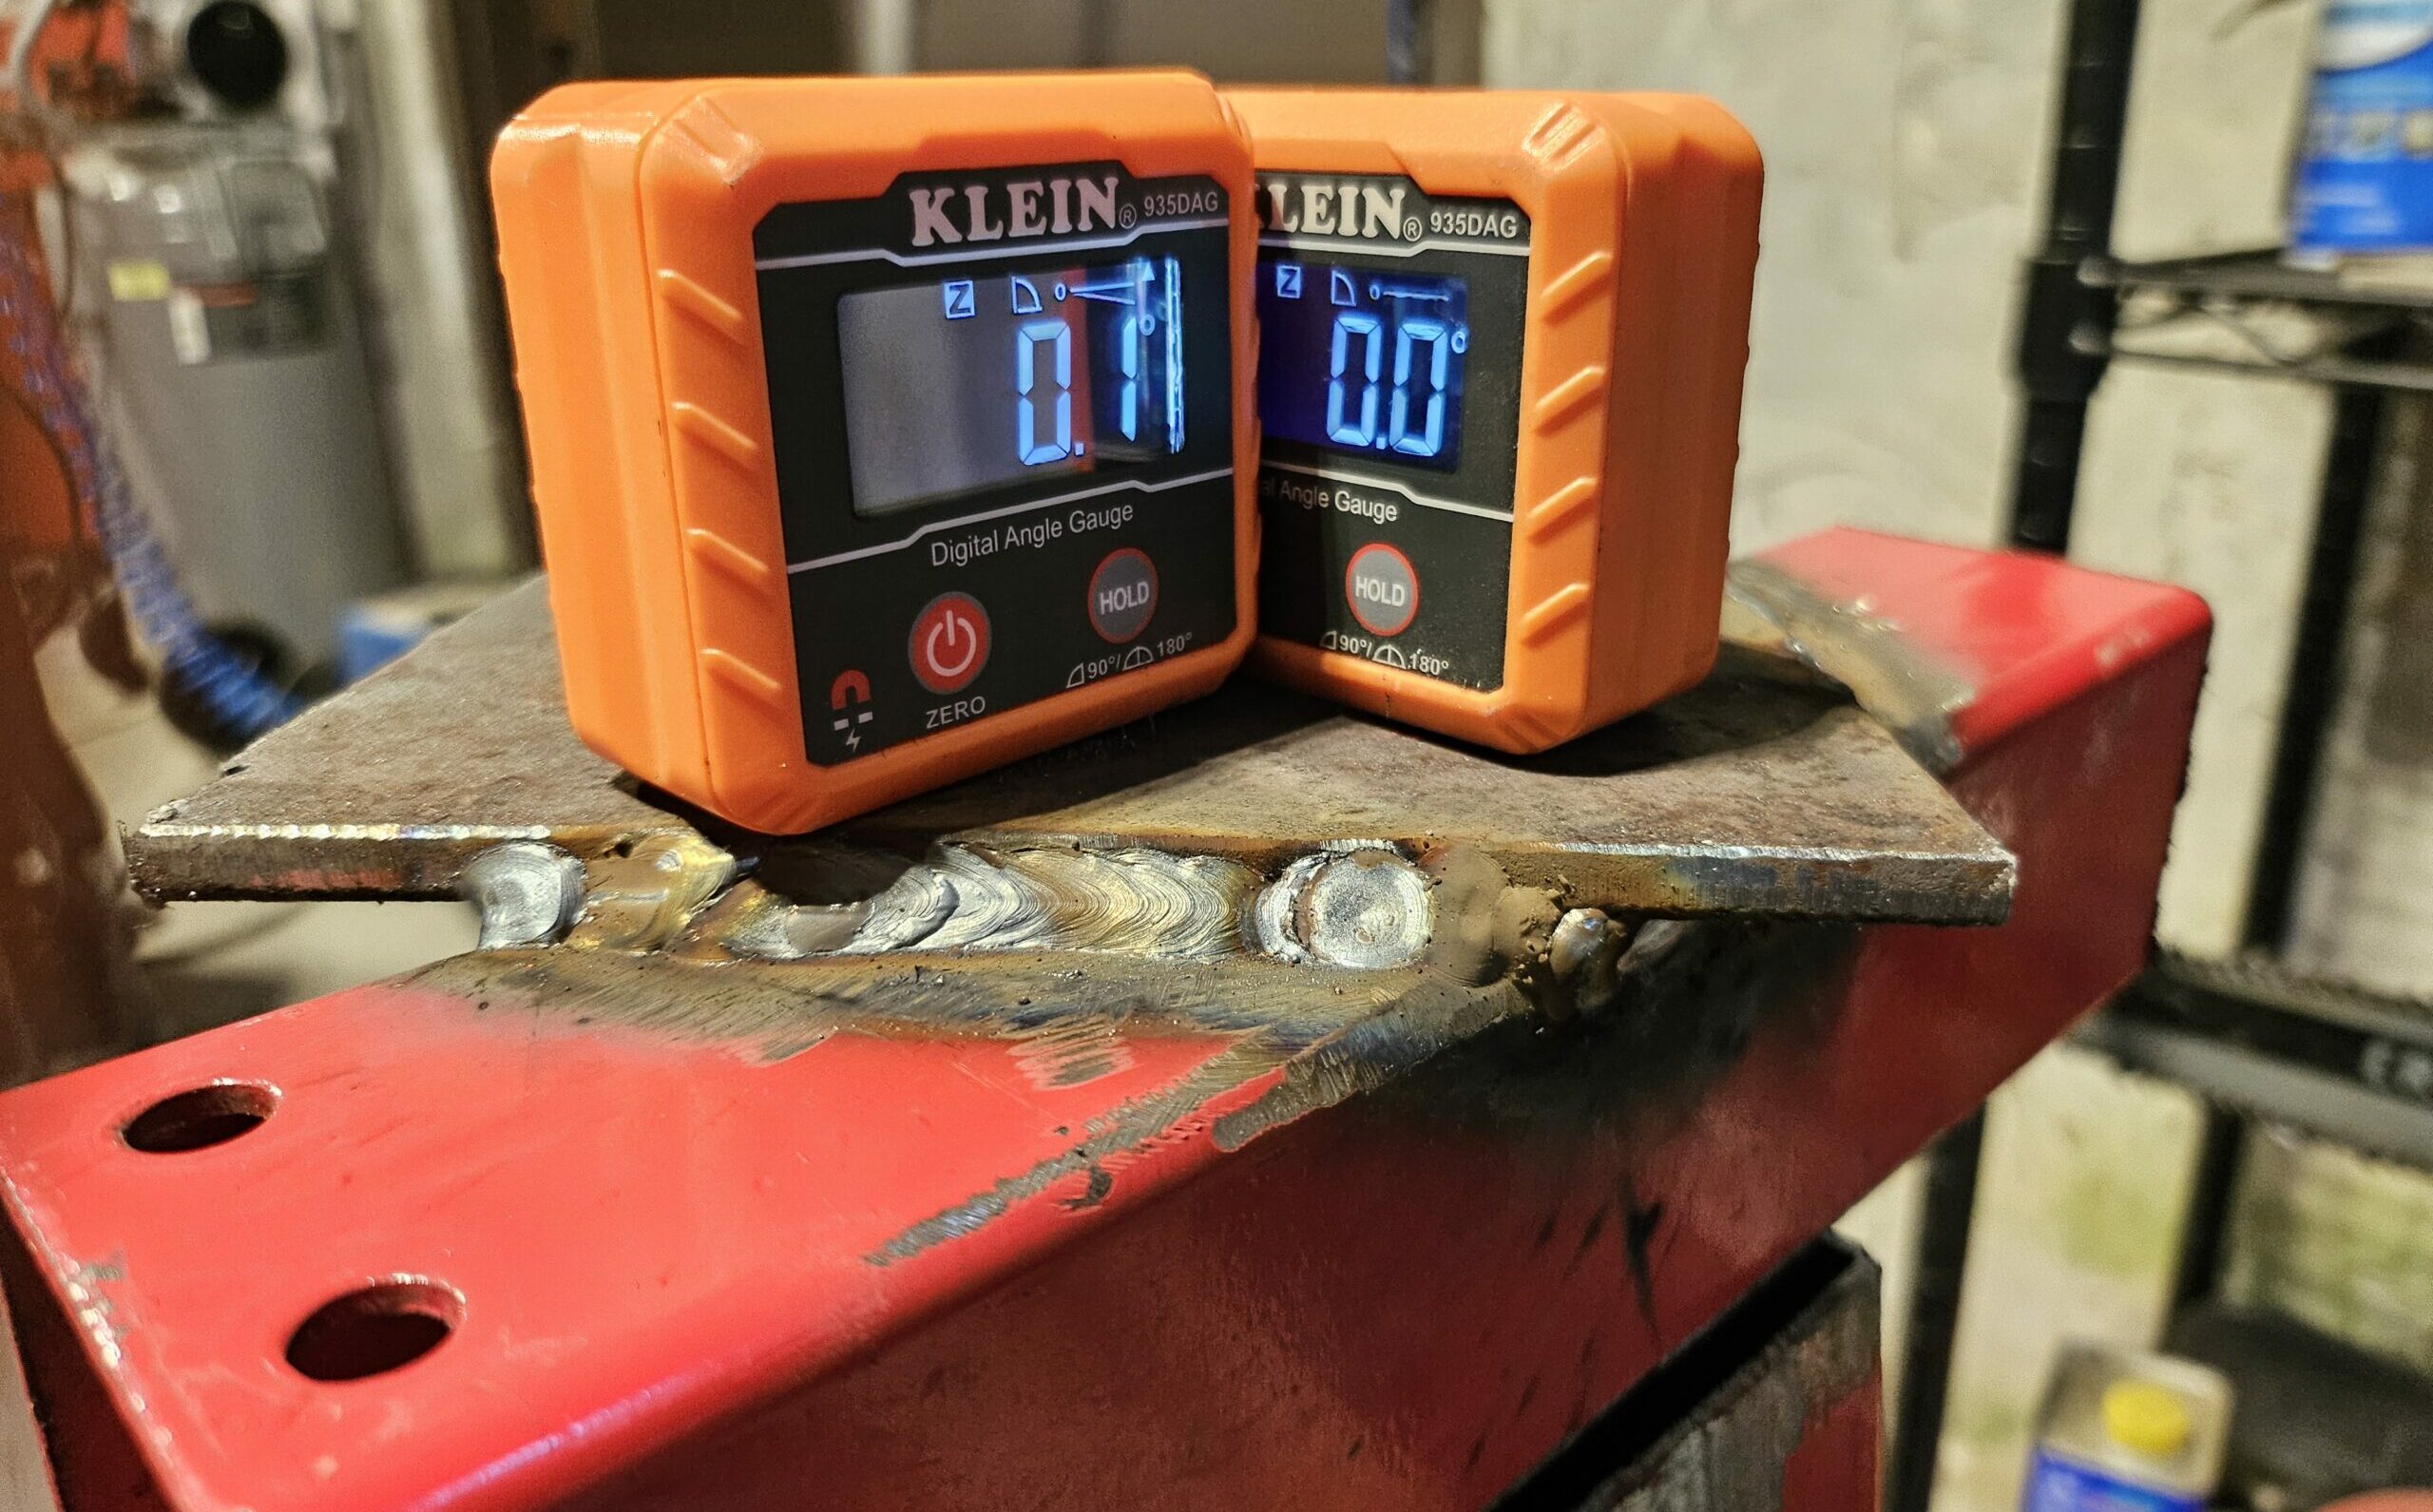
A lot is going on in the image below. First, I welded a scrap piece of metal to one of the 10-inch sections I removed from the stabilizer arms. (Don’t judge my welding too harshly; it’s the first time I’ve touched the MIG in 10 years, and it’s already coming back quickly.) I then use two Klein Tools Digital Levels to set the level of the tube bender mount. These two levels are zeroed to the engine stand base and then used on two axes to set the level. I am looking to be within .1 degree of level.
(Important: The levels are zeroed to the stand base instead of the floor because the floor is not level, and the actual level will be relative to the base…not the floor.)
Conclusion
Sometimes you can have it all. This build was quick, easy, and free. I also ran my first welds in 10 years and they turned out strong, although a bit sloppy. However, I’ve had a bit more practice on the welder since this build, and things are starting to come along nicely. With that said, it is only a matter of days before I start welding on the exo car and moving it towards completion with the addition of a roll cage. See you next time.