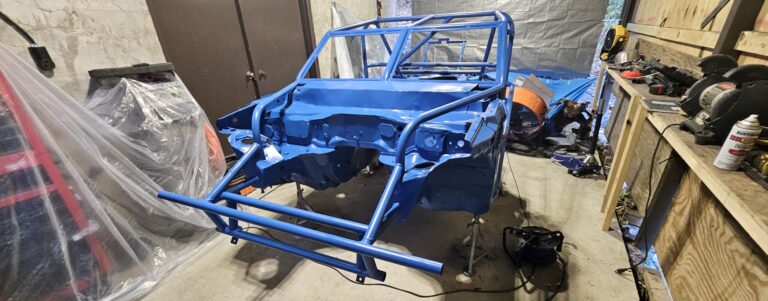
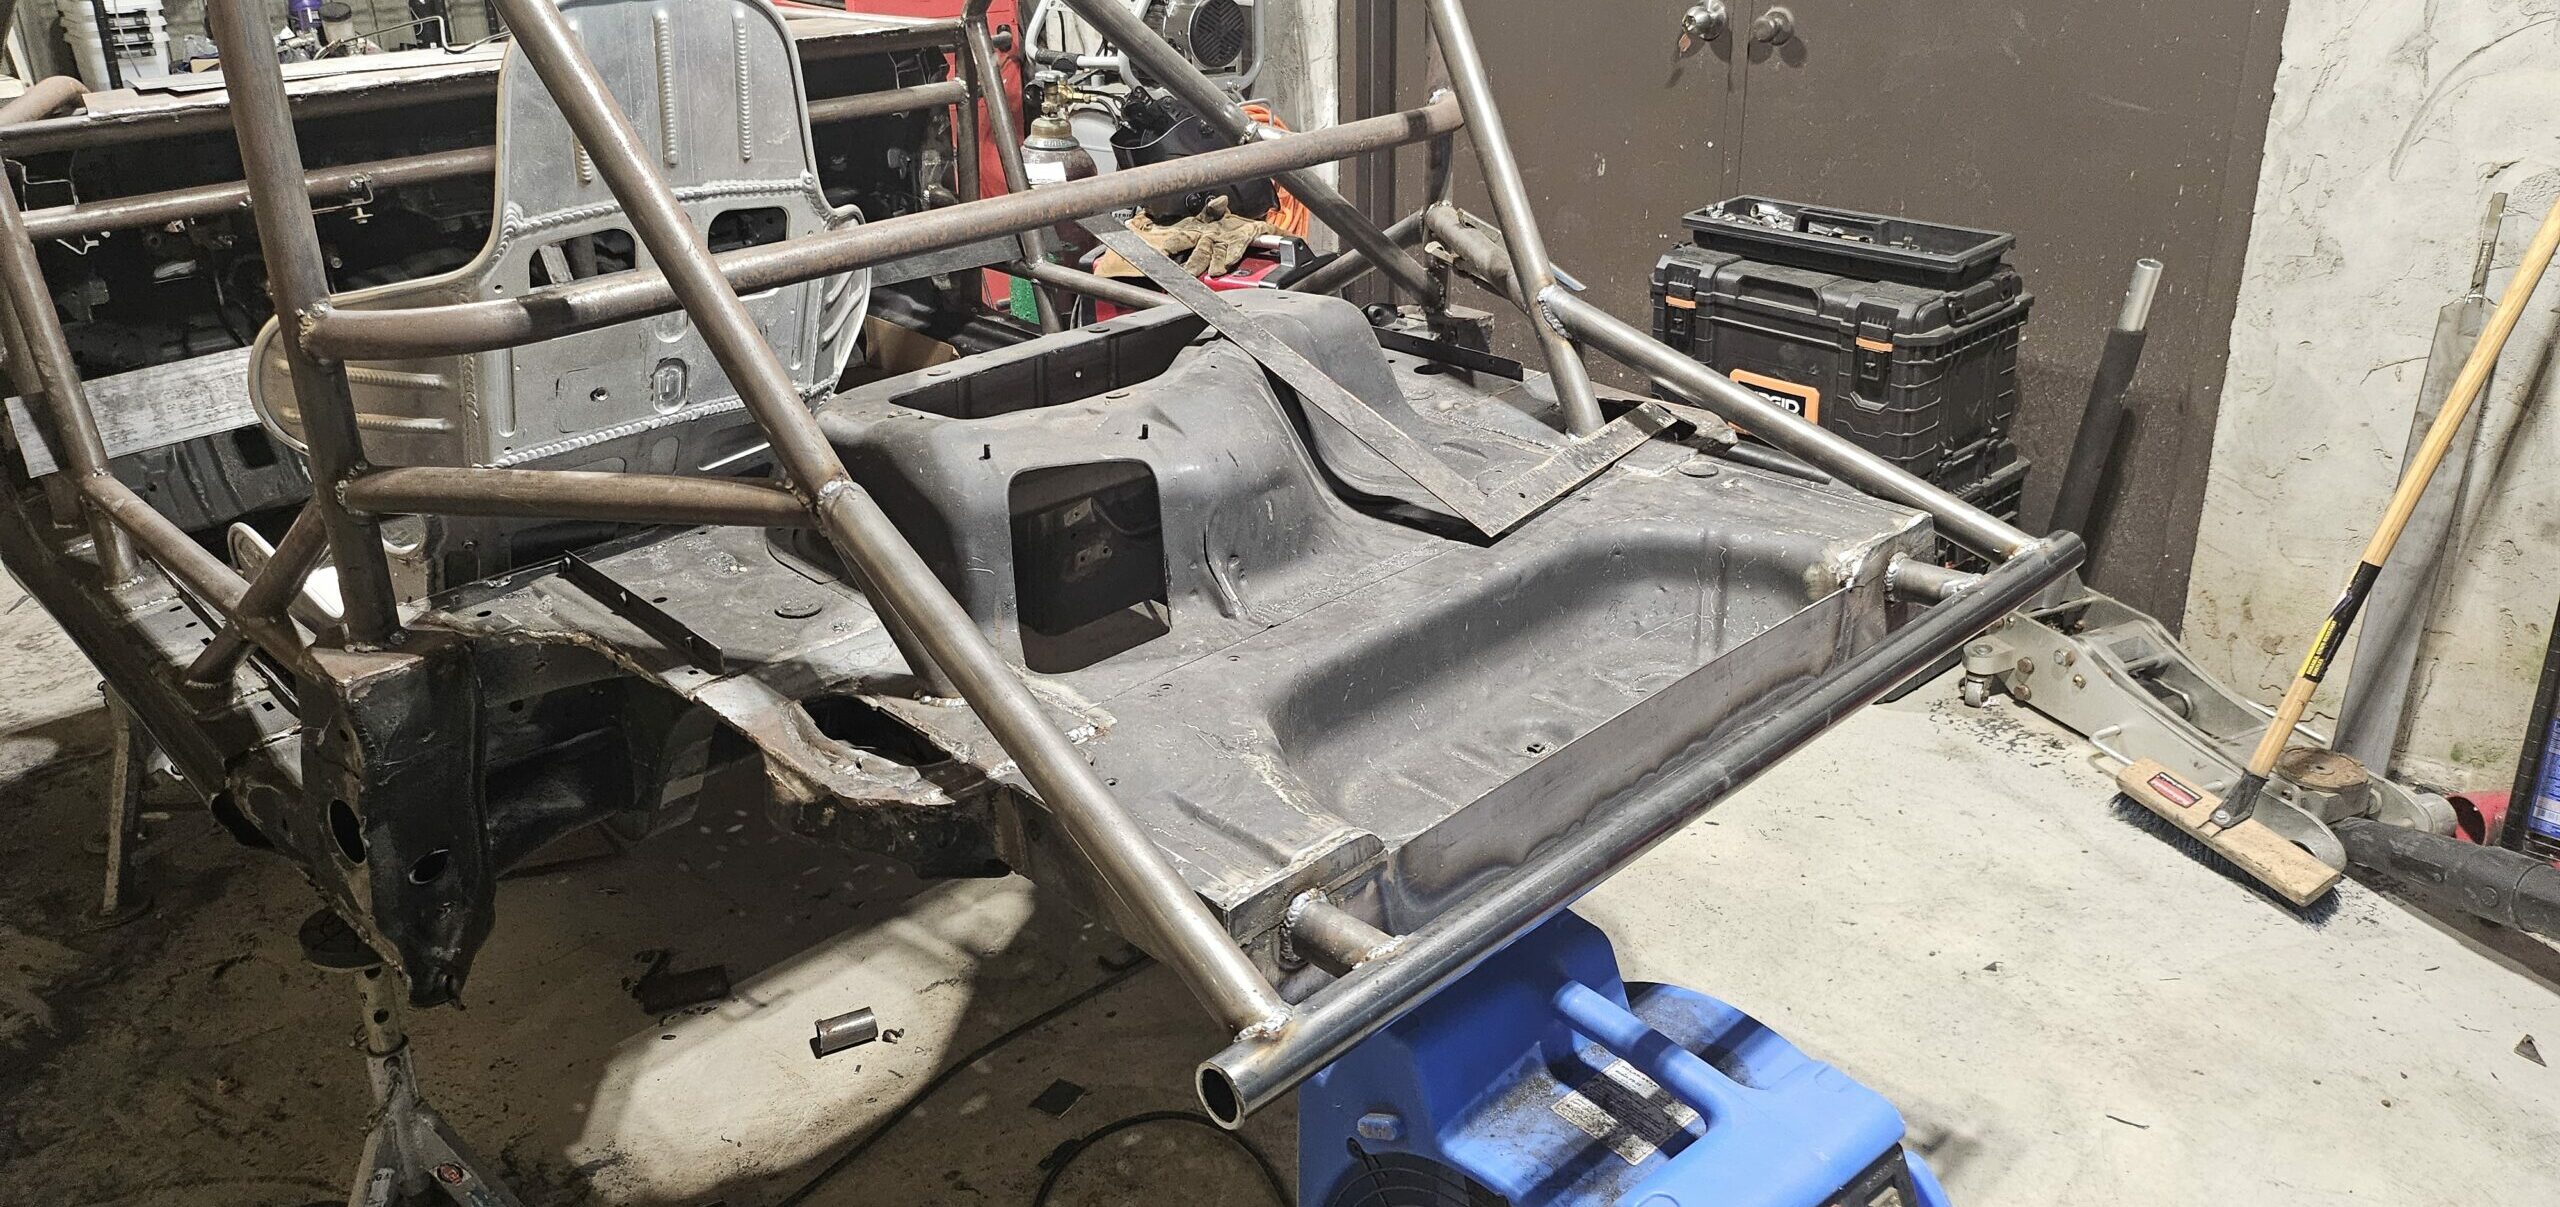
Building the roll cage for the ‘ghettocet’ is easily the most time-consuming part of this build. But here we are … finally … with a custom cage built and installed by yours truly. There are a few odds and ends to add, like window net mounts and a Lexan windshield. But for all practical purposes, the main roll cage is installed and ready to go. The following is my build process, a few design issues, and the solutions I implemented.
Getting Started
What I like about the cage build is it forced me out of my comfort zone. Let me explain. It has been nearly 20 years since I built a roll cage, let alone welded anything significant. I found very quickly, though, that no amount of prep reminded me of how tedious it is to execute properly. Forcing me to adapt my build strategy very early in the process.
This build also allowed me to get creative, resulting in an unorthodox but very sturdy and integrated roll cage that, most importantly, passes tech. Let’s dig in.
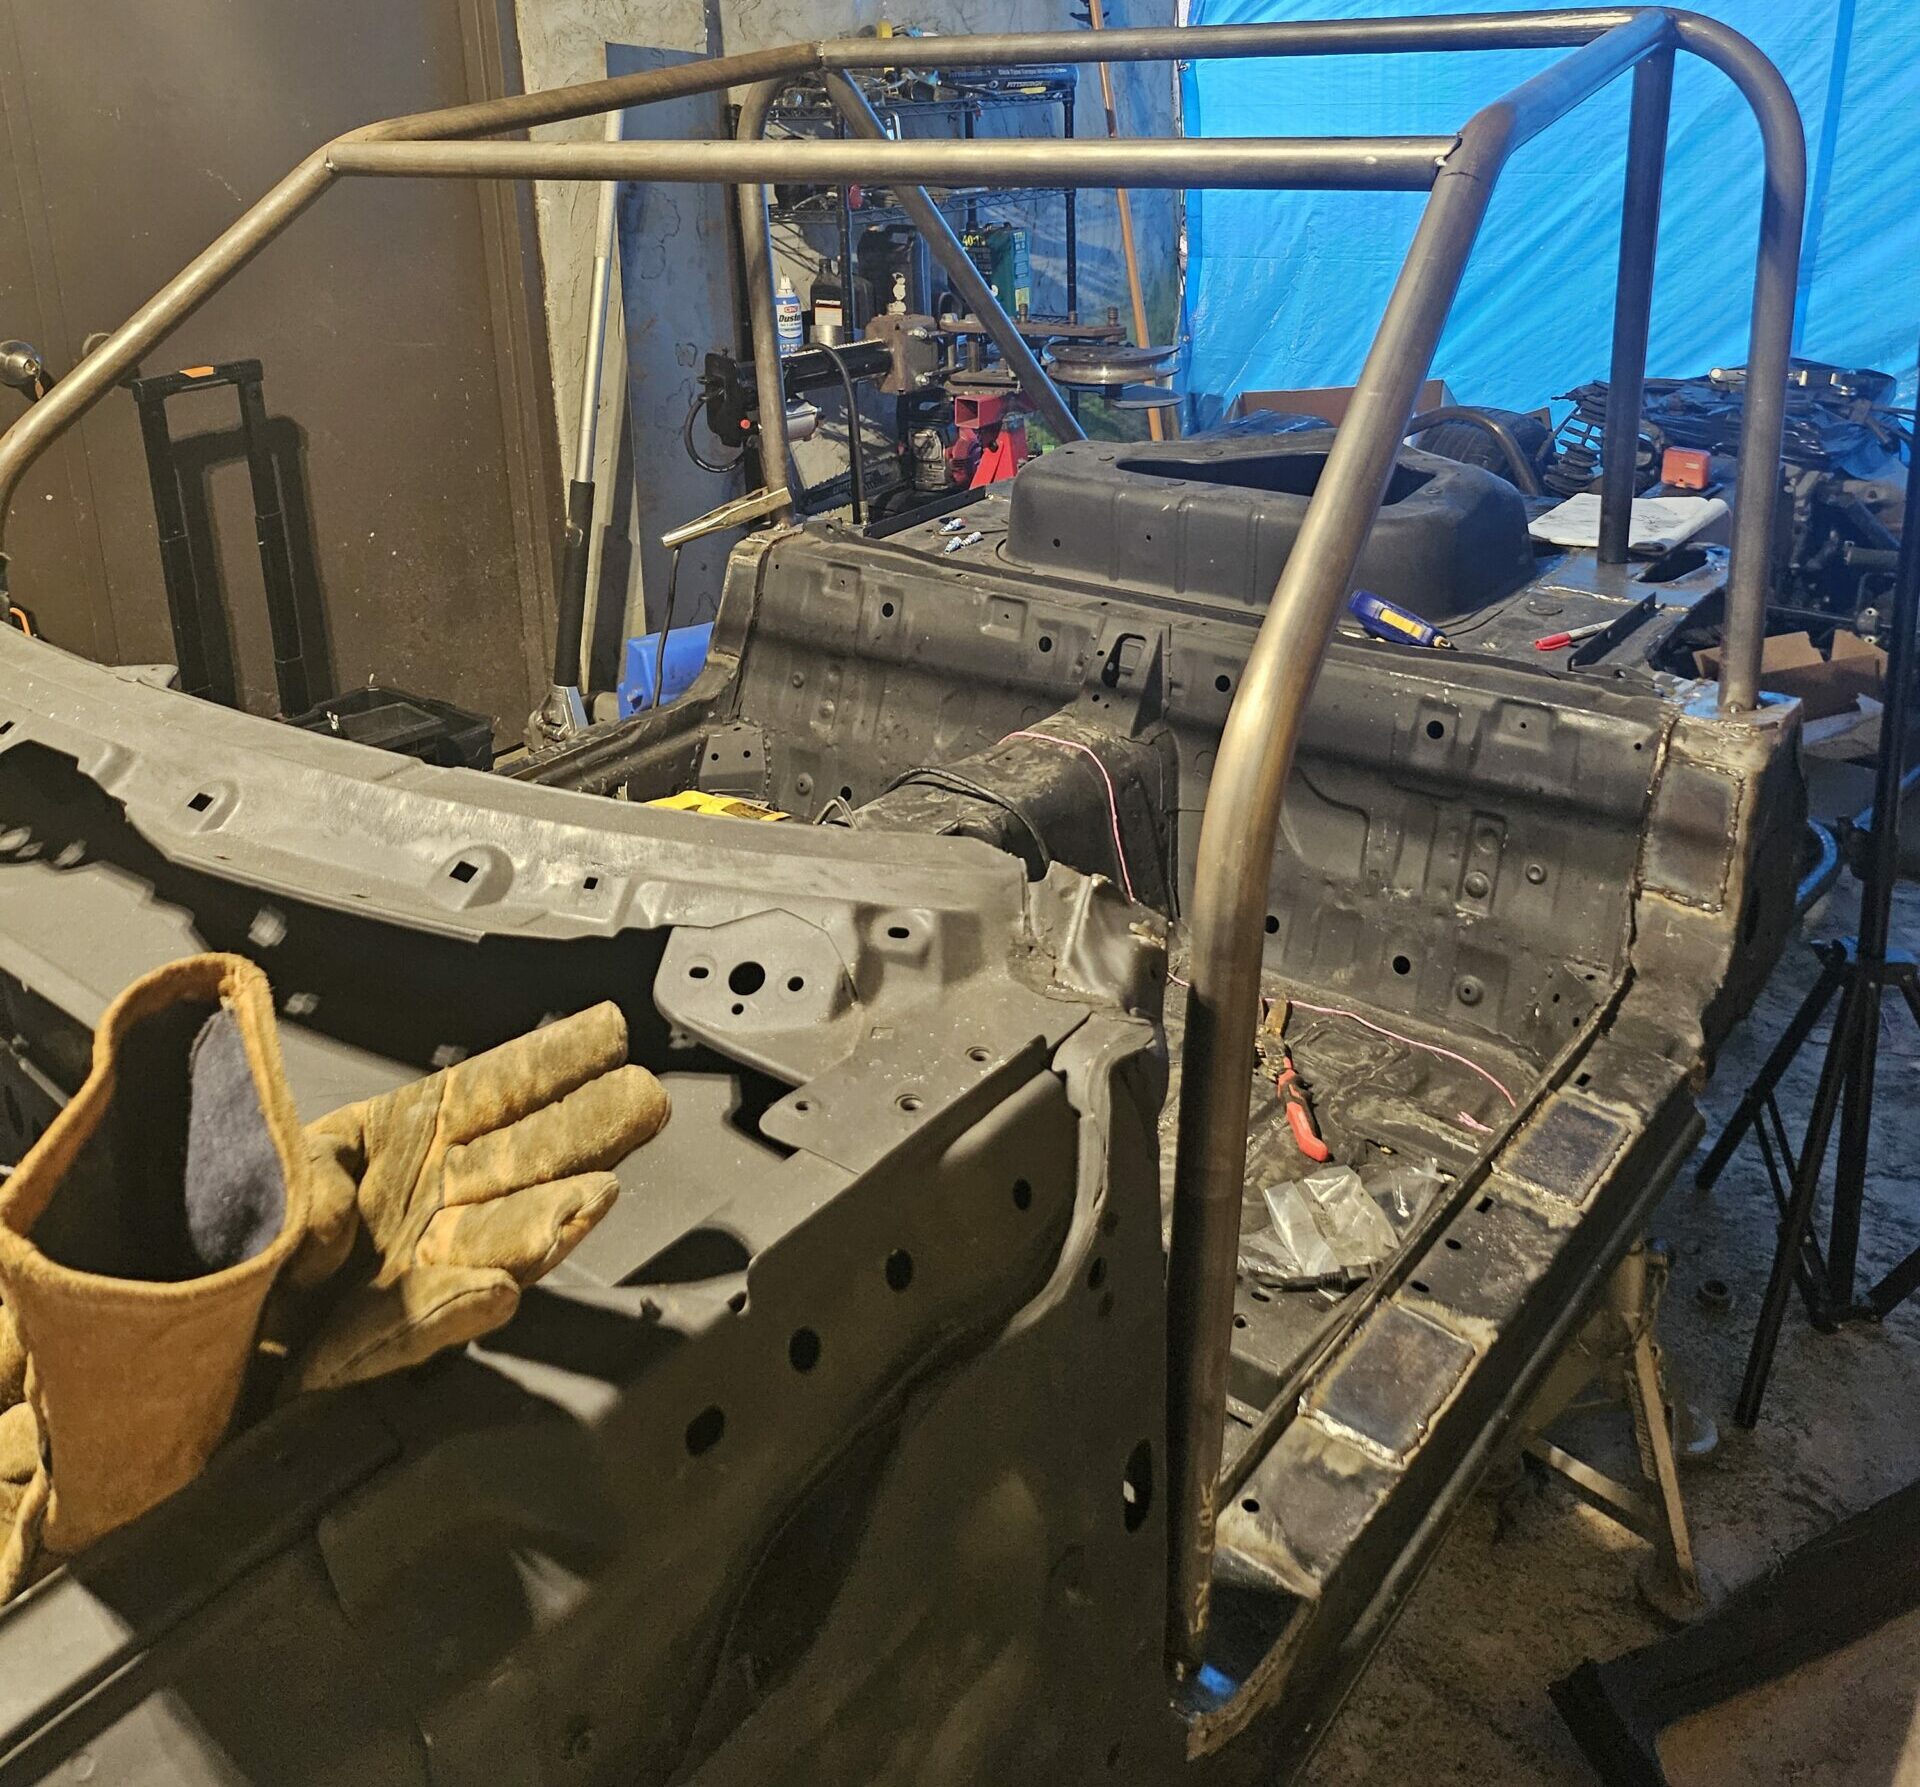
The Main Hoop
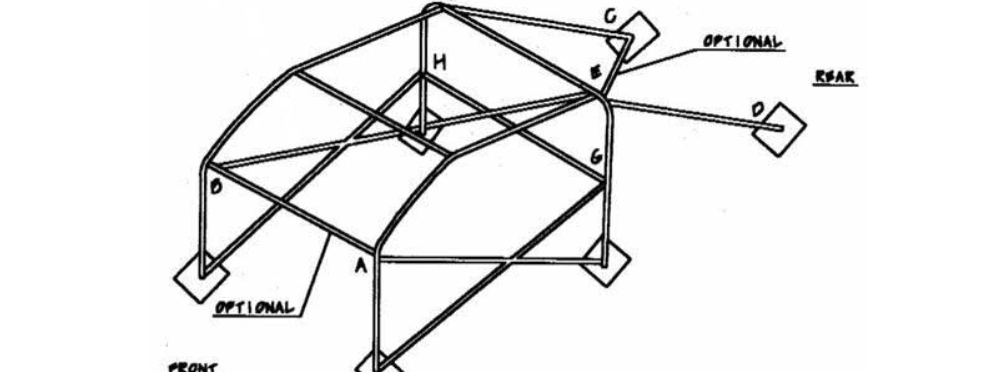
The main hoop is the roll cage’s foundation. It requires a single bar that spans from each side of the car behind the driver, leaving ample room for roll-over protection. This is the cage’s focal point, and much of the cage structure ties into this one bar. That is why it is so important to get this bar right.
This bar bends 180 degrees in total, and I quickly discovered that the methods I have used in the past to bend a bar in plane were not working well. My floor is not level, and the bender is now mobile (and not level), so the digital gauge I usually use was not giving accurate results. After my third attempt, I switched to an analog method. I made the first 90-degree bend and set the bender up for the second bend. Then I placed an extra, unbent tube across the bending die and each tube end to be bent. Using three adjustable clamps, I secured the straight bar to the ends of the bar to be bent, and the bender die. This forced the bar being bent to stay in plane with a low degree of variance. It’s good enough to have a finished main hoop finally.

A-Pillar Bars
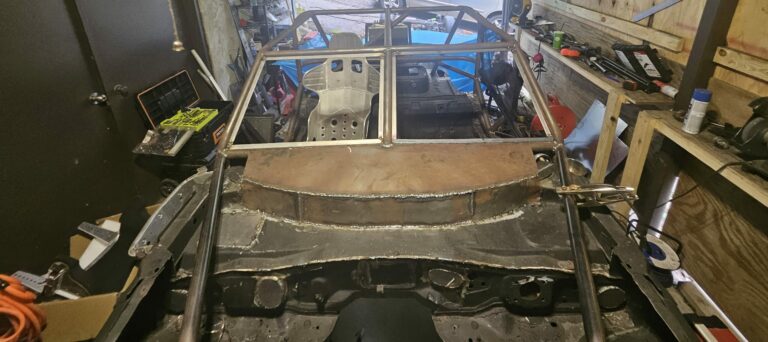
The A-pillar bars run from the main hoop to the forward A-pillar along the side of the windshield line. They then terminate at the floor. For the ‘ghettocet’ Miata, I wanted to accommodate a wide range of drivers, and this is where I made my first mistake. Unlike a closed cockpit racecar where the bars must stay inside the A-pillar, I ran these on the outside. The spacing and lines worked out great, but I realized that having the windshield frame unsupported by the roll cage, although not explicitly prohibited in the rules, gave me pause regardless. To solve the problem, I ‘logically’ cut the windshield frame out. As a result, I ran a third windshield bar in the center down to the dash bar and, ultimately, the transmission tunnel to accommodate the addition of a Lexan windscreen.
(I debated on running the car without a windscreen altogether. However, I have had more than a handful of windshields crack from high-velocity debris. So keeping some barrier in place is a must.)
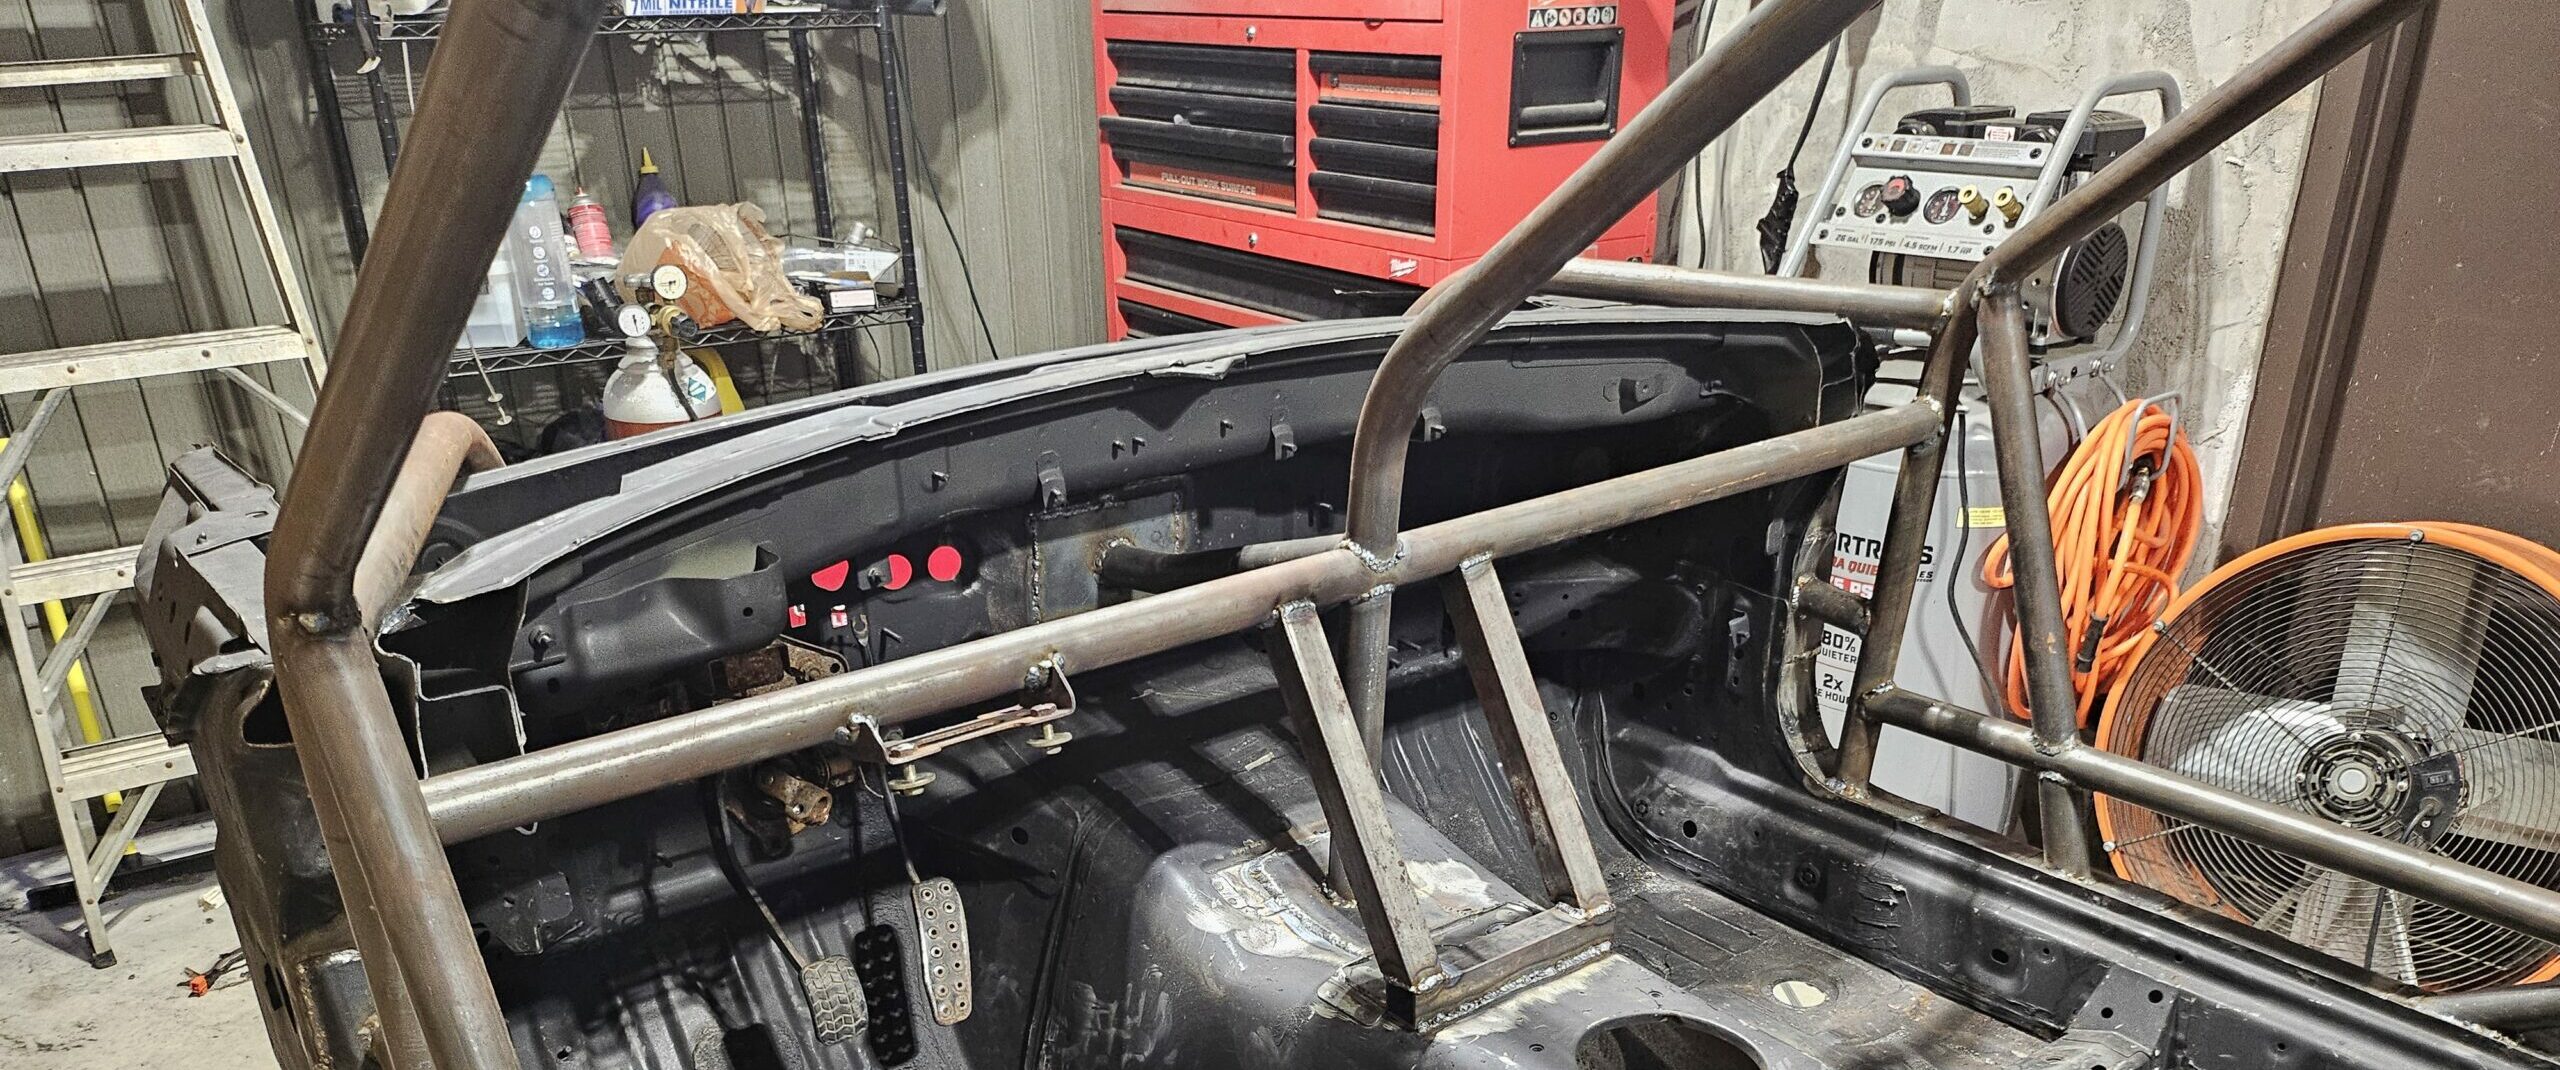
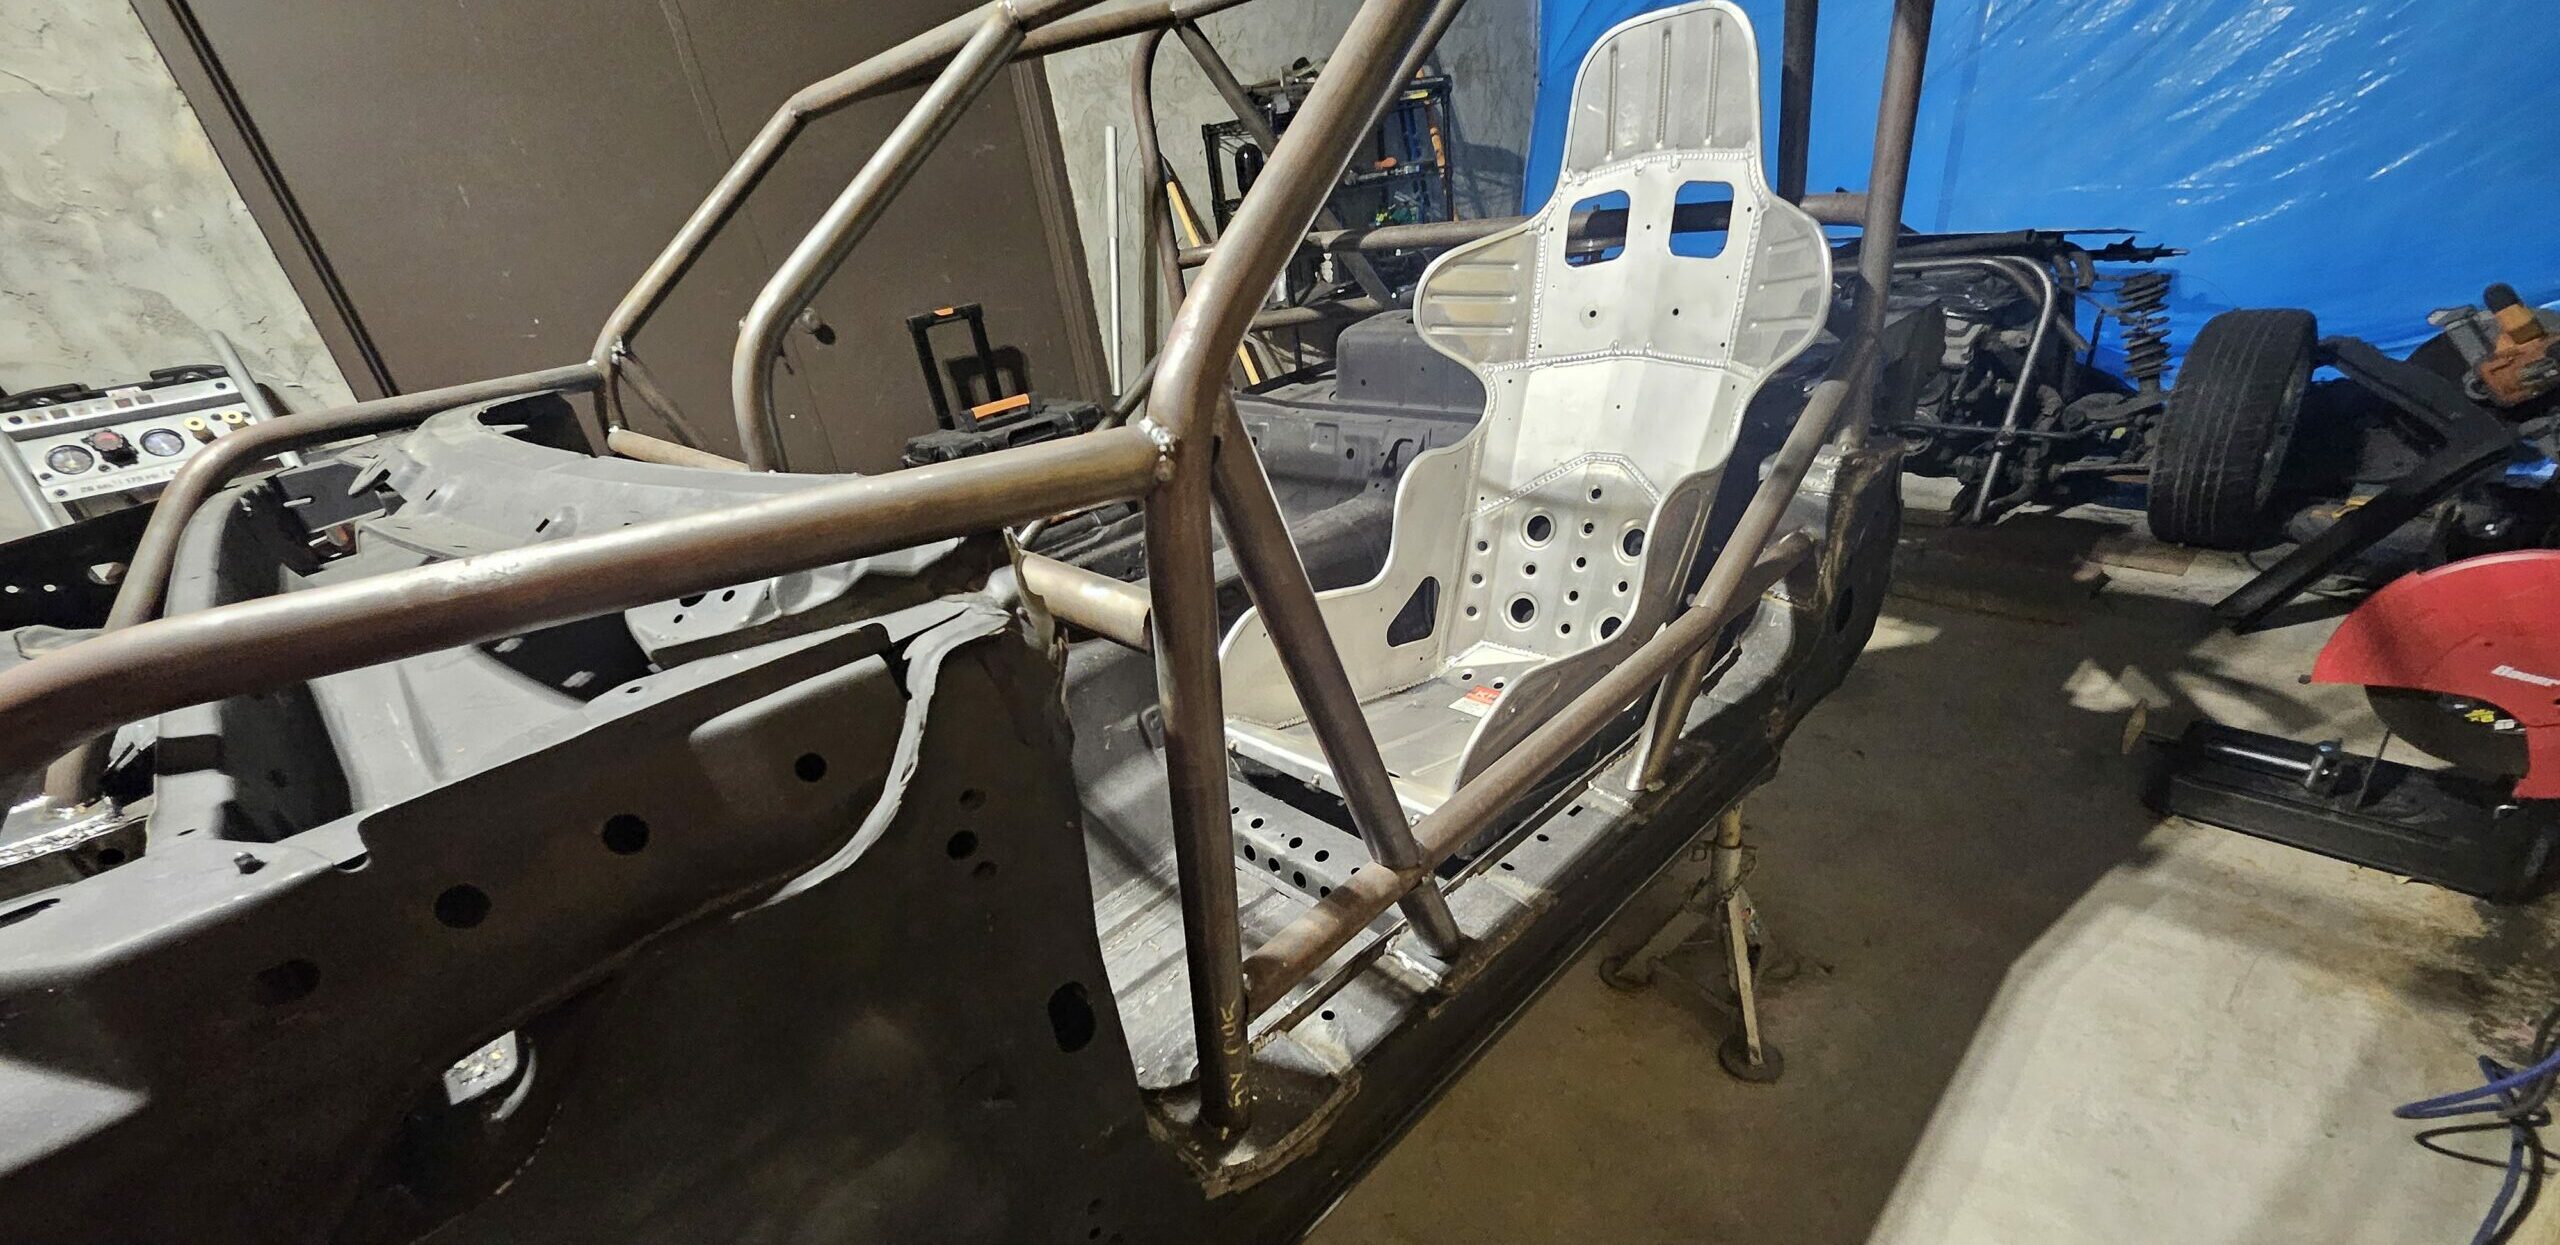
Door Bars
The NASA rule book’s door bar rules are super vague. While most racecars run NASCAR-style door bars these days, the rules state that only two intersecting bars are required—kind of like an X.
Being a ‘ghettocet’ I decided to try something different. I designed a hybrid bar that runs one horizontal bar the length of the door frame. This bar is then triangulated to the front A-pillar joint and rear roll hoop before tying back to the lower door sill. Creating six contact points instead of the four from a standard NASCAR or ‘X’ configuration. This configuration is exceedingly stronger than the ‘X’ in the rules but also very low. I intended to keep the cockpit once again open yet safe. However, when I started placing the seats, I felt the door bar might be too low, so I will add a second one around six inches higher to maximize side impact resistance.
Dash Bar
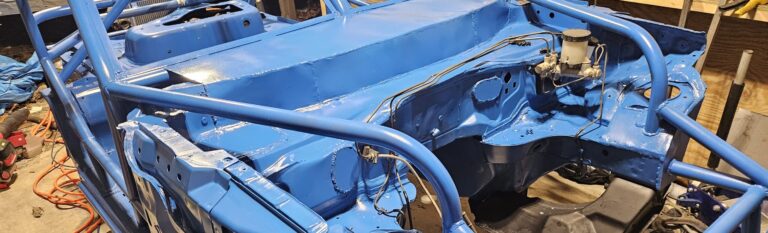
The main dash bar connects the steering column to the roll cage. To my delight, this part lined up exactly to my measurements. (Something that didn’t happen in the next section.) I hacked the steering mount off the factory dashboard bar and welded it to the roll cage dash bar. Easy peasy.
Front Strut to A-Pillar (The Forward Bars)
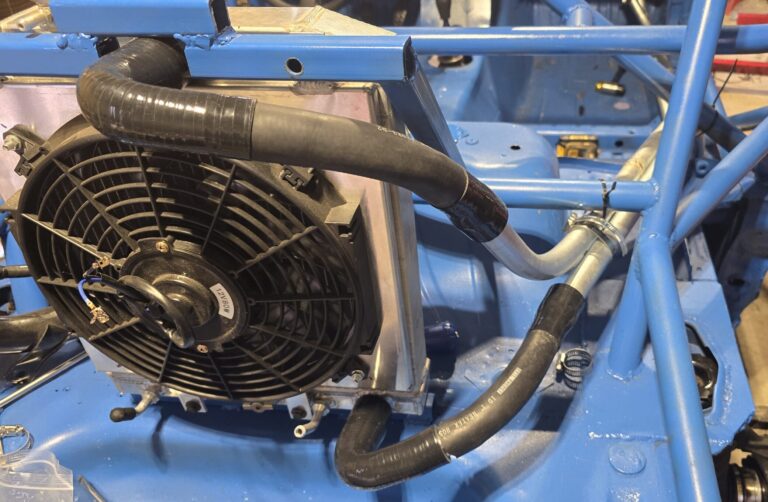
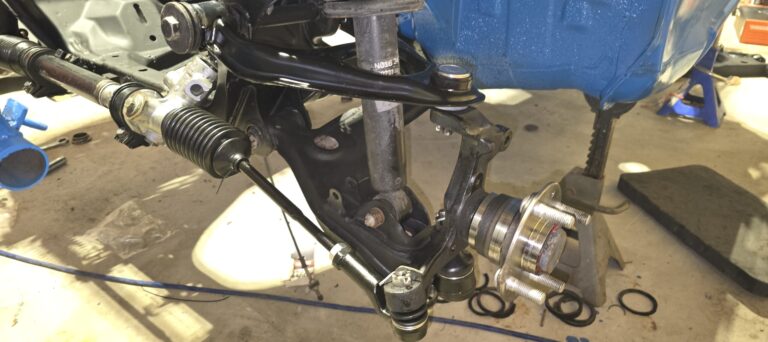
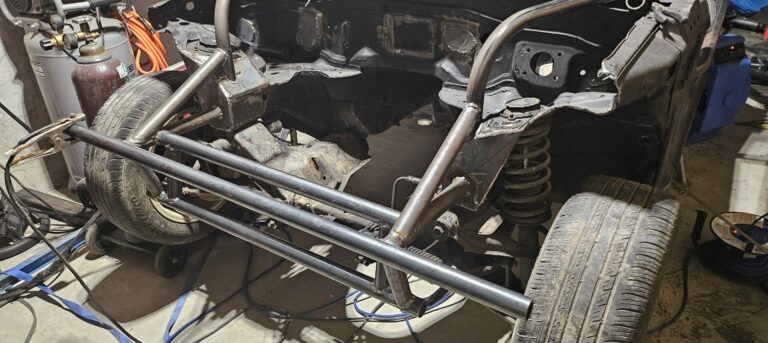
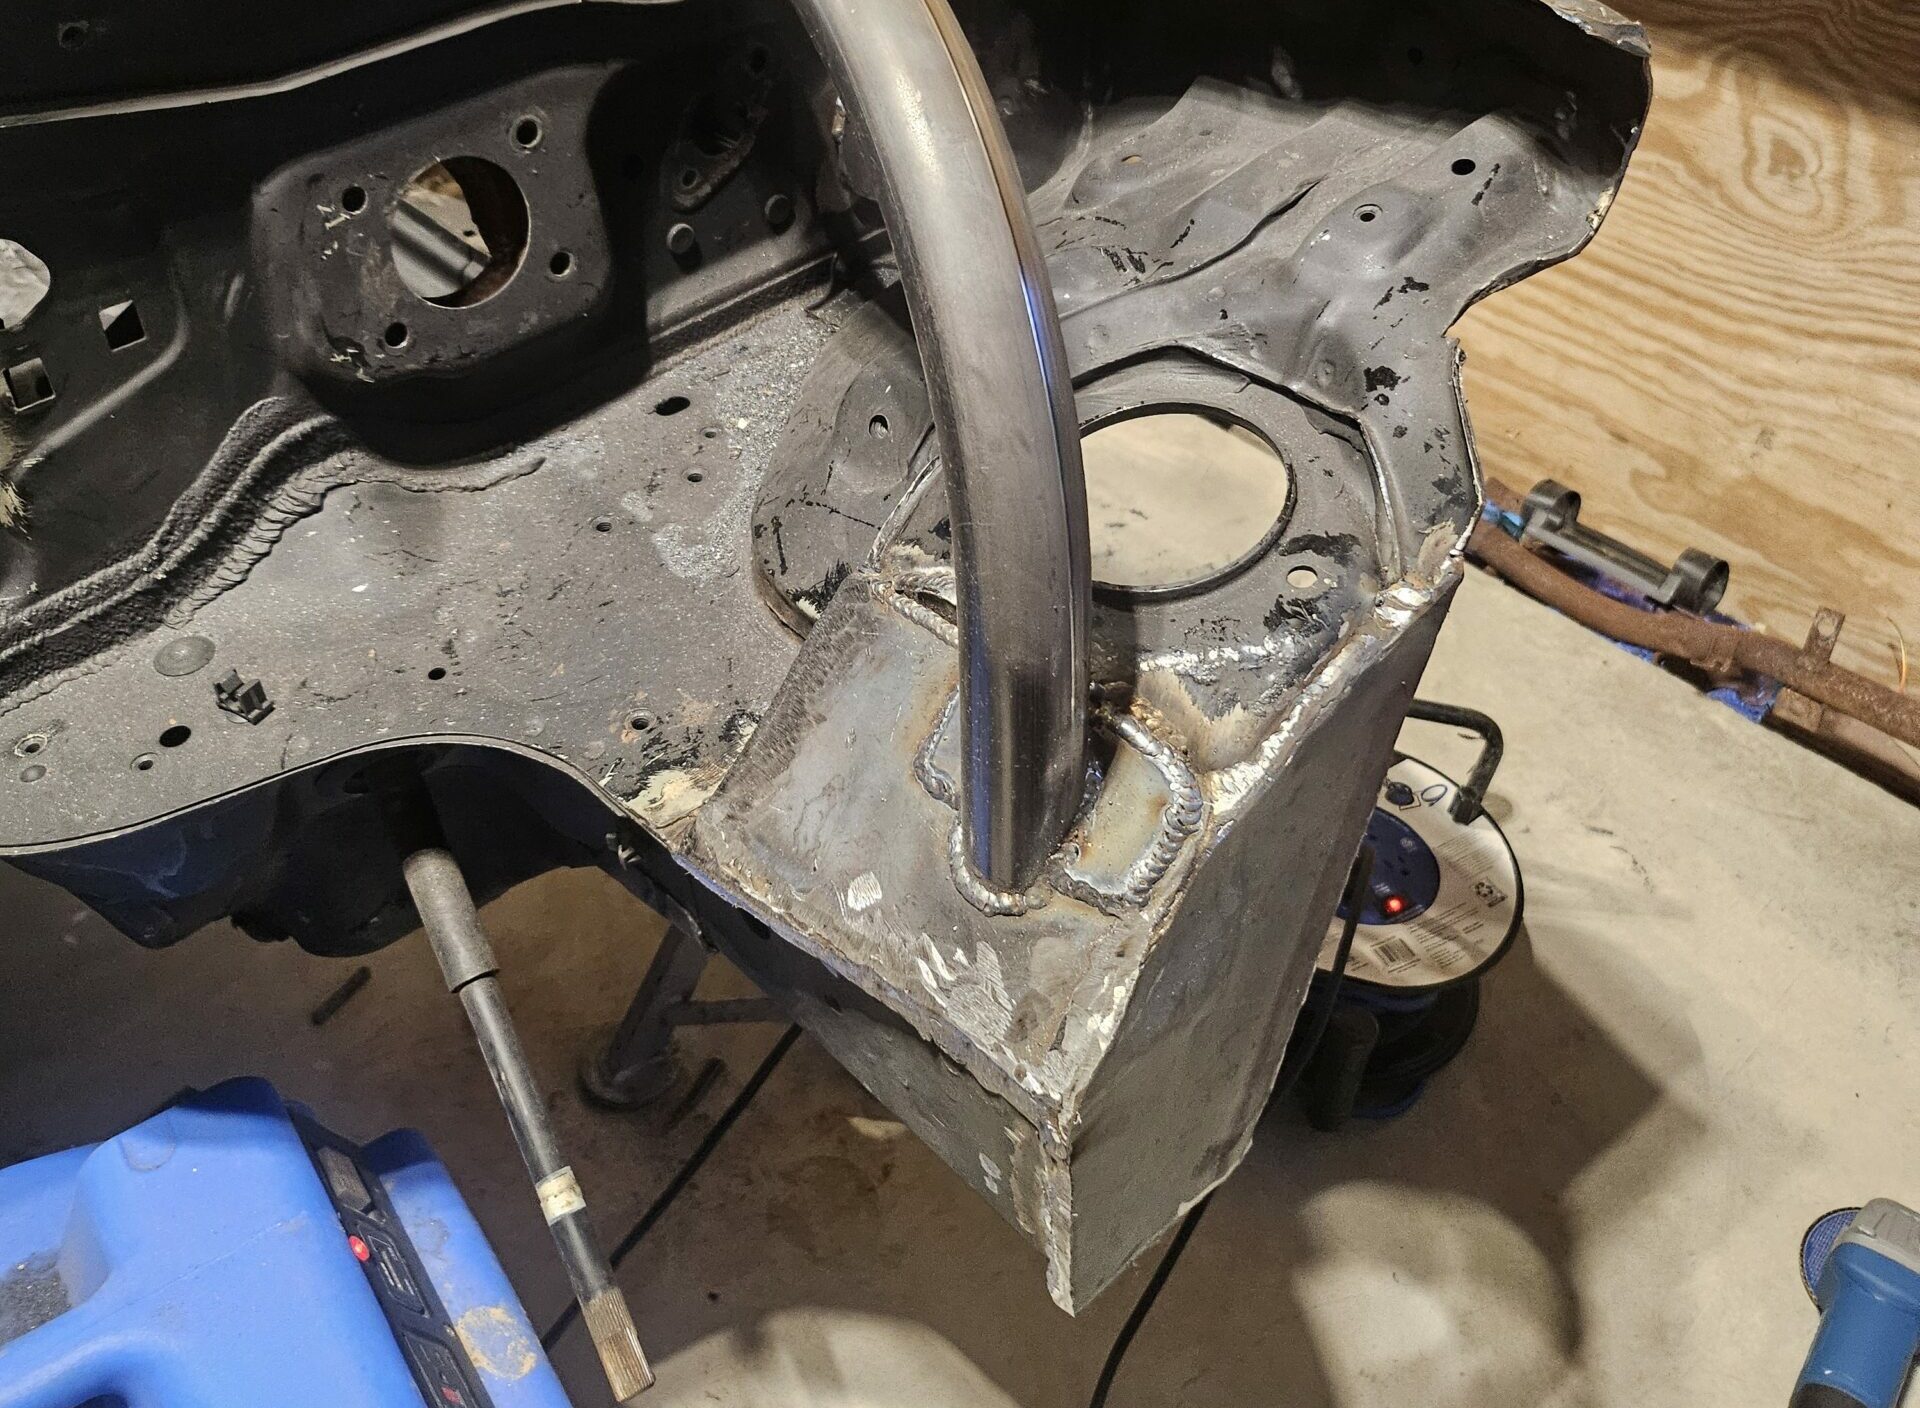
If you recall, the front of this car was toast when I picked it up. It was not just toast but entirely gone from the front strut towers forward. As a result, I spent a little time reinforcing the area around the strut mounts and frame rails. The results left a beautifully triangulated box from the frame rail to the inner strut mounts. I also added a new, forward-facing front edge to attach the front bumper, radiator, and sway bar.
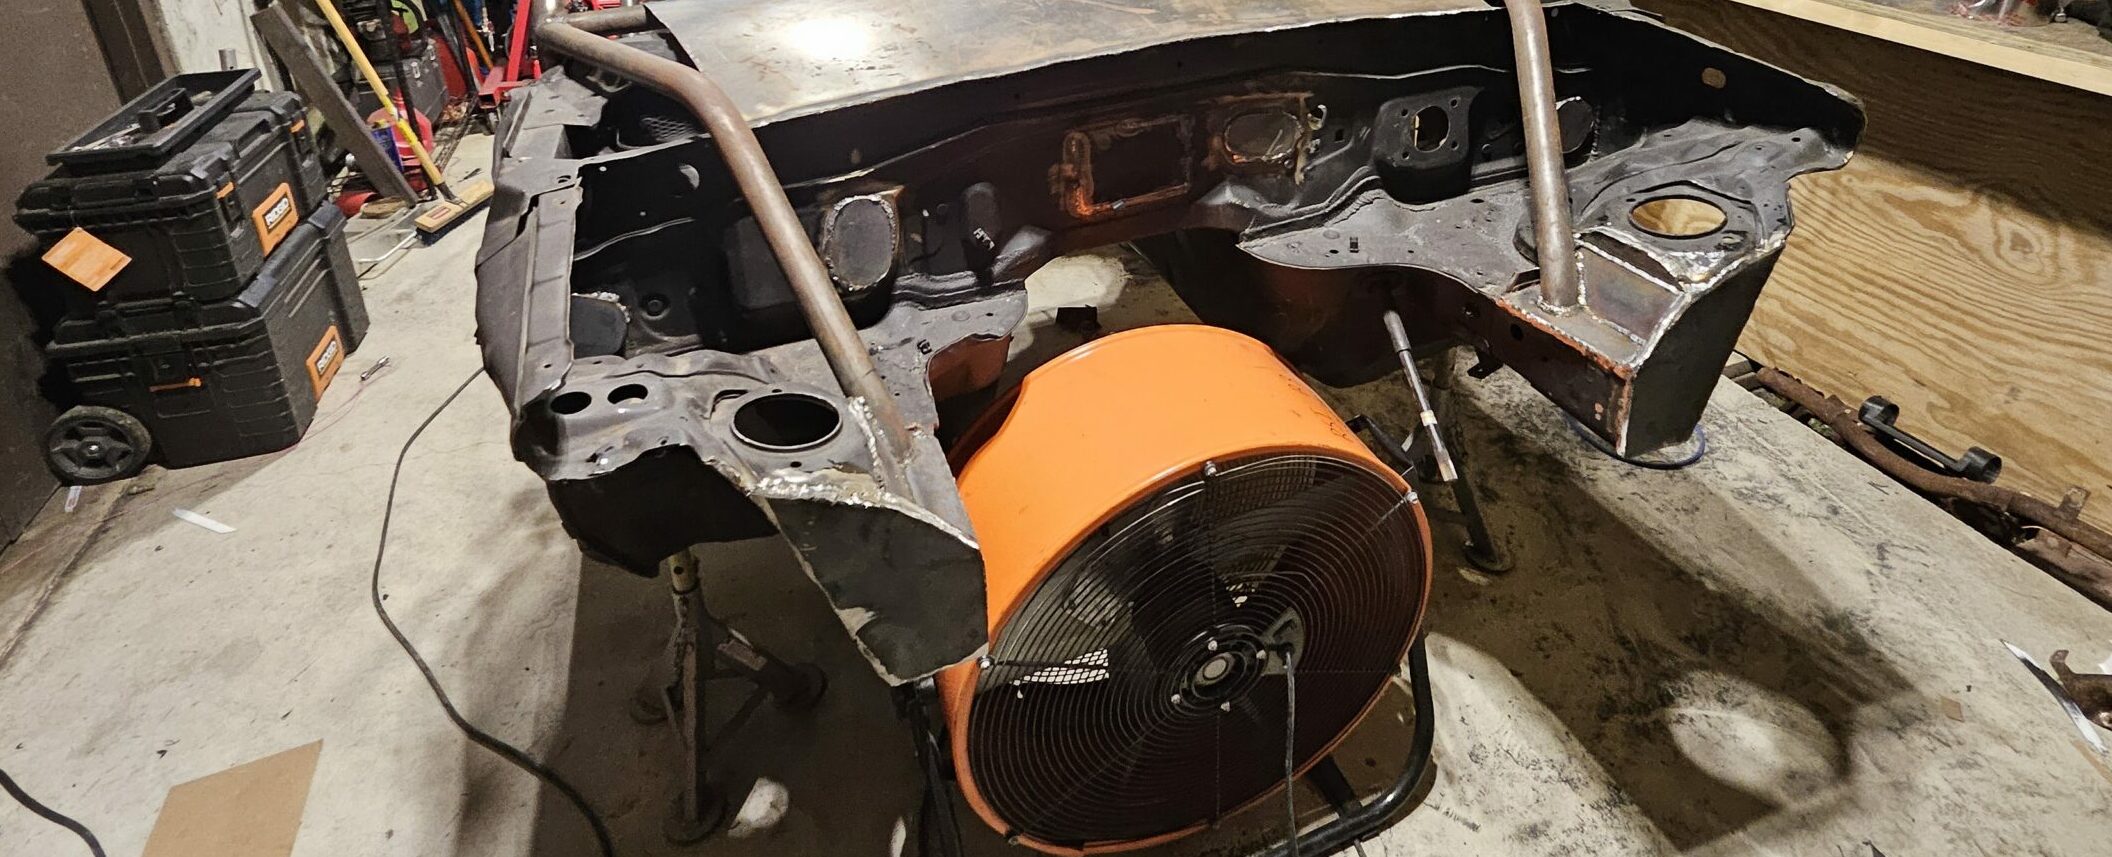
But I have one issue I didn’t anticipate when I added the forward bars. On the driver’s side, the forward bar that attaches the A-pillar to the strut mount interferes with the master cylinder. I ordered a brake booster delete from honed performance to try an easy fix. Now, I am still about 1/8th of an inch off for clearance. I was initially going to try and shave that bit off of the front of the master cylinder, but the more I have thought about it, the more I want to make sure the fix is correct. That said, I cut the forward bars out and rebent new bars to clear the master cylinder and then some. Lesson learned!
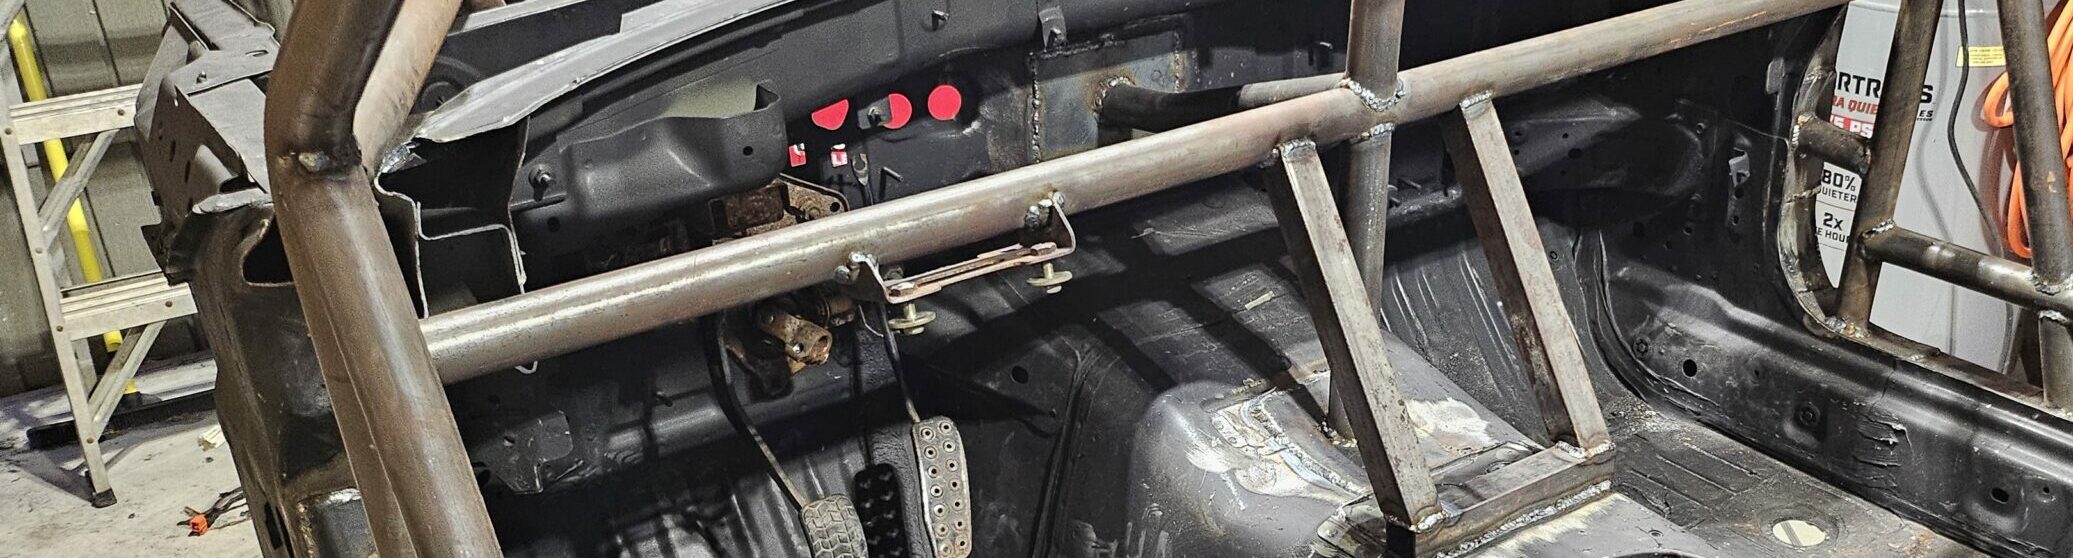
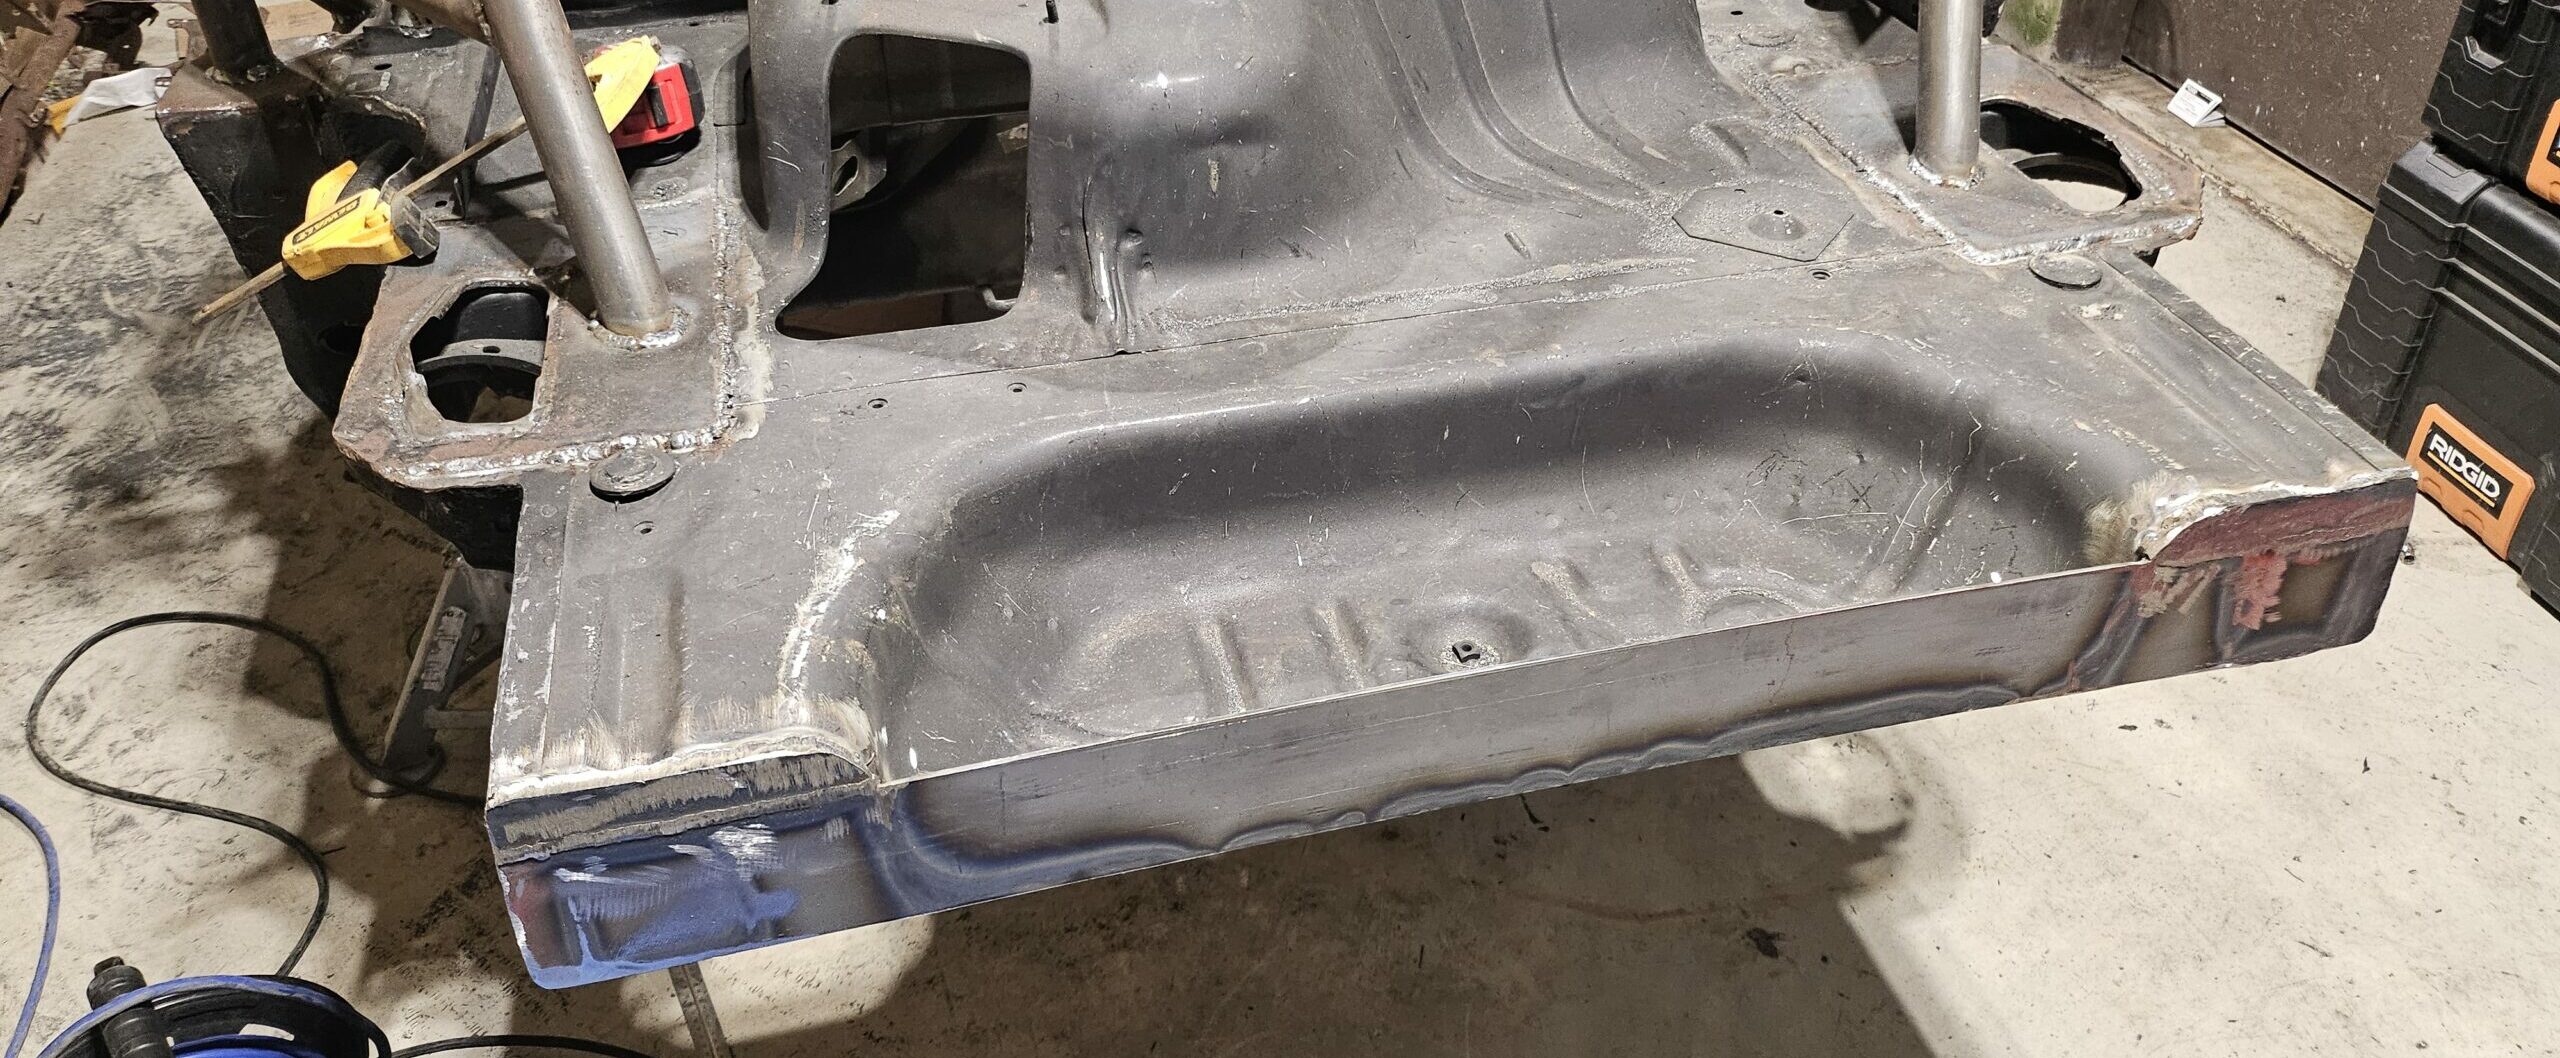
Rear End and Rear Bumper
This brings me to the rear bumper. There is quite a bit of overhang, so I cut off the rear. In doing so, I left just enough of the trunk well to hold a fire suppression tank. Then, I fabricated a single-bar tubular bumper and further triangulated it to the frame rails and the roll cage.
What’s Next
That was the bulk of the roll cage build. I will add slightly to this section as I fix some of the issues in the forward bar and door bar sections, but the bulk of the heavy lifting is done. The next parts will include finishing the front end, adding a dashboard, and the misc attachments such as window nets and windscreen, and then it’s off to paint.