Although the main roll cage is complete, a few items must be fabricated before I paint the chassis. One such item is the dashboard and switch panel. I intend to run several mechanical experiments and tests with this chassis, so I need a clean and easy way to mount several gauges. To do this, I integrated two panels into the cage, using leftover scrap to fabricate a dashboard/gauge panel and a separate switch panel.
The Dashboard
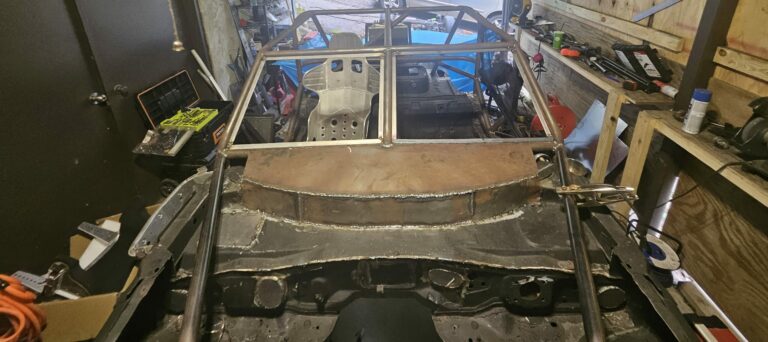
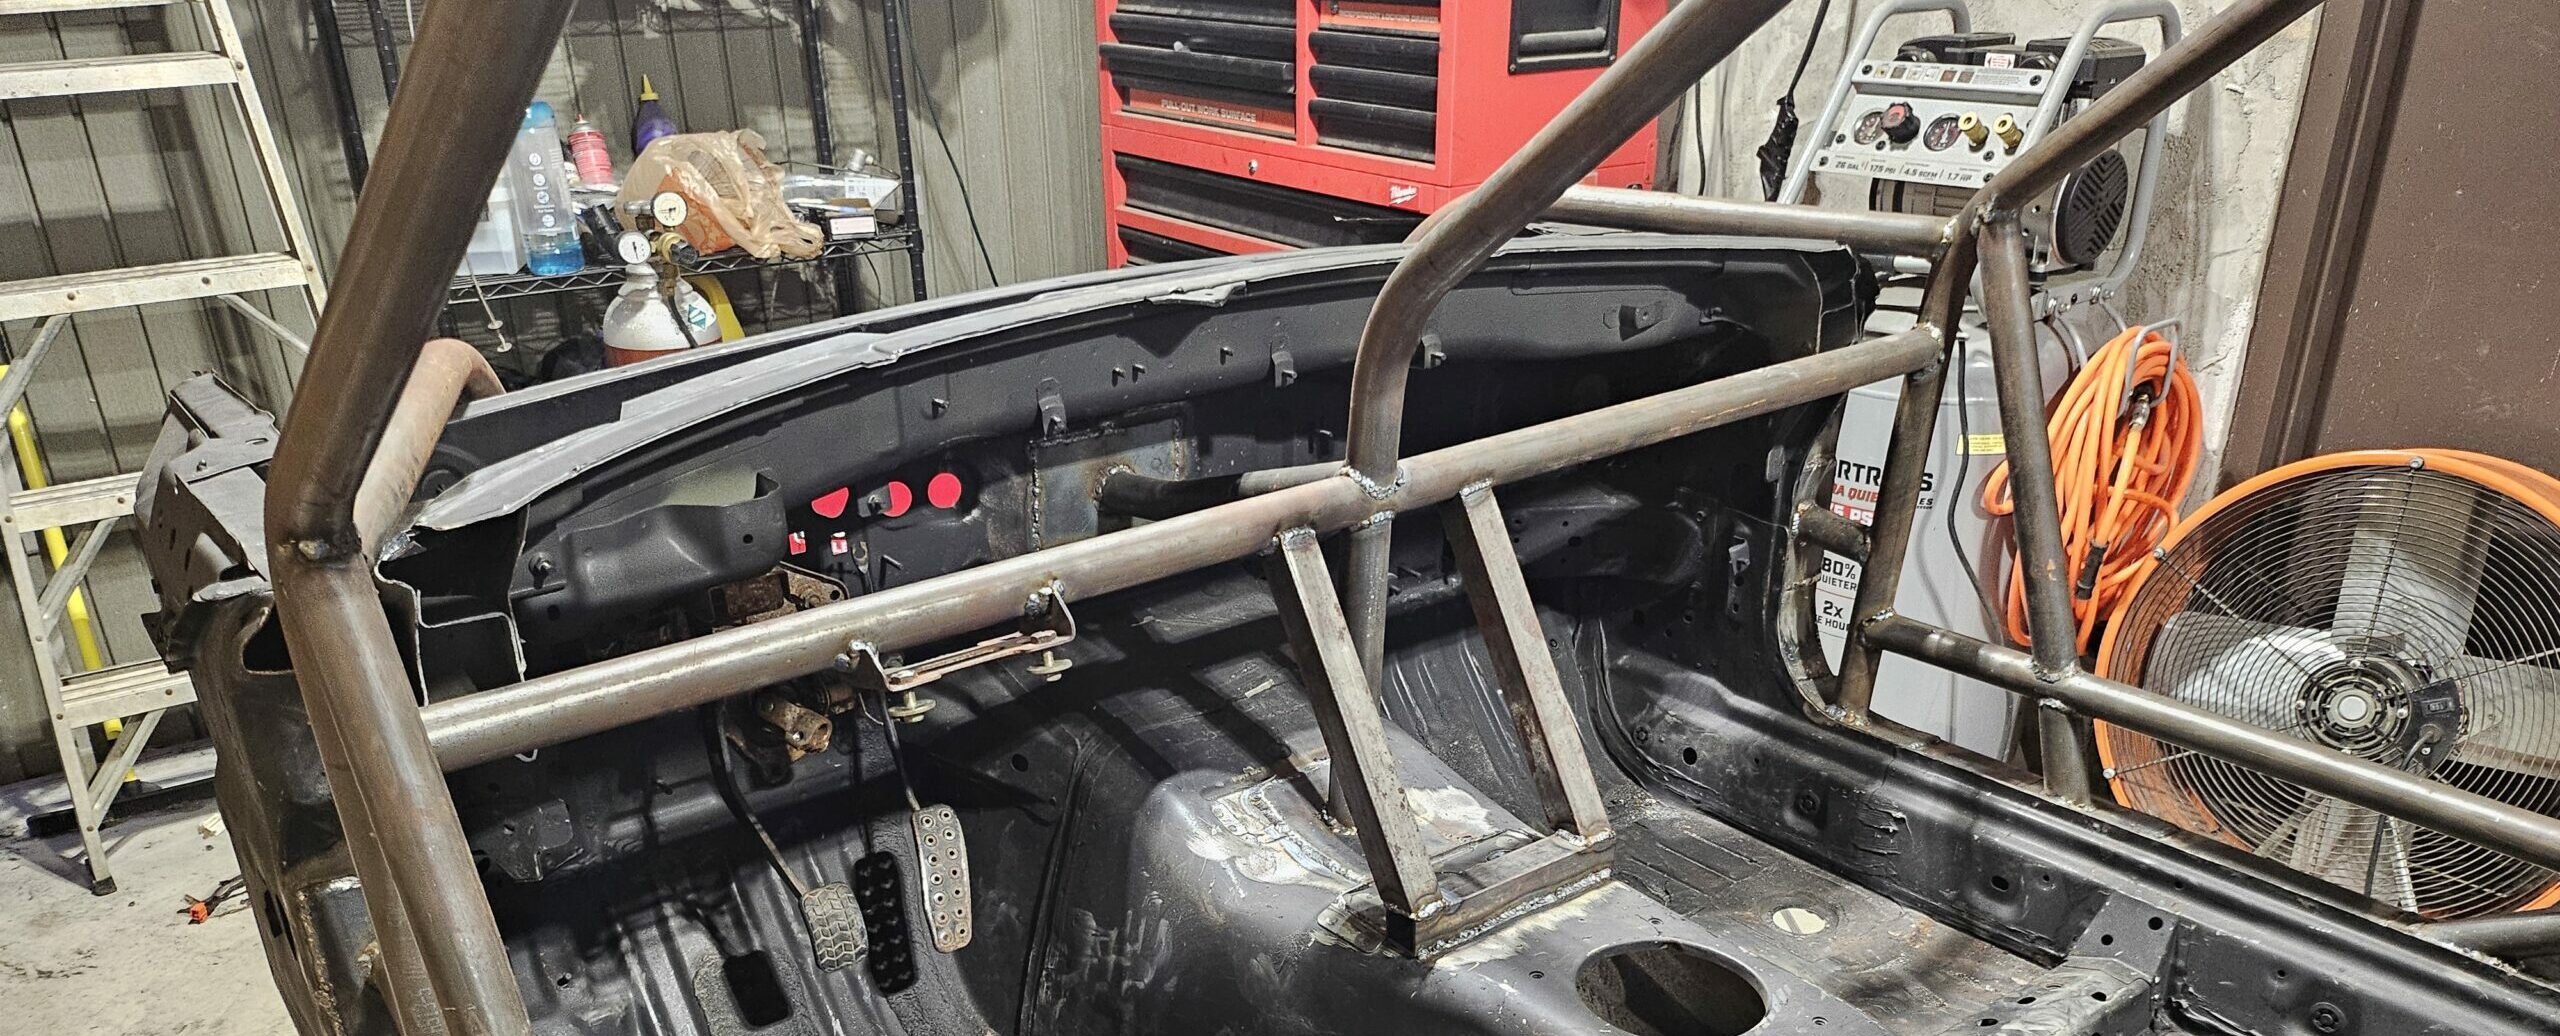
I installed a second dash bar above the one that supports the steering column. This secondary bar is roughly 6 inches on center above the lower bar. It creates a rectangular opening along the width of the cage and acts as a straight edge to mount the Lexan windscreen. (More on the windscreen soon.)
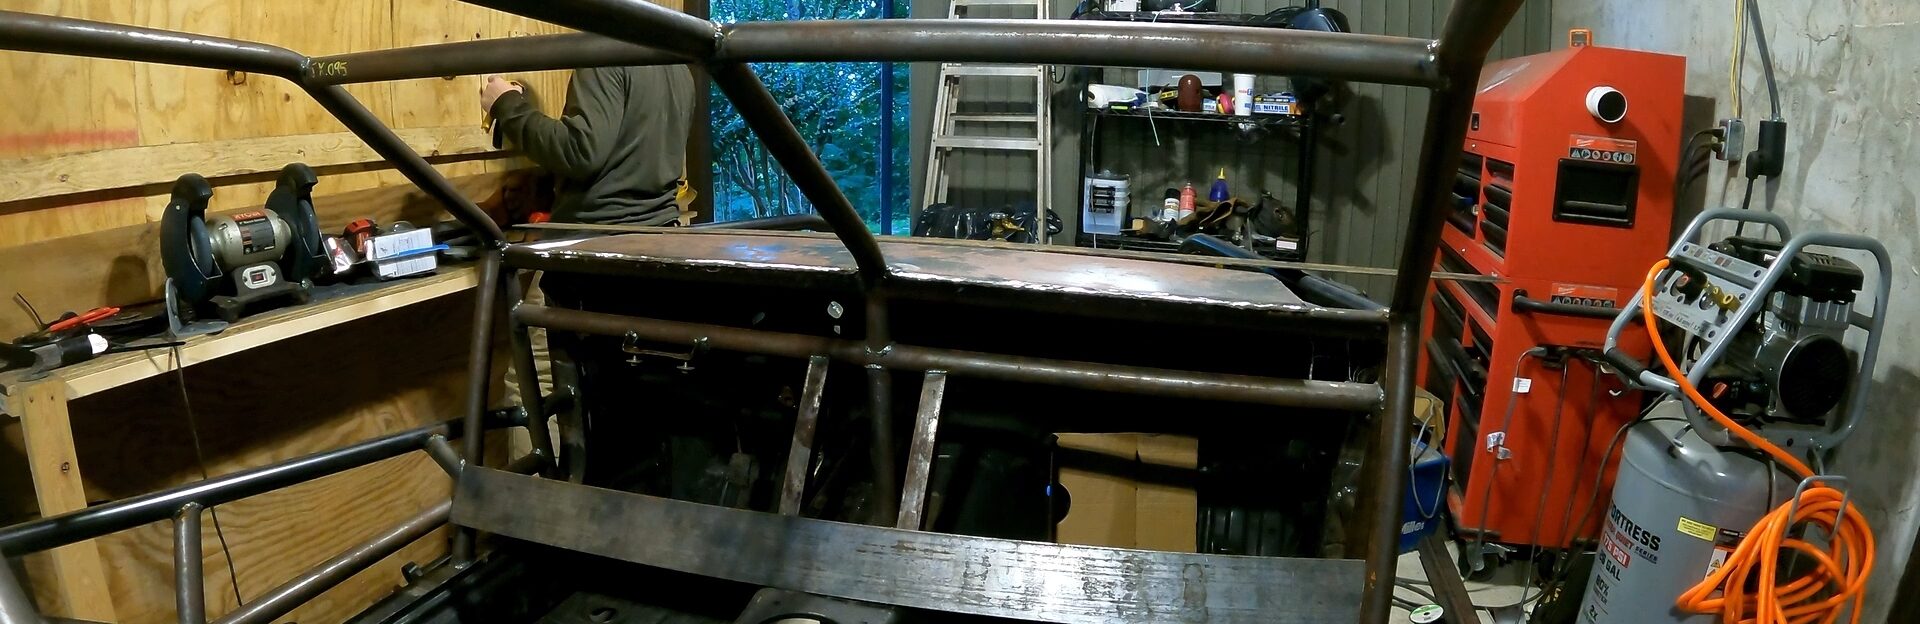
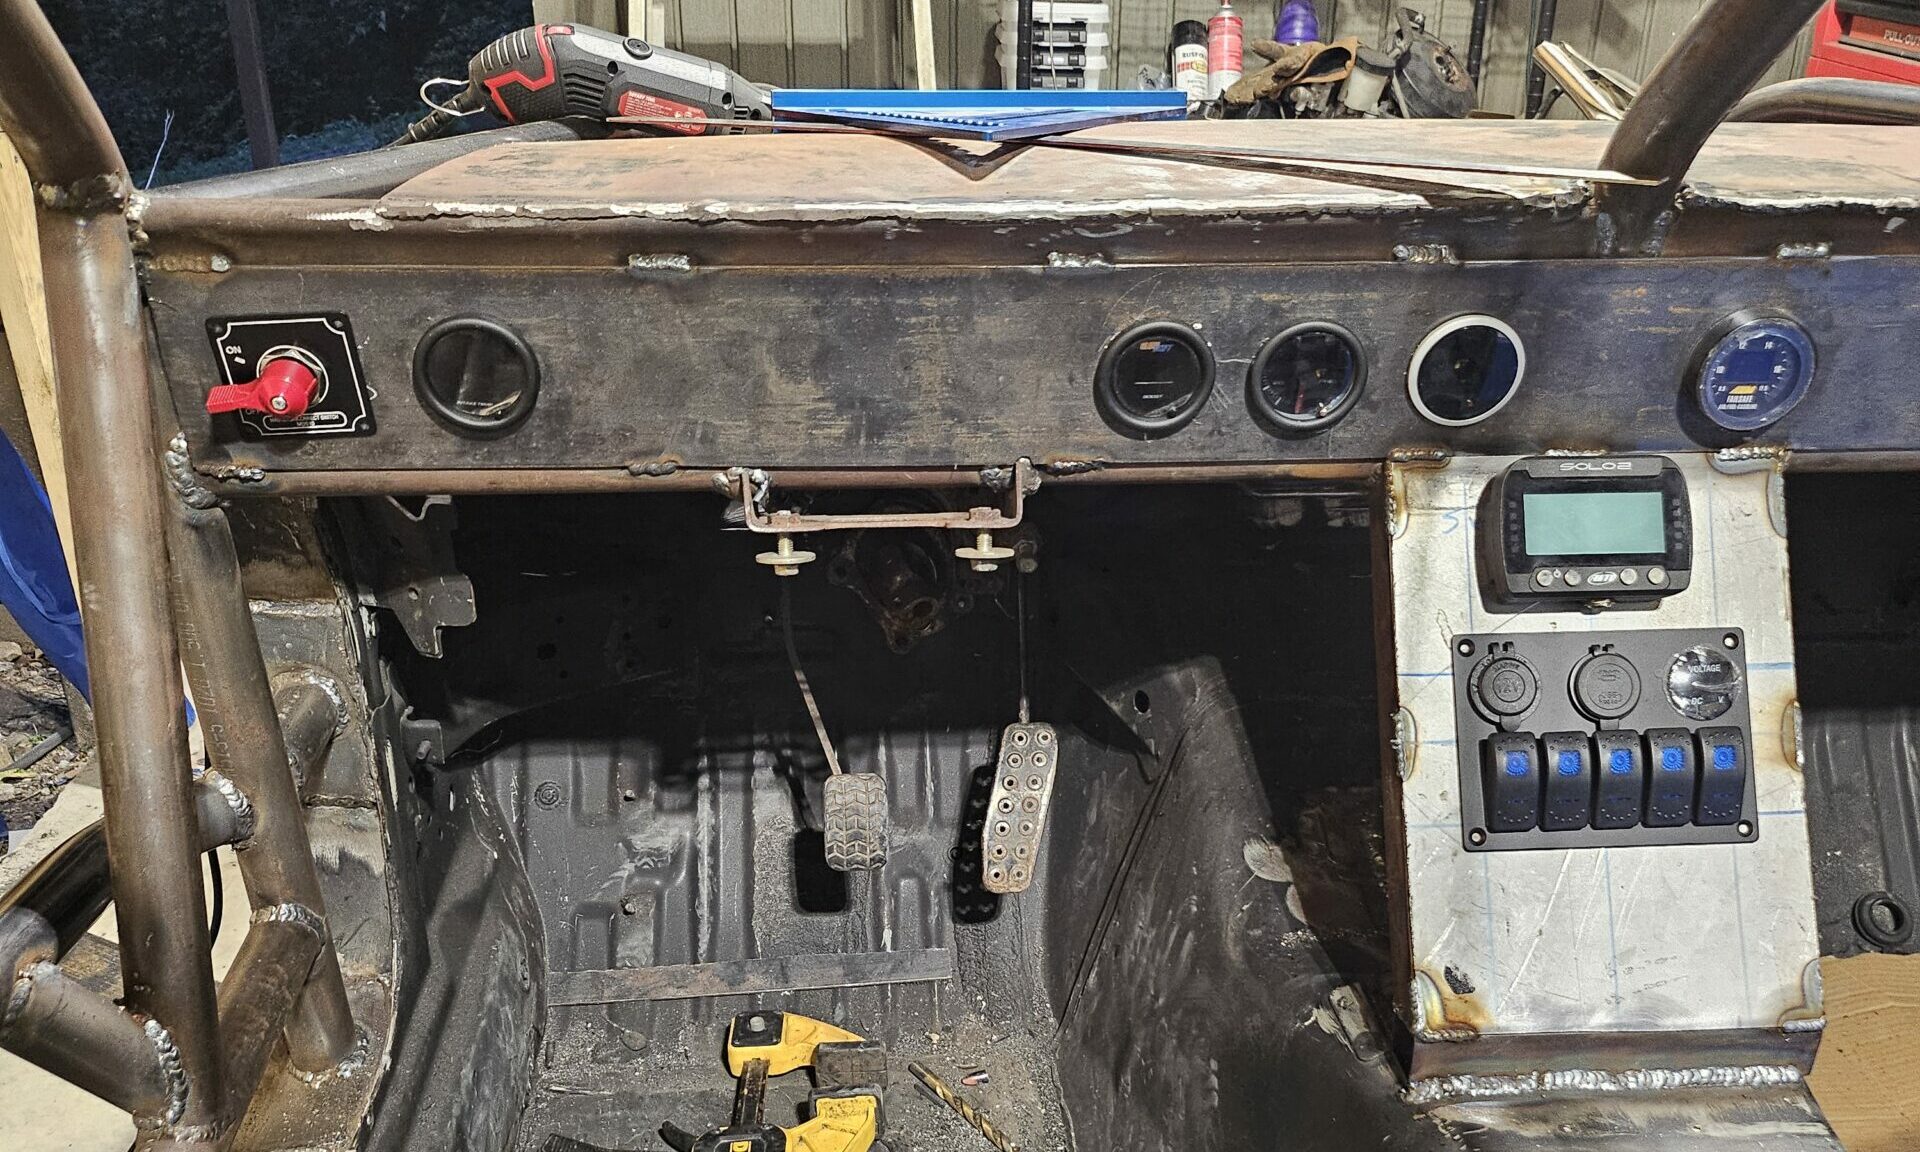
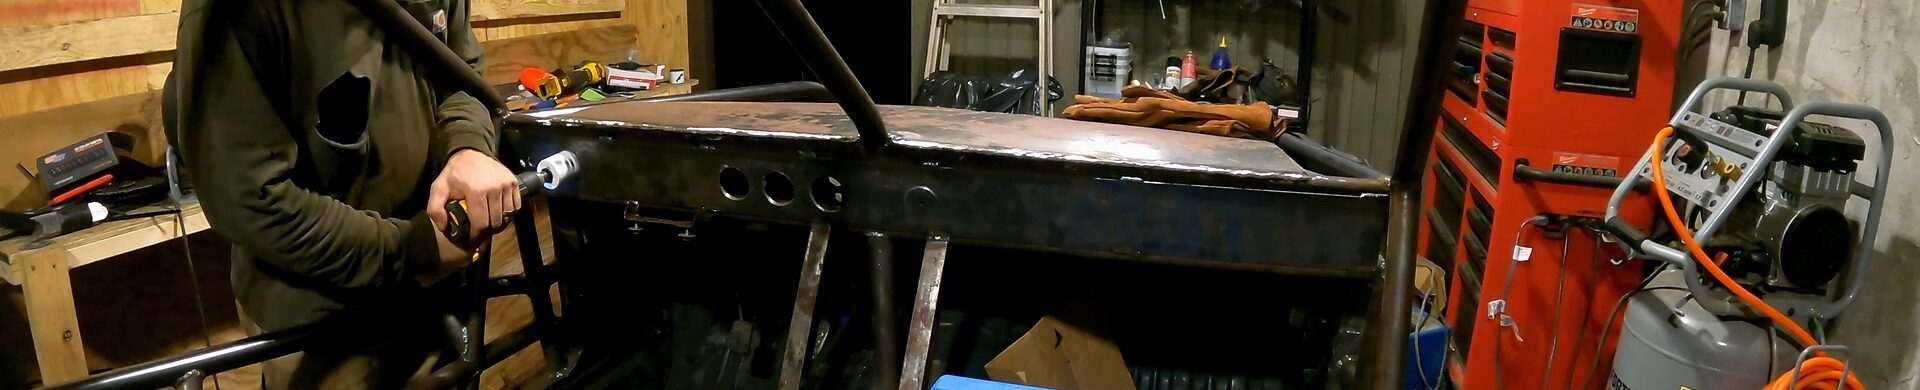
Next, I cut a length of 1/8″ thick x 6″ wide flat steel to run the length of the dash opening across the driver and passenger side. After welding it in place, I began cutting the holes out for the gauges and the cut-off switch. I used a laser level and ruler to mark the gauge locations to keep them lined and level as I progressed.
The Switch Panel
Remember when I said I was going to experiment with this car? For the switch panel, I used a 22-gauge sheet metal piece and a marine-grade five-switch panel from Amazon. Instead of spending $200 plus on a fancy, name-brand racing switch panel, I spent $30. I will report back if this item gets the job done. (Based on construction quality, it will do just fine.)
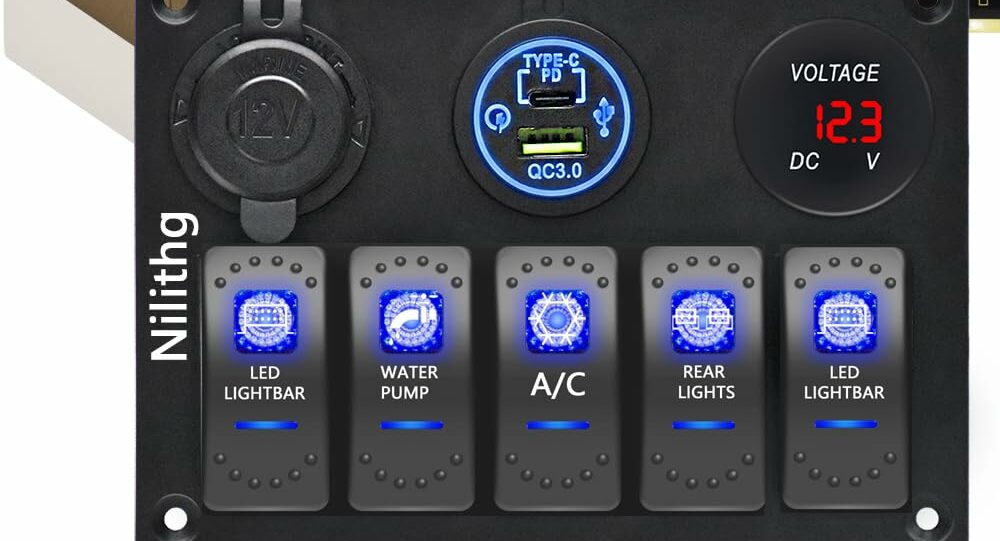
If you are interested in this setup and want to support the site, you can order this switch here.
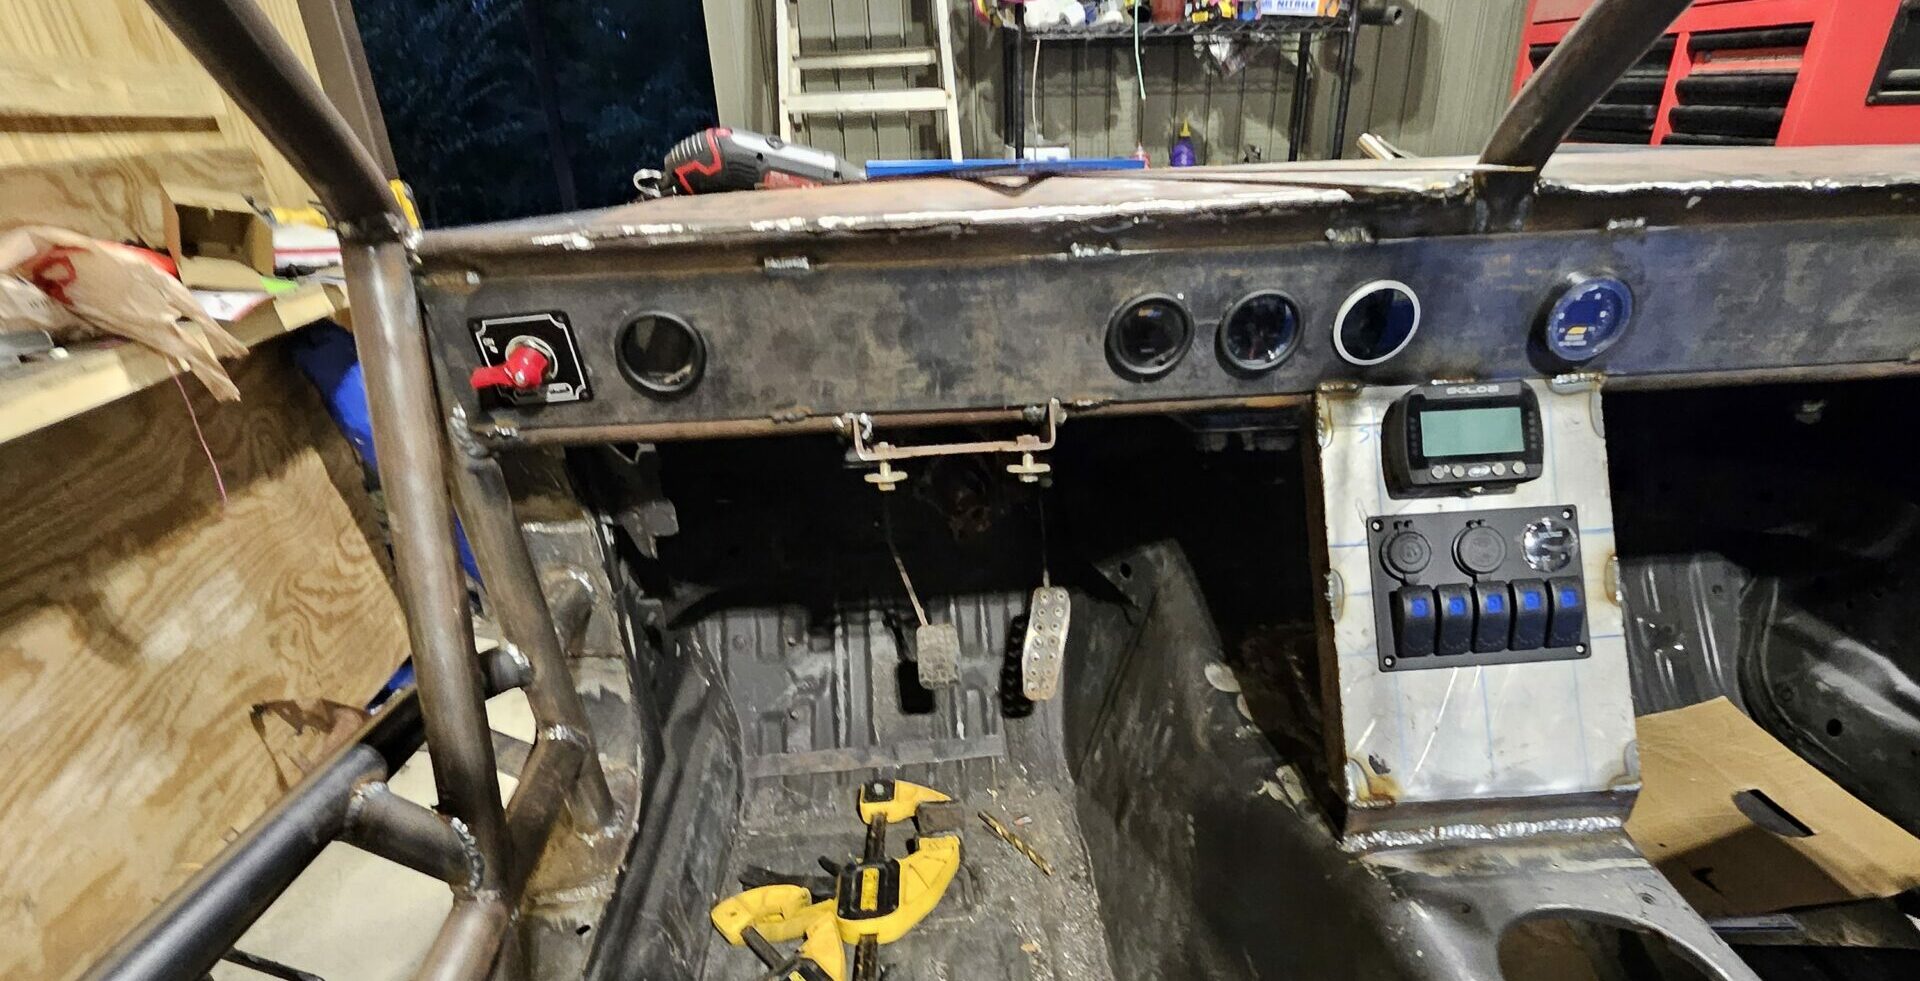
To install, I cut the 22-gauge sheet metal to fill the opening of the switch mount supports I had previously attached to the roll cage. Then, I clamped everything together, measured the back of the switch panel, transferred those measurements to the sheet metal, and cut once. After some fine-tuning with a Dremel, the panel fit snuggly in the sheet metal. The sheet metal was then welded to the mounts.
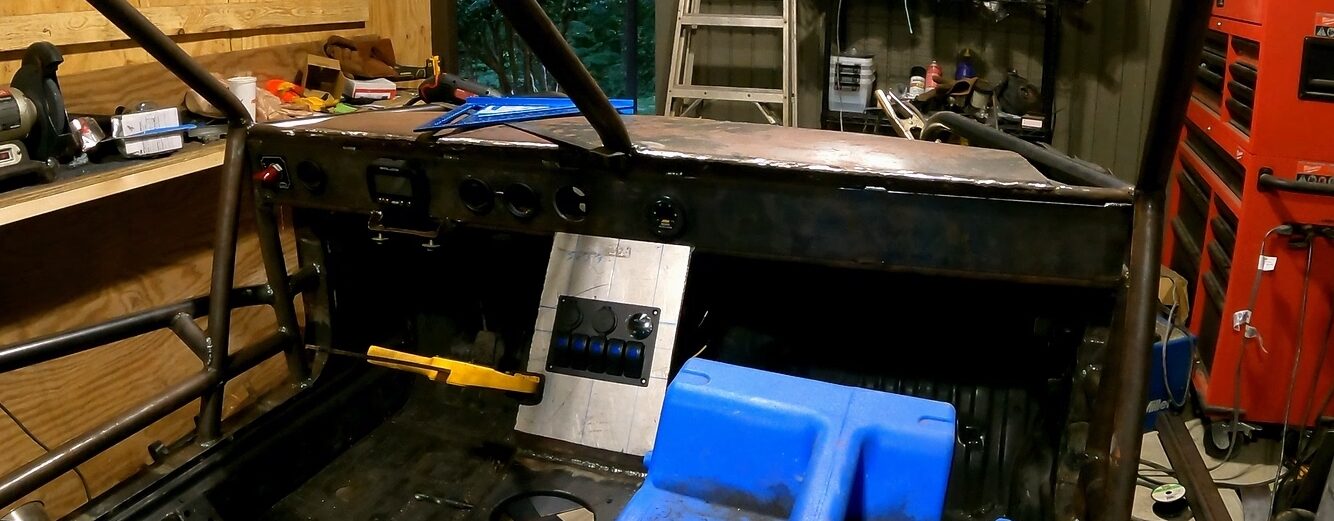
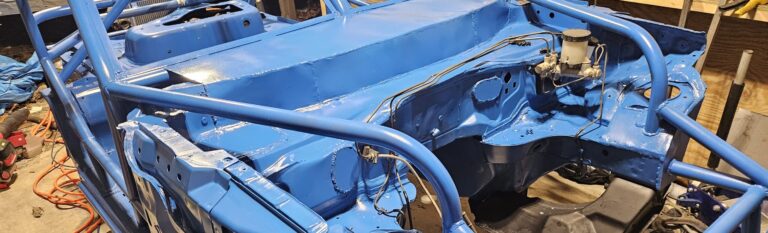
And now, here is a high-res image of the finished result.
Time Lapse
Next
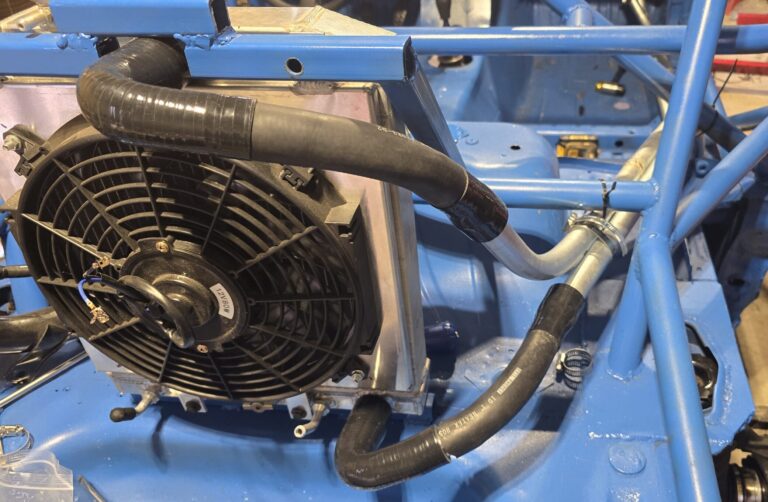
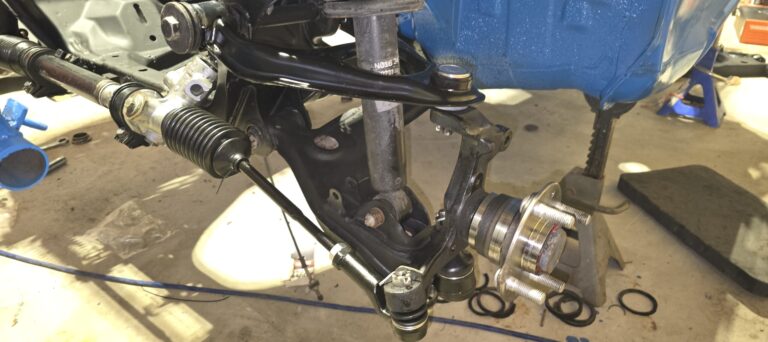
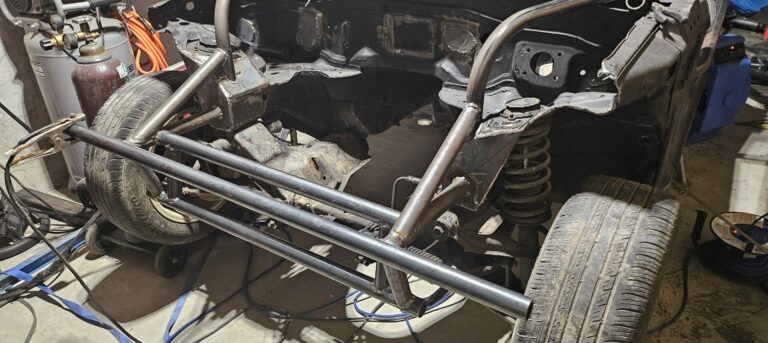
Next, I must construct a front end to hold the radiator, a tubular bumper, and the front sway bar. Unfortunately, I did not take measurements before I started, so I now have to reinstall the drivetrain to proceed. Afterward, it will be a once-over to cover anything left, such as window net and windscreen attachments.