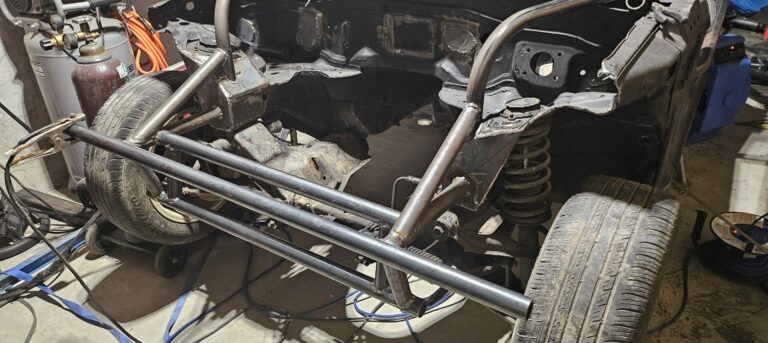
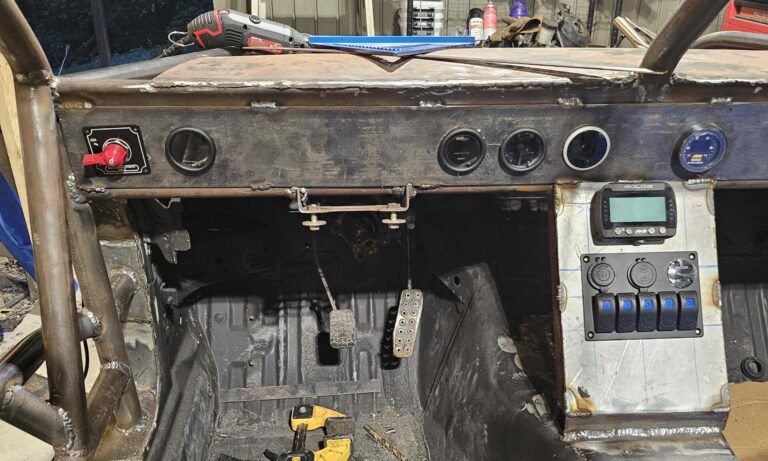
The exo car build has become a very detailed project, and the fact that I am using it as a huge test bed only adds to the complexity. As a result, this initial fabrication phase, including the roll cage, lasted longer than anticipated. But here we are, tying up the loose ends to bring this phase to a close.
The Loose Ends
So what are these loose ends? This ghettocet is unique in that I plan to wheel-to-wheel race it on occasion. That means it must pass all safety and tech requirements for the track organization. In my case, this will be NASA. And as a seasoned racer, there are a few other considerations.
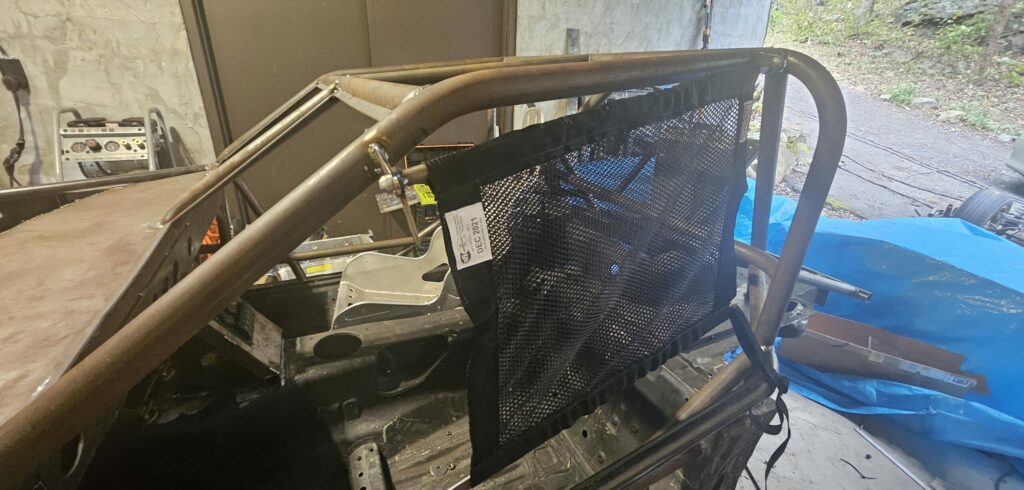
To comply with NASA, the ghettocet needs a side window net. I am running a containment seat and will not need the interior one. For my safety, I plan to run a Lexan windshield and will need to attach a frame to the roll cage. I have been pelted with rocks and debris in my closed cockpit car on more than one occasion and am always thankful for the windscreen. Due to the unfortunate loss of a Rush SR driver recently and historical incidents of drivers struck in the head in open cockpit cars, I decided to 100 percent run a windscreen.
And finally, I decided to make the build more complicated by mounting the radiator in the rear.
Driver’s Side Window Net
The window net is pretty easy, and I had an extra one lying around. It consists of a single rod with a sliding spring mechanism on one end, and there is only one way to mount it. The two mounting tabs are welded to the roll cage to position the rod above the window opening next to the driver—the rod then threads through the top of the net. A second, non-actuated rod is threaded through the bottom of the net. The bottom rod is then strapped to the door bars. The ends of the upper spring rod are then attached between the mounting brackets. Once finished, you have a window net that can attached and reattached quickly.
Windscreen Frame
To mount the Lexan windscreen, I must first have something to mount, too. My first thought was to zip-tie the Lexan to the cage. I was immediately met with a look of disapproval from the tech inspector I imagined. Elsewhere, I read that some organizations will let you drill holes into the cage to mount. That sounds suspect, as I am not drilling 20-plus holes through the cage.
The solution was to build a frame to mount the Lexan to. This frame would attach to the inside of the two window openings. Then, I would have a non-structural but integrated length of metal to attach the windscreen. For this purpose, I used 3/4″ flat steel stock and welded it to the cage. Here is the end result, tack-welded in.

Rear Mount Radiator Support
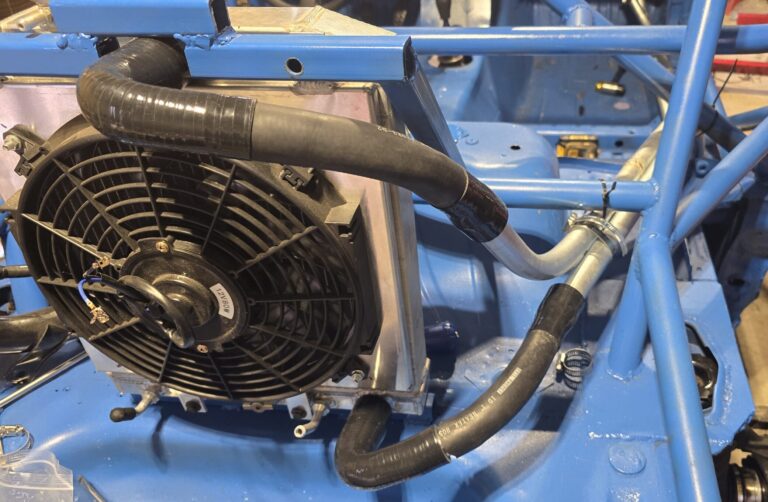
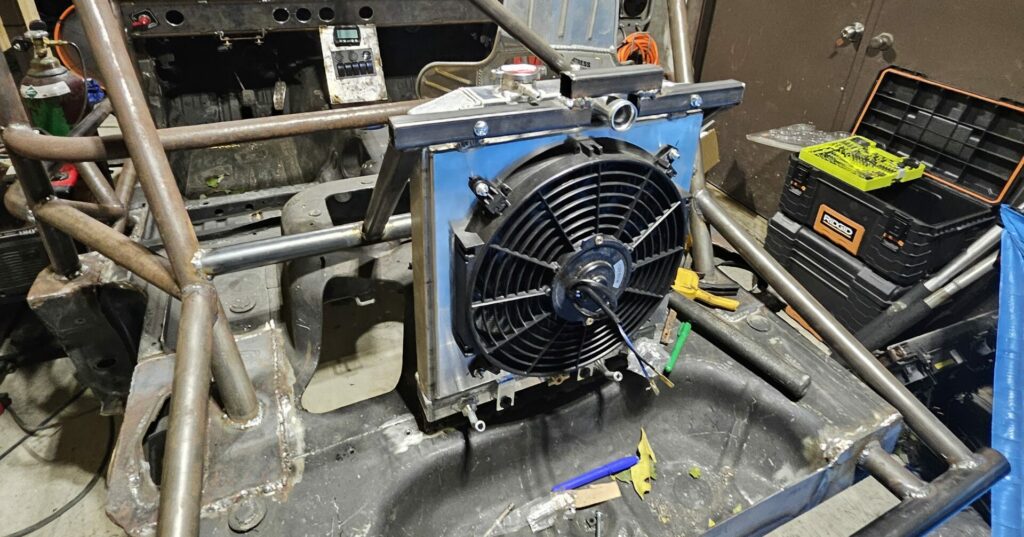
I wouldn’t say I am my worst enemy, but more so, I like to do things my way and don’t mind a challenge. That mentality led me to mount the radiator in the rear of the Exo car. Is it more work? Yes, a lot in this case, and I will detail the whole process in a future post. (Link incoming) However, I need to fabricate a rear radiator mount for this post before painting.
I attached a 1″x 1″ square steel tube base plate behind the fuel tank to support the radiator. Then, I drilled two holes to insert the radiator’s lower mount legs. Afterward, I built an upper mount support that runs along the top edge of the radiator, attached to the two fan shroud bolts. Finally, I triangulated this upper mount to the horizontal cage bar between the two rear strut towers. The result is a triangulated rear radiator mount that holds the radiator securely in an upright position.
Here is the time lapse. (The camera reset at one point, but I captured most of the process.)
Other Changes
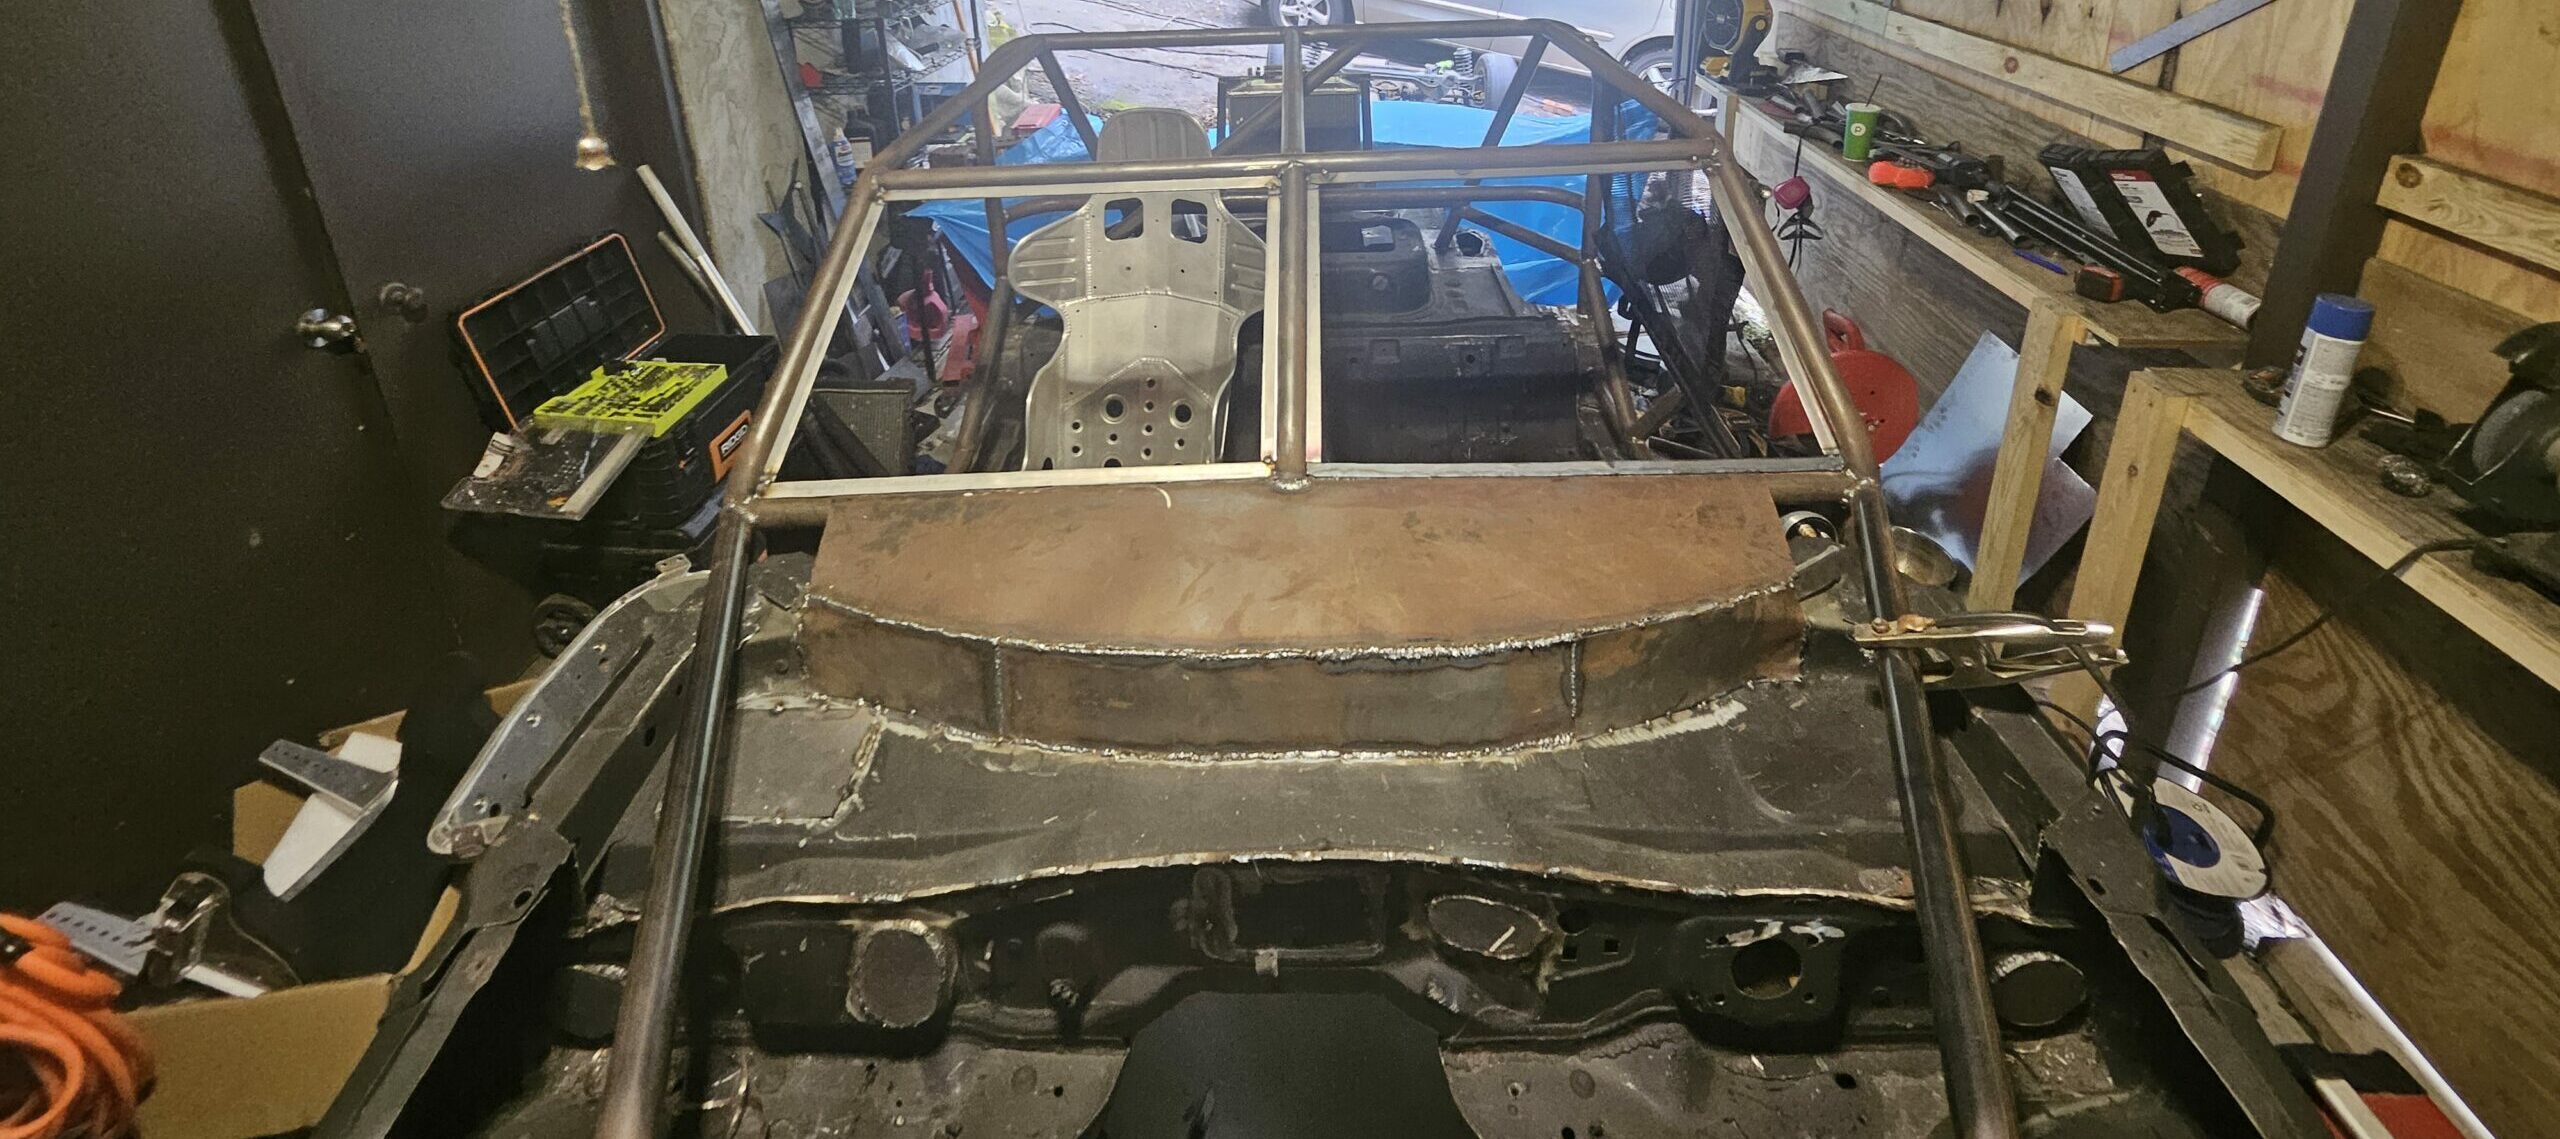
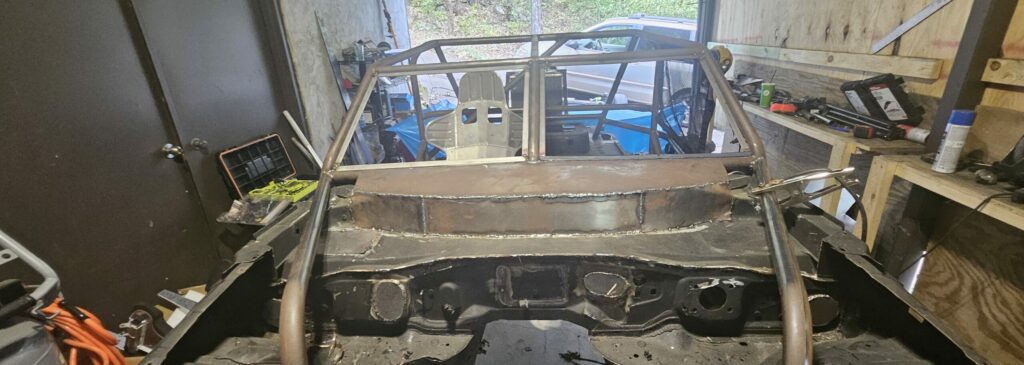
Finally, I did not love how I set up the area forward of the windshield. The original design left a curved piece of sheet metal that ran from the upper dash bar to the upper edge of the firewall, leaving a hard-to-access area underneath. To remedy this, I cut the upper edge of the firewall and removed as much excess from the original lower window frame as possible. I then recovered the area with 22 gauge sheet metal. Although the welds need to be cleaned up, I am much happier with the look, and it will make the back of the engine even easier to access.
Next Steps
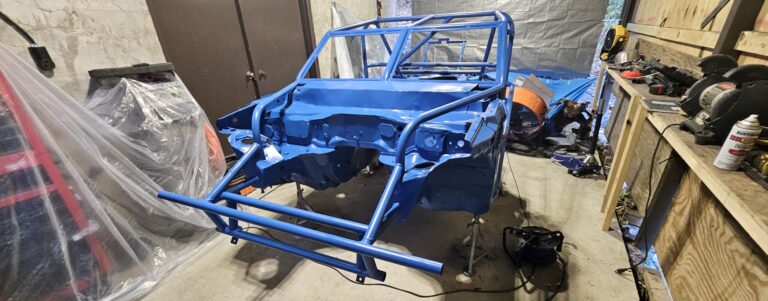
I can finally say that it is time to paint. But before the next installment, the racecar will get a little attention as I head back to Nashville Superspeedway.

