The internet has a way of making direct answers challenging to find and unnecessarily complicated. Unsurprisingly, removing the power steering from a Mazda Miata is no exception. The back-and-forth on the pros and cons is confusing and somewhat comical. That is why I am here to say resolutely that Miatas, all of them, do not need power steering.
I have been building and racing cars for a long time and have yet to find a racecar under 3000 lbs that I prefer with power steering. As the Miata is lightweight by that standard, I recommend anyone ditch the assisted steering for the myriad of benefits it offers. In this post, we will discuss that, and I will demonstrate how to convert a power steering rack to a manual.
Pros and Cons of Power Steering Removal
The pros are easy:
- improved steering feel
- weight reduction
- less things to break/maintain
- one less pulley being turned by the engine crank (less parasitic drag)
The cons are more subjective, but the main one is that the steering is heavier without power assist, which is more pronounced at low speeds. By low speeds, I mean under five mph. However, I have trouble with the heavier steering crowd, as the improved road feel and driver connection far surpass the minimal additional effort required to park the car. I view this as less of a con and more of a tradeoff.
Depowering vs. Converting the Rack
There are several ways to remove the power steering system from the Miata. The first and simplest is to remove the belt from the power steering pump. This is the easiest way and is often quoted as a ‘try it before you buy it’ approach. It is also the worst way as there is no weight reduction benefit, and with the hydraulic circuit still in place, the driver is now pushing the fluid in the lines around, creating a higher resistance level.
Another way is to run the hydraulics to a breather box. This keeps the system lubricated by using gravity to keep the fluids in the lines instead of pushing against the closed-loop factory system. It is a step in the right direction, but it is still not the best approach.
The preferred method, which I will call the ‘Right Way,’ is to convert the power steering rack to a manual steering rack. This process involves removing all hydraulics from the factory system and the piston on the internal rack. Then, everything is greased and reassembled.
First, look at how a standard power steering rack works to get a better picture.
How the Miata Power Steering Works
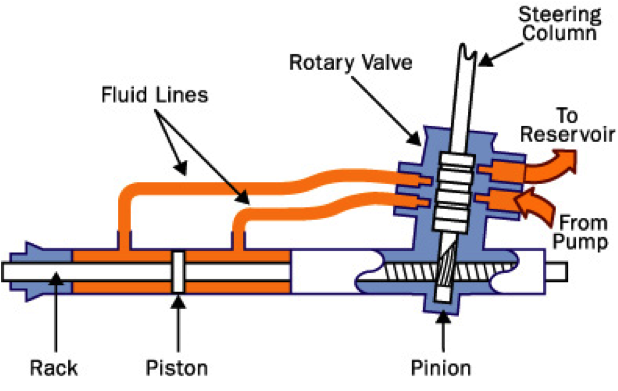
The NA Miata power steering system comprises a pump, reservoir, steering rack, and associated lines. The crank pulley drives the pump and maintains fluid pressure. When the steering wheel and, consequently, the steering shaft turn, a rotary valve changes alignment and sends the pressurized fluid to one of two sides of the steering rack. This pressure pushes against the piston inside the rack which assists the driver inputs.
Converting the Power Steering Rack to Manual
To convert the rack from power to manual, the rack must be fully disassembled, the internal piston removed, and the hydraulic lines capped. I used the power steering rack off the ghettocet chassis for this guide.
Disassembly is straightforward and best done with the rack removed from the car.

Disassembly
First, remove the tie rods by prying the lock washer tabs up and spinning them off. Mine have torn boots and ends, which are very nasty. With replacement prices so low, I pitched these and ordered replacements.
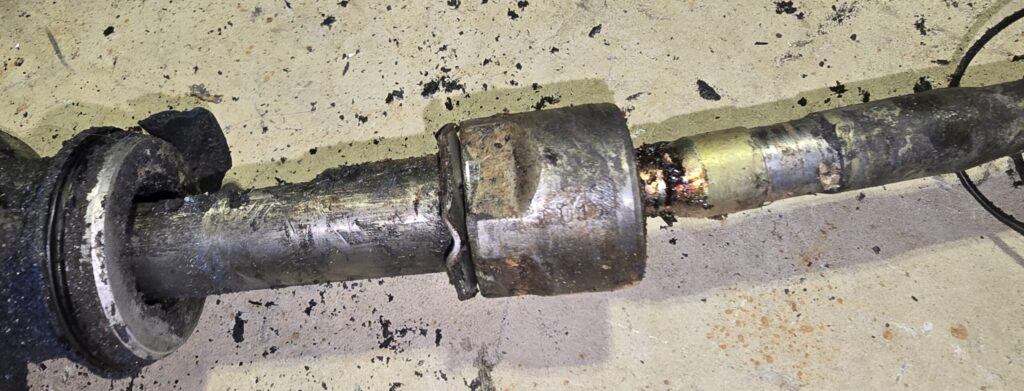
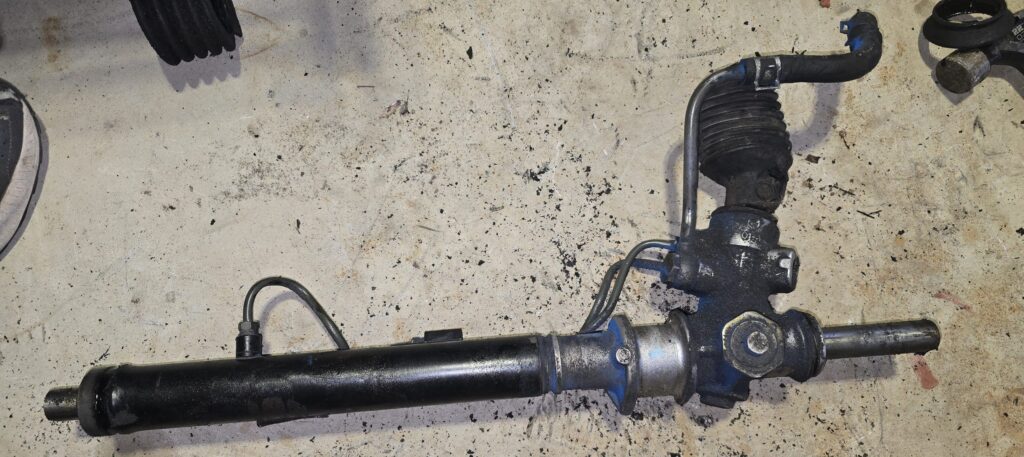
Next, remove the hydraulic lines. I used a combination of a 12mm wrench and an adjustable wrench on these. Don’t worry about being too careful, as these parts won’t be reused. However, be aware that residual power steering fluid is still in the system and will spill.
Go ahead and remove the U-joint from the top at this time too. (12mm)
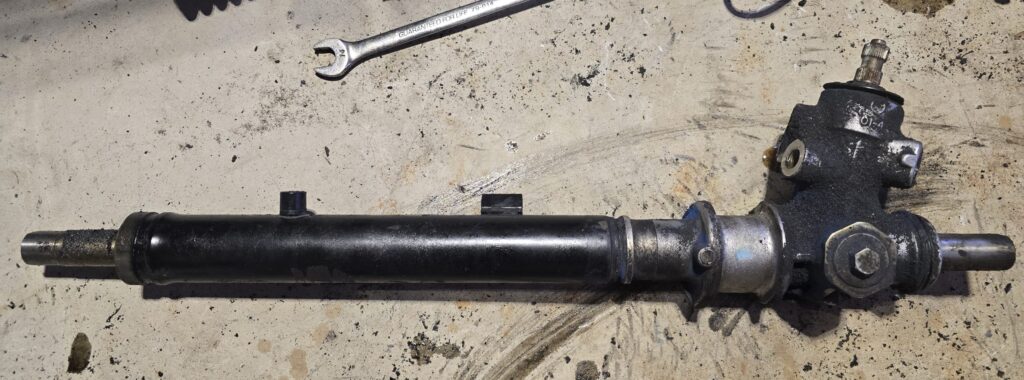
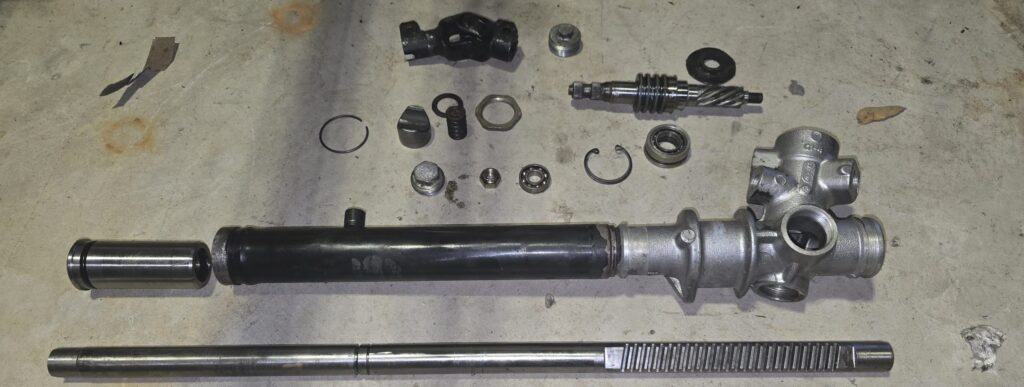
Now, we need to remove the pinion from the rack. First, remove the yoke assembly. This assembly is under the 14mm plug with a lock nut. Underneath the plug is a spring, washer, and support yoke, all of which will be reused. (it is the forward-facing nut in the previous picture.)
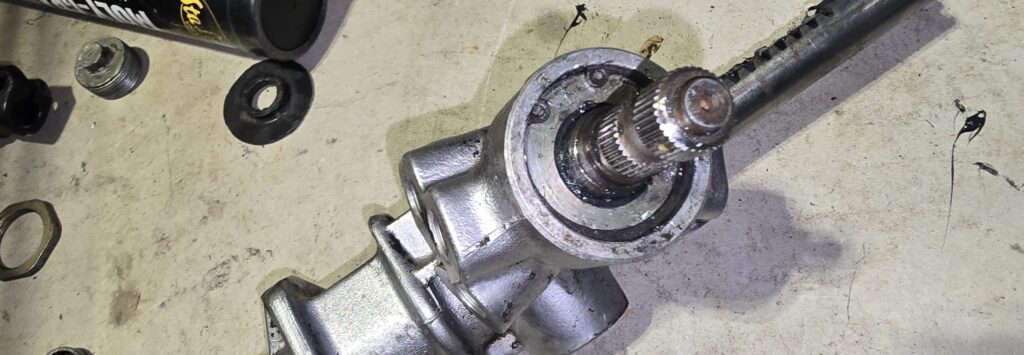
Using a 21mm socket, remove the plug from the bottom of the rack as well. This exposes a 17mm nut on the bottom of the pinion. Remove it, too.
The pinion is now held in place by a snap ring at the top. With a little patience, the ring will pry out, although snap ring pliers will make quick work of it.
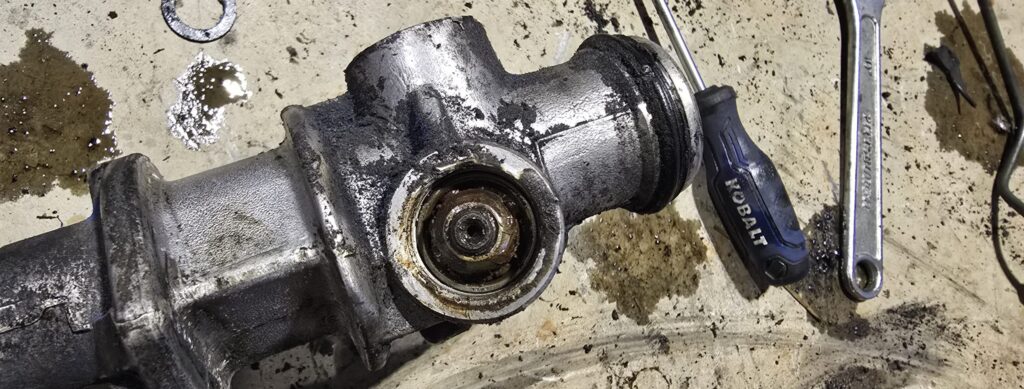
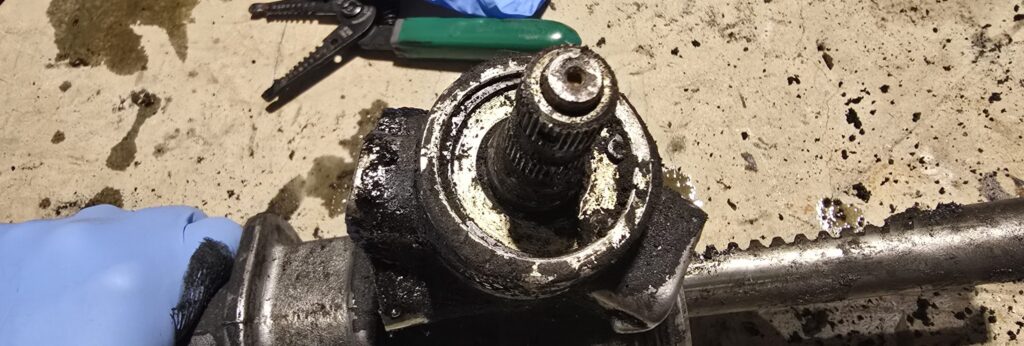
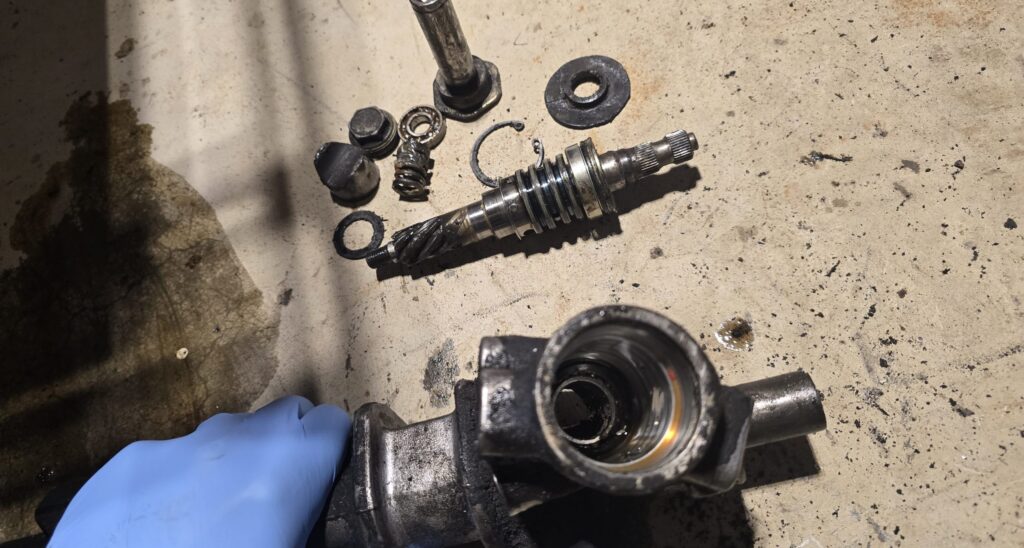
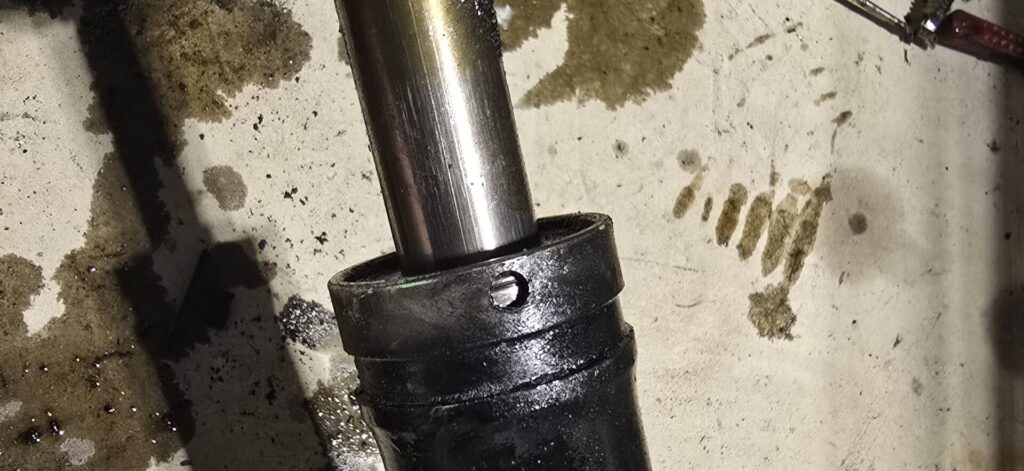
With the pinion out of the way, the last step is removing the steering rack. The piston that will soon be cut off prevents the rack from sliding out. First, the retainer needs to be removed. It is held on the passenger side of the housing with a small snap ring accessed by a small hole at the end of the housing.
Cutting the Piston
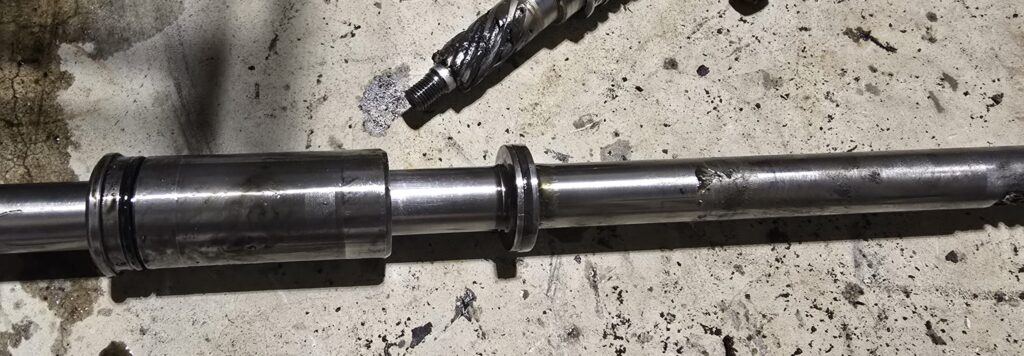
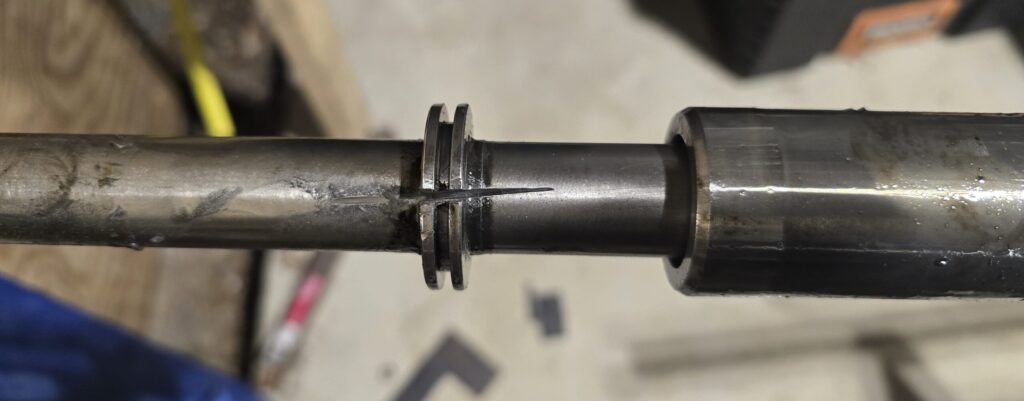
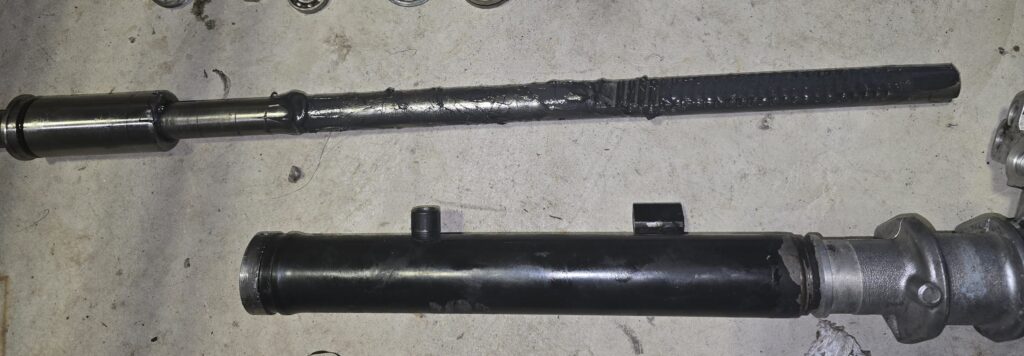
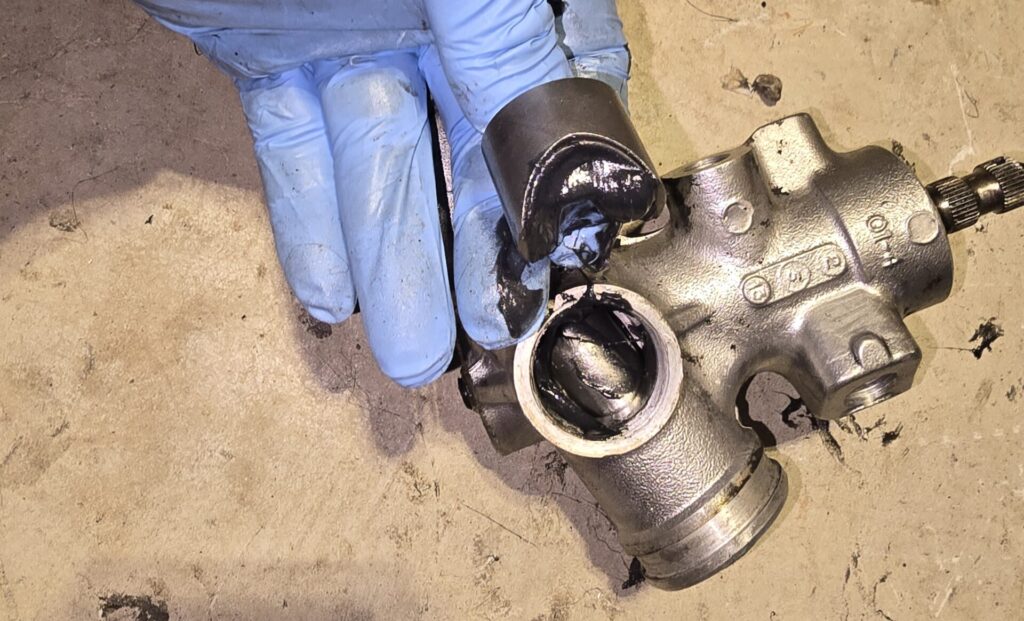
Use a 5-in cut-off wheel to remove the piston from the rack. Cut through the piston to the rack. Repeat the process 180 degrees on the other side. Drive a flathead screwdriver or prybar into the cuts and twist. The piston should pop off easily into two pieces. A tap with a hammer can help a stubborn piston; if it refuses to fall off, you may not have cut it deep enough.
Regardless, I admit I could have done better removing the piston as I gashed the rack a bit. But I can assure you the rack is so beefy that these cosmetic cuts will not affect its performance or longevity.
Cleaning
This rack is dirty, so now is a great time to clean it and remove as much grime as possible. My process isn’t fancy, either. I sprayed the housing, internal rack, and pinion with brake cleaner. The smaller items, like the bearings, plugs, and yoke, I placed in a brake cleaner ‘bath.’ Then, I took the large pieces outside and ran them under a pressure washer.
Reassembly
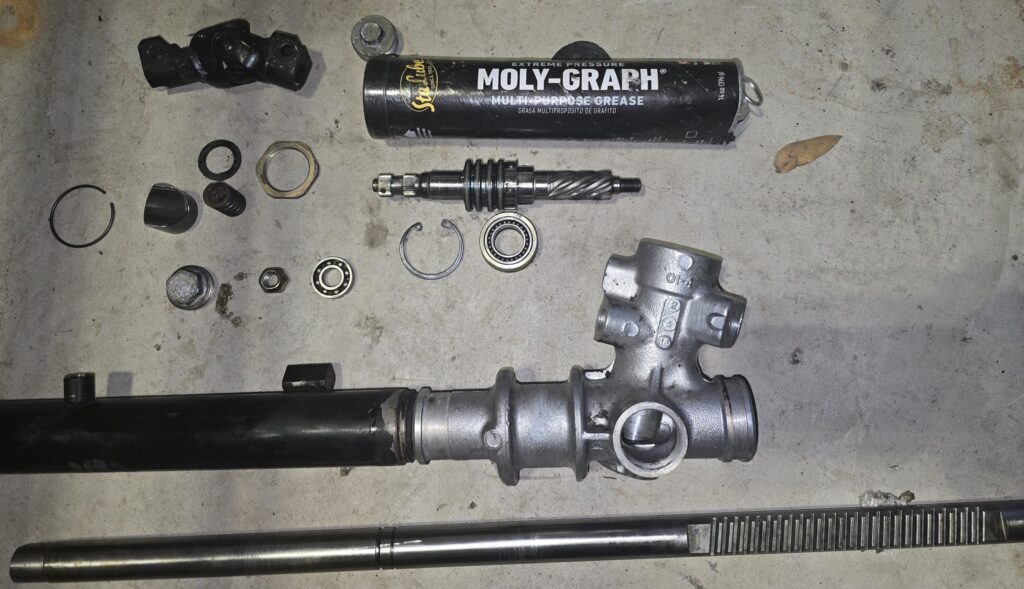
Unsurprisingly, reassembly is the reverse of disassembly. However, use a high-quality bearing grease to lubricate the parts.
- Grease the rack, especially where the rack and pinion engages.
- Slide the retainer back onto the rack and insert the rack and retainer back into the housing.
- Reinstall the retainer’s snap ring.
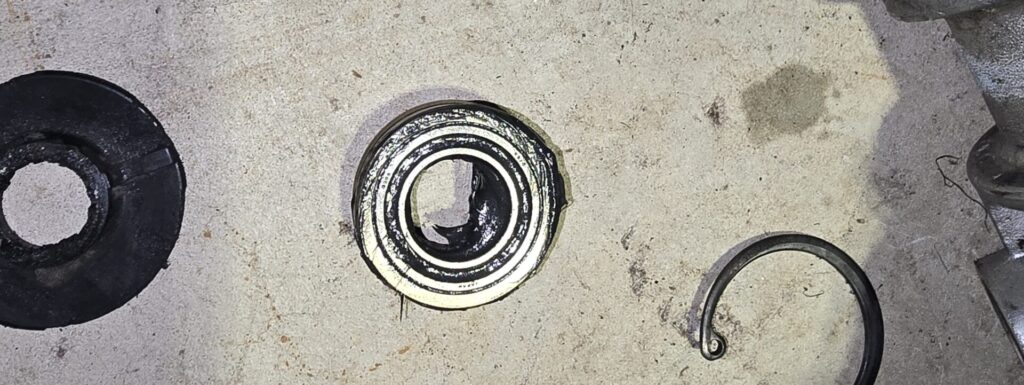
- Reinsert the pinion back through the top of the housing. If any bearings were removed and cleaned, regrease them and insert them in the appropriate order.
- Install the upper snap ring around the pinion. The easiest way to do this is to use a screwdriver and snap ring pliers.
- Reinsert the bushing in the lower pinion (underside of the housing) and tighten the 17mm nut. Hand-tighten the 21mm plug.
- Install the yoke assembly to the steering rack, adding more grease to the opening. The yoke ensures good contact between the pinion and rack and needs lubrication.
- Tighten the yoke assembly with the 14mm plug, leaving the lock nut loose. Make sure to include the spring.
- Test that the steering rack moves freely. If it does not, the lower pinion nut or yoke is too tight. I like to slightly over-tighten the lower nut and yoke plug and then back them out slowly until the rack moves without resistance. Once you are satisfied with the movement, tighten the lock nut on the yoke assembly and the 21mm plug on the bottom.
Note: I am not showing the tie rod reinstall as I am awaiting new ones. However, if you have made it this far, you know how to reinstall them.

Finishing Up
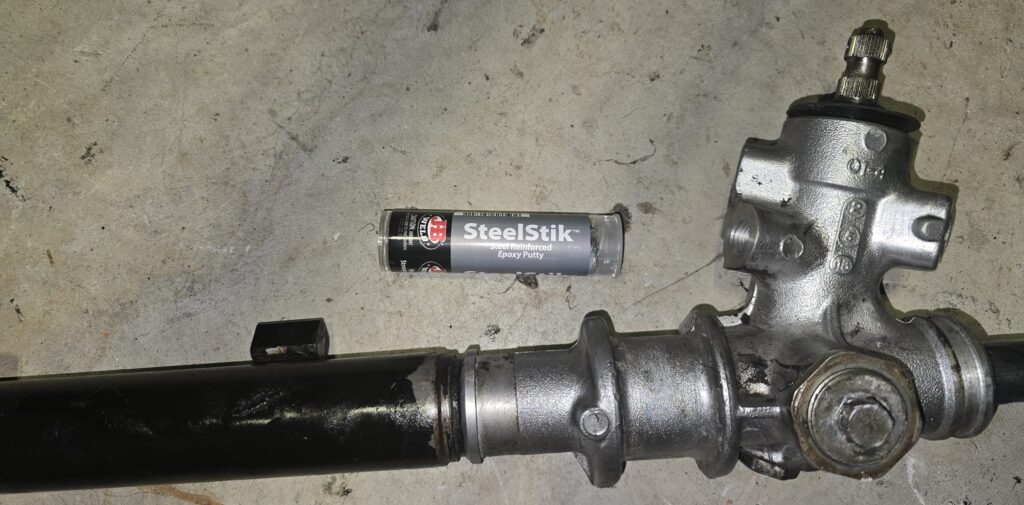
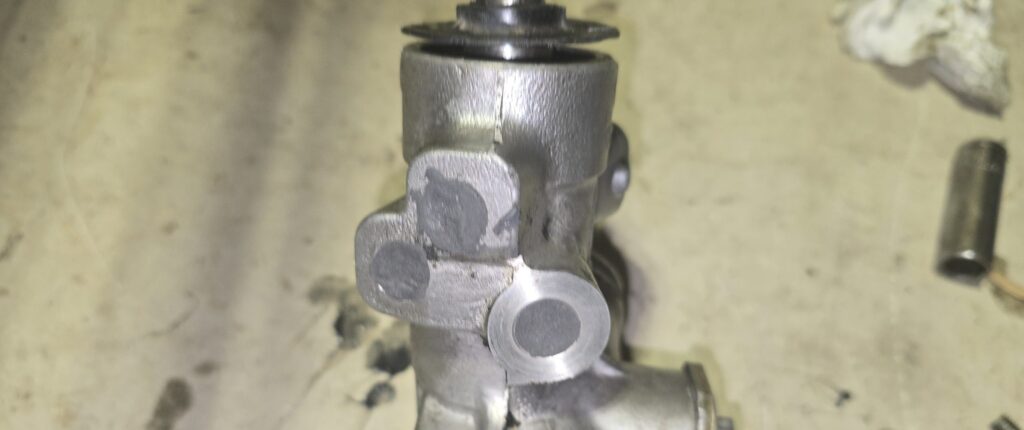
The last step after reassembly is to block off the six hydraulic line ports. Four are near the pinion, and two are on the housing. This is another area where simple solutions work well. Instead of finding/ordering the correct size plugs or welding them shut, you can fill them. And since there is no longer pressure in the system, something as simple as RTV silicone in each hole will work fine. The goal is to keep dirt out and grease in. Although silicone works, a JB Weld epoxy-type product fills the holes nicely. I had a stick of SteelStik Epoxy Putty lying around.
The Finished Result
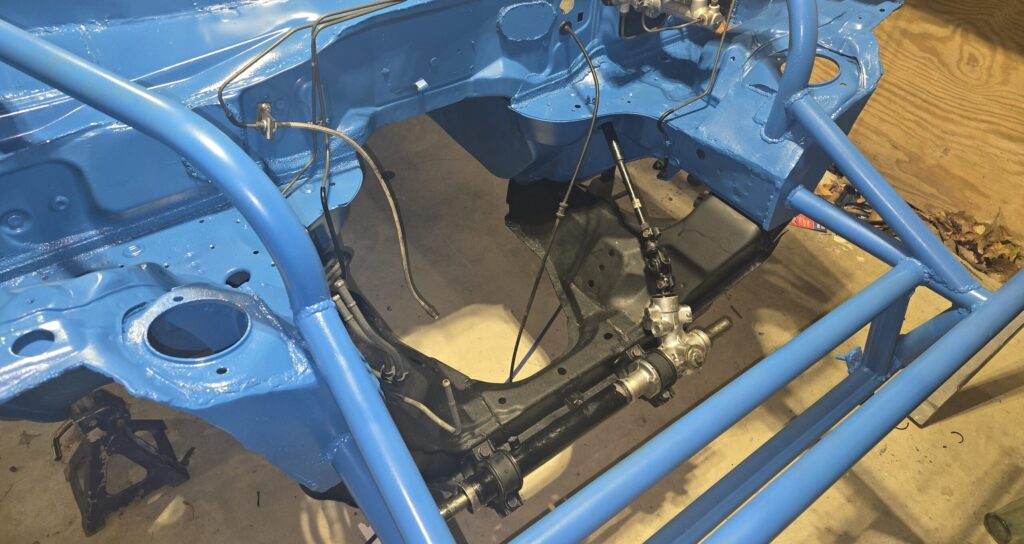
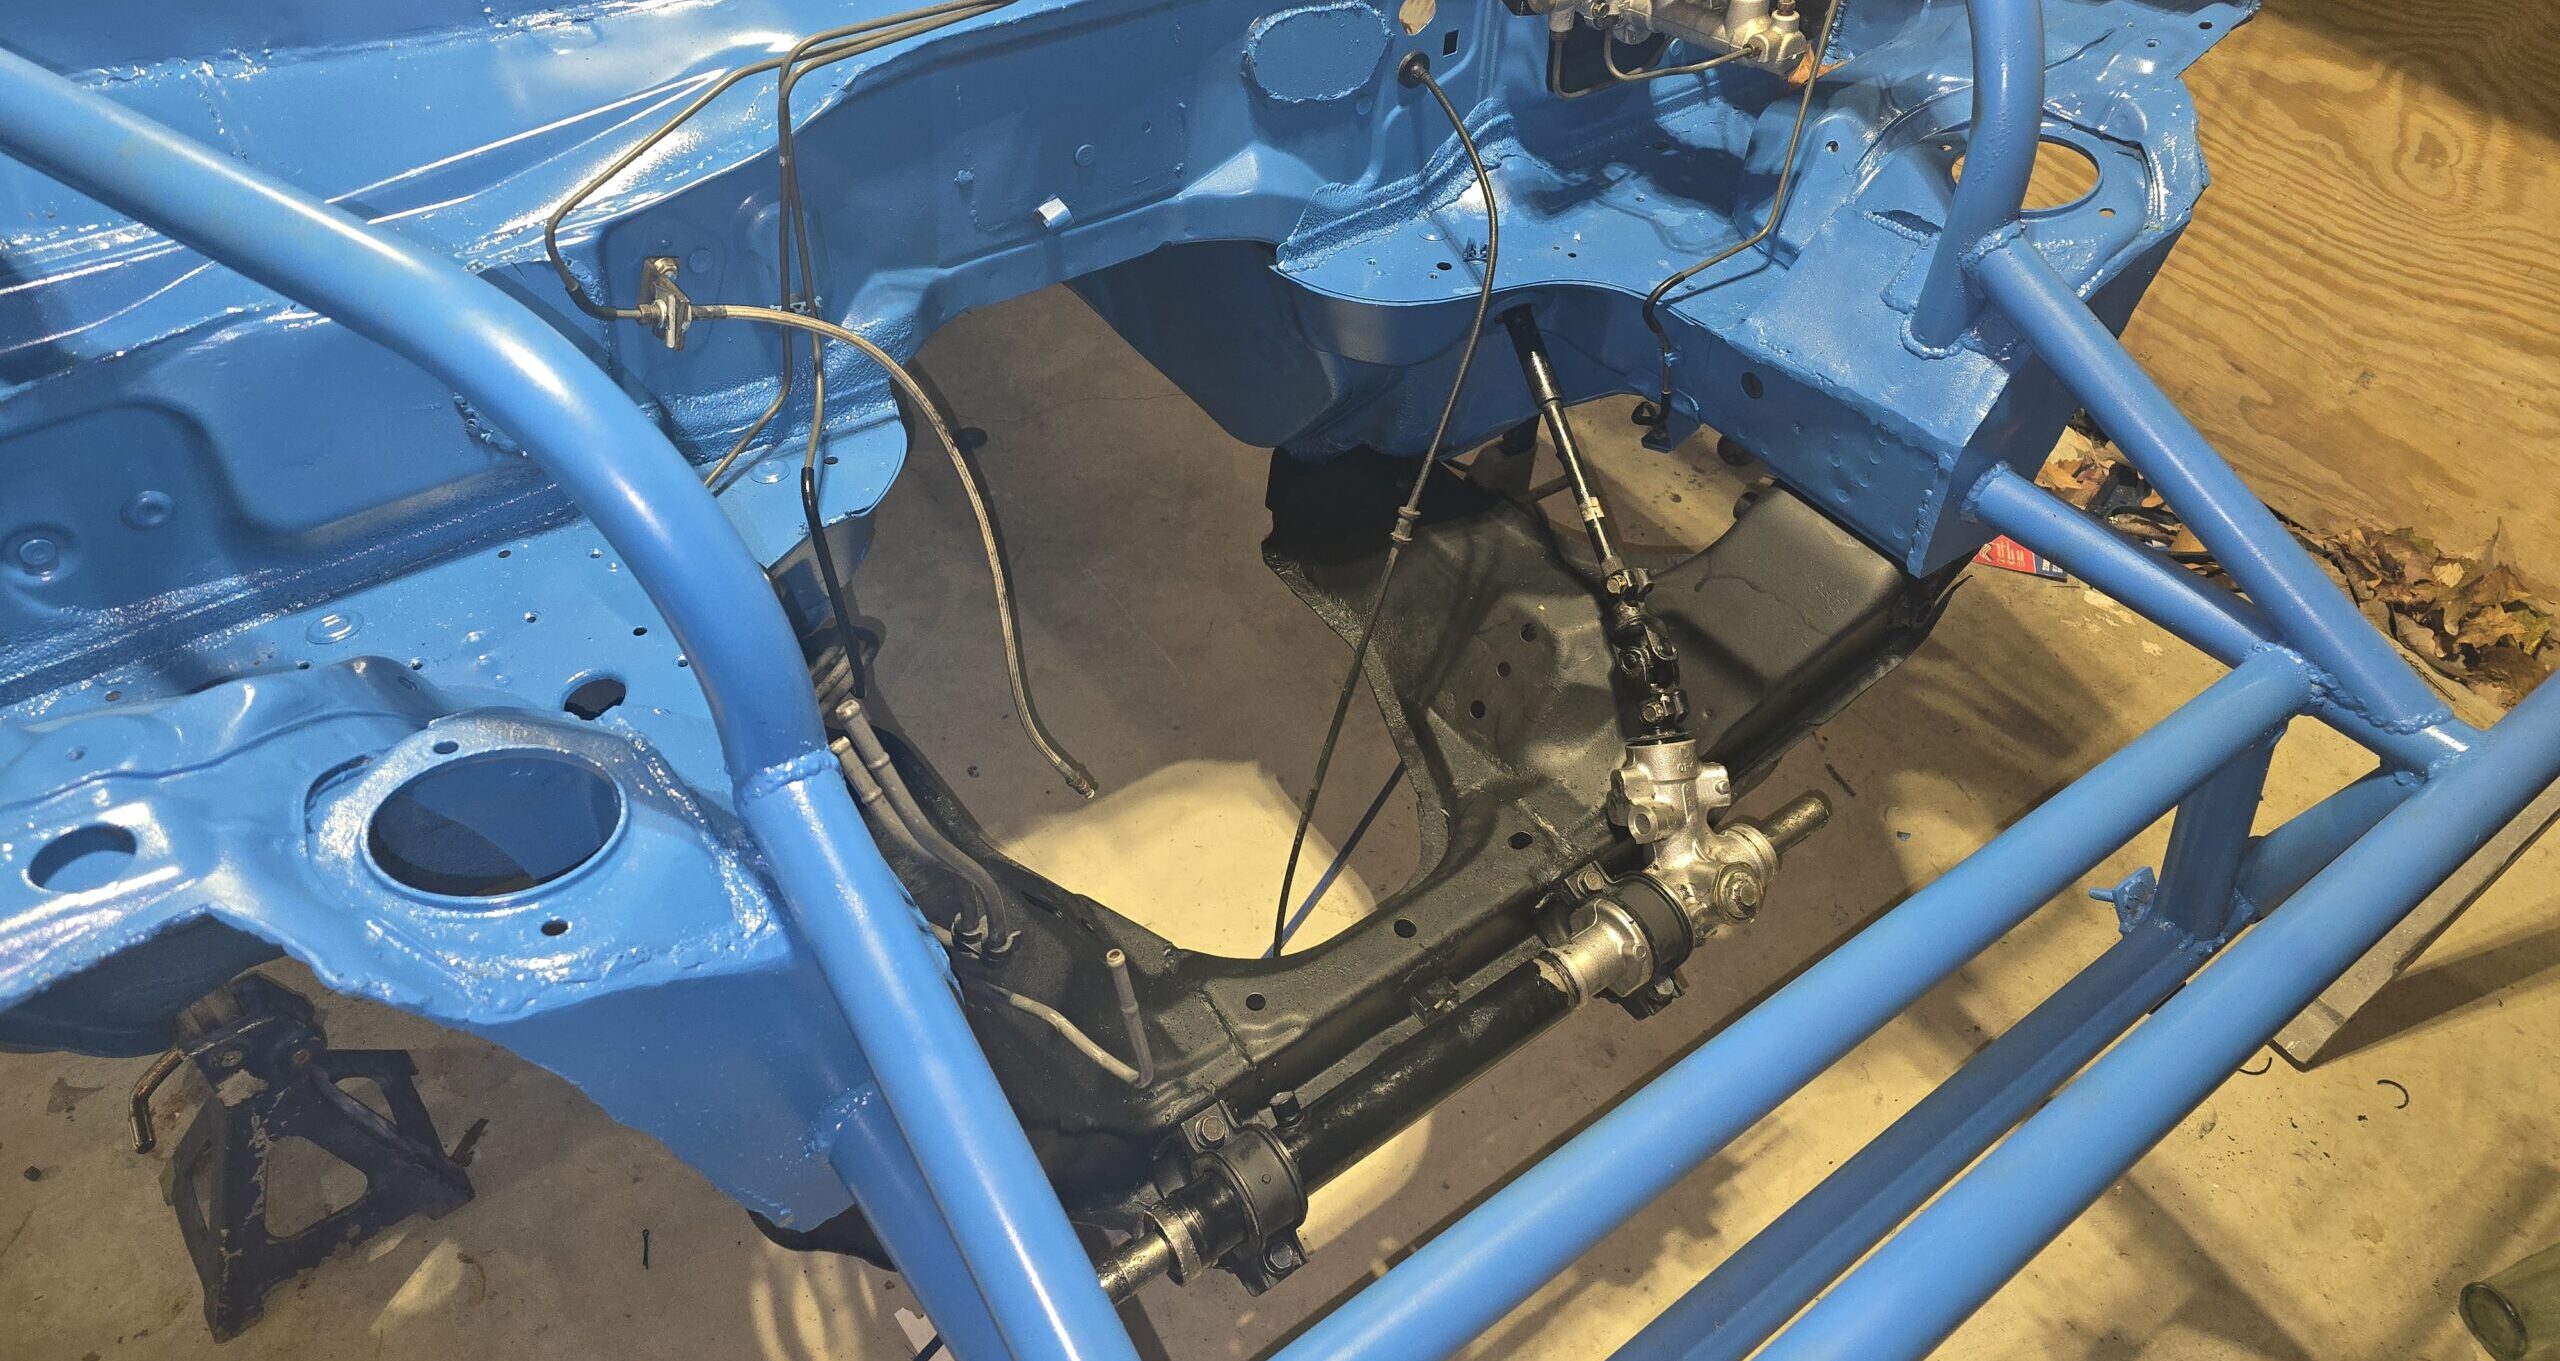
By converting the power steering rack in the Miata chassis to a manual steering rack, I have greatly simplified the steering while improving the overall feel. Additionally, there is probably a ten-pound weight reduction with the pump, reservoir, and lines removed. And on the ghettocet build, I love the simplicity and clean look.
