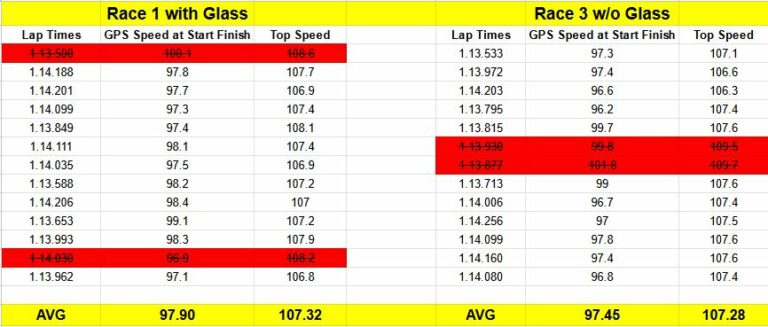
The ‘ghettocet’ Miata affords plenty of opportunity to take things back to ‘old school.’ With that in mind, let’s explore hockey puck motor mounts on this project. It’s something I built years ago for the CA18DET swapped 240sx. And something very fitting to revisit on the NA Miata exo car.
Hockey Puck Motor Mounts Pros and Cons
Pro’s
Hockey puck motor mounts are simple, cost-effective, and work on many front engine/RWD drivetrains (or inline drivetrains). Factory replacement mounts average $99 per side. High durometer (hardness) aftermarket units start at $225 per side. (on the low end) For comparison, these DIY hockey puck mounts cost around $20.
On the durometer, the average hockey puck is around 90. This is the hardness of an aftermarket race mount, and it perfectly suits my purposes. I find that the engine and diff mounts are always too soft on any inline engine. This is a compromise to reduce NVH (Noise, Vibration, and Harshness) for street-driven vehicles.
The soft factory mounts at the racetrack allow the engine, transmission, and differential to move under heavy loading, making missed shifts more likely and reducing driver feel and feedback. Hence, the need for harder-than-stock mounts.
Con’s
Although the motor mounts perform as race mounts at a fraction of the cost, they may not be pretty or cool and take some work to get right.
This means, from my perspective, there are no cons. The performance per dollar can’t be beaten. Even if you must get your hands dirty to build these. Let’s dig in.
Before Starting
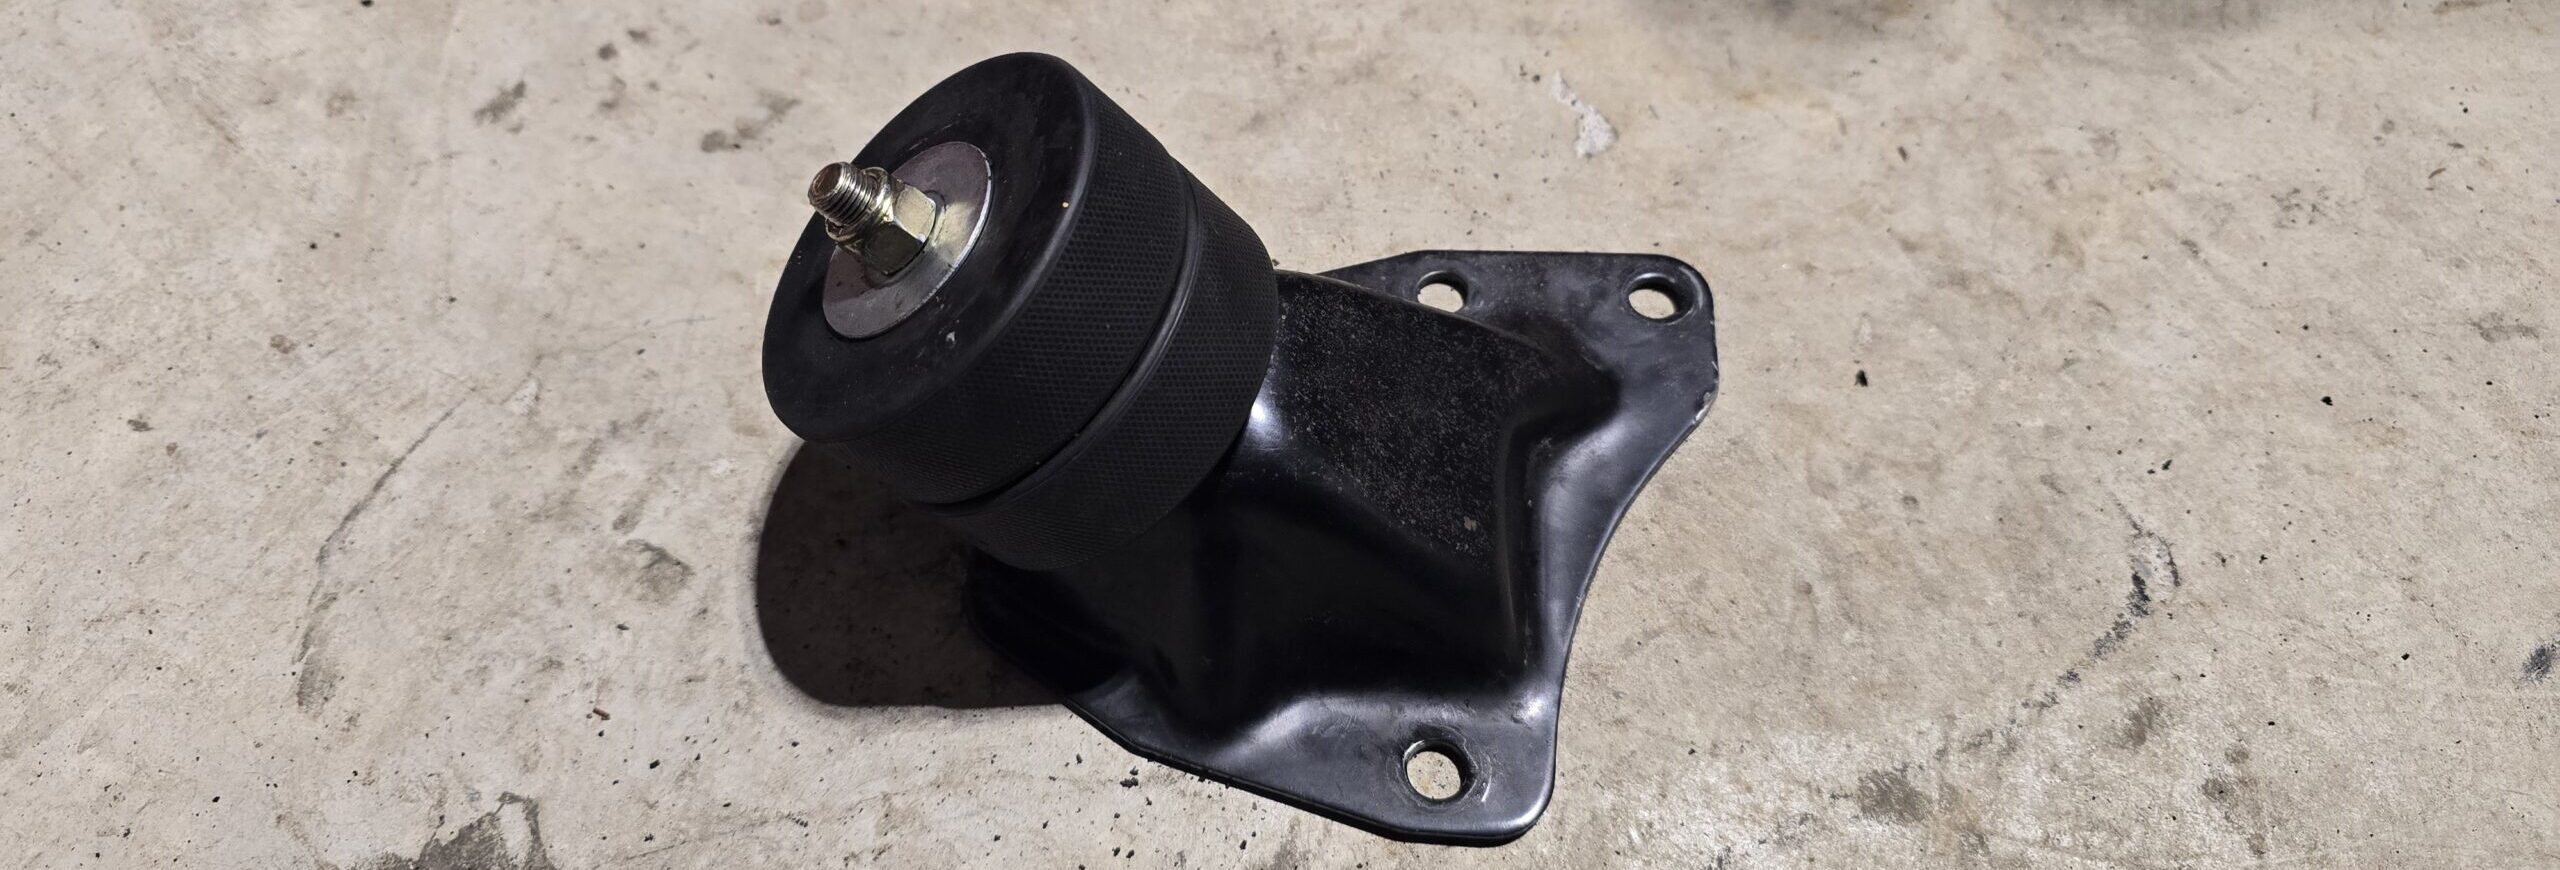
I built the mounts during the engine rebuild for the NA Miata ‘ghettocet.‘ As such, the engine was already removed from the car. If you are doing this with the engine in the car, choose a method to raise the engine. I like using an engine hoist. Alternatively, you can use a hydraulic jack under the front of the oil pan with appropriate padding. Regardless of the method, you will remove the two nuts that hold the bottom of the factory mounts to the subframe before lifting. Once lifted, the brackets that attach the mounts to the block must also be removed.
Parts Required
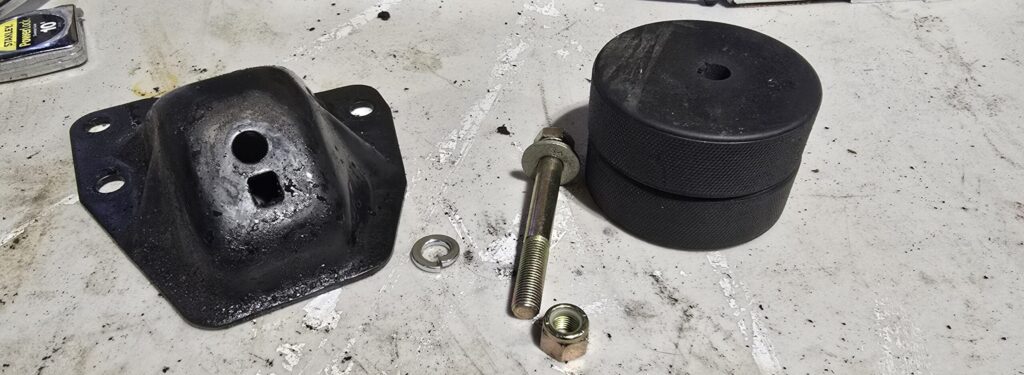
Only a few parts are required to build the hockey puck motor mounts. The pucks, two bolts, a few washers, and lock nuts. Here is a list of what I used.
- 4 x standard hockey pucks. I ordered these from Amazon. (https://amzn.to/40tFM68)
- 2 x (3/8″ x 2-1/2″ fine thread grade 8 or above bolts). (10mm for the metric equivalent)
- 2 x 3/8″ Nylon Lock Nuts
- 4 x 3/8″ washers (the thick ones)
Measuring it Up
I gathered base measurements to compare the factory mount height to the hockey puck height. As you can see from the pictures below, there is a 1/8″ difference in height between the mounts, Which is fine for my purpose. The hockey pucks will raise the engine by 1/8″. Alternatively, you could shave one of the pucks 1/8″ to achieve the same height.
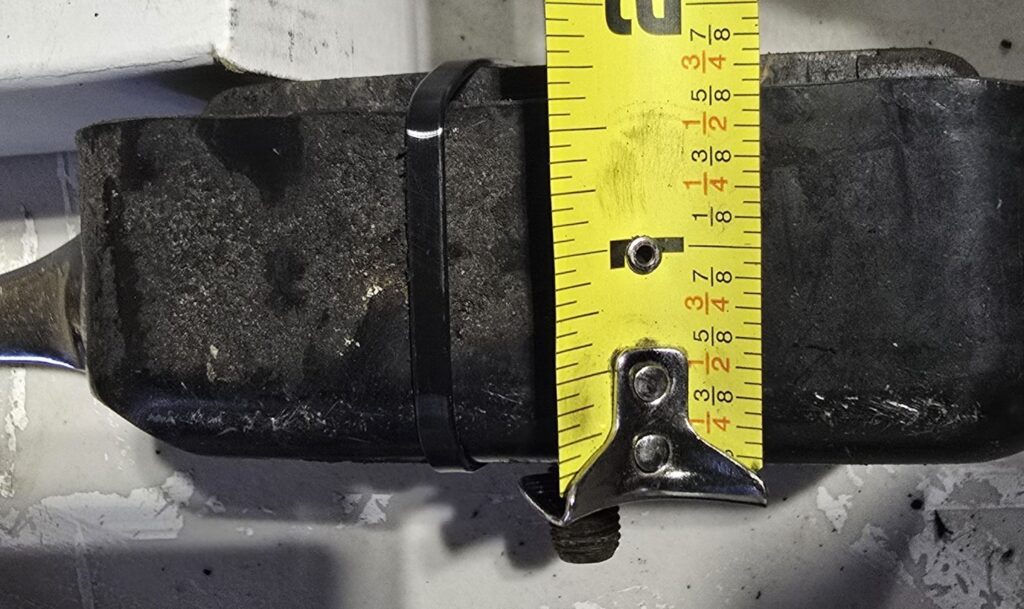

(Note 1: There is room to lower the engine by 1/4″ or more and improve the center of gravity with a variation on these mounts. You could use a single hockey puck with larger washers per side of the puck to get to the desired drop.)
Assembling the Mounts
Building the mounts is very easy. However, I use a welder during this process and will recommend an alternative build for those who don’t have access.
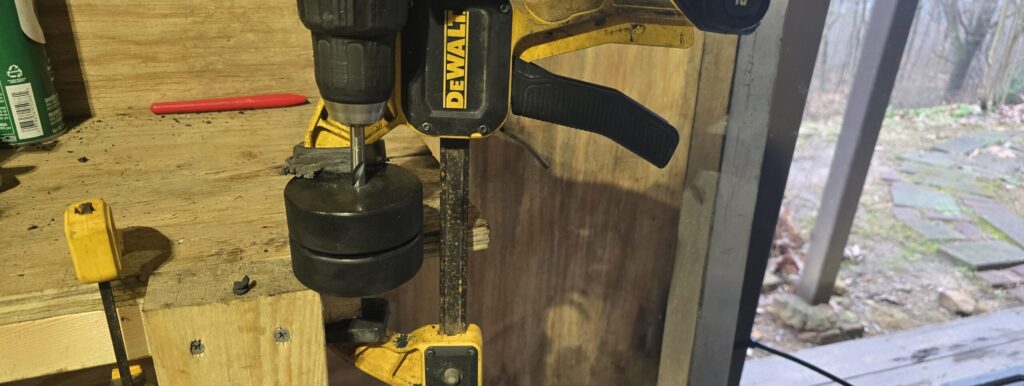
First, drill the hockey pucks through the center. I used a clamp and a 7/16″ drill bit for this.
Second, after cleaning the inside of the engine mount bracket, insert the 3/8″ bolt with a washer through the bracket. Tack weld the bolt and washer on the back side of the bracket. Next, place and tighten the hockey pucks, washer, and lower nut on the bolt to secure the bolt head before welding. This ensures the bolt stays in proper alignment.
(Note 2: The bolt and washer are welded to the bracket so that it is easy/possible to tighten the lock nut through the subframe in the last step. If you cannot access a welder, you can substitute two fully threaded bolts for the partially threaded ones I am using. Then, using an extra nut, lock the bolt to the bracket by threading the extra nut onto the bolt and tightening it. Refer to the previous note above: The height with two pucks will increase by the height of the additional nut. Requiring appropriate adjustments.)
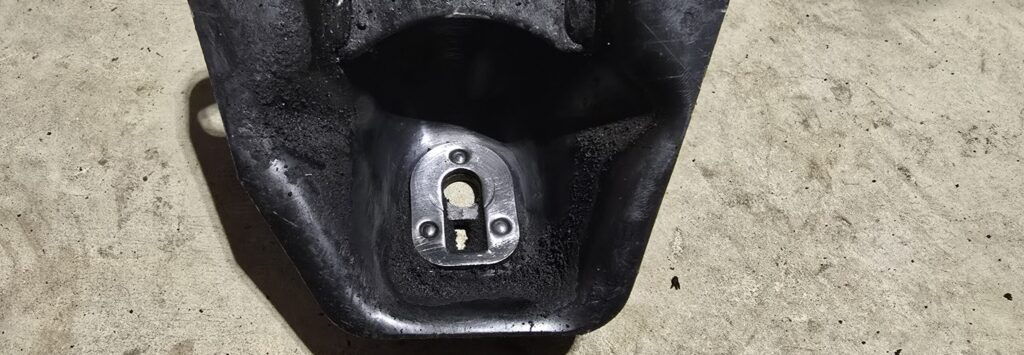
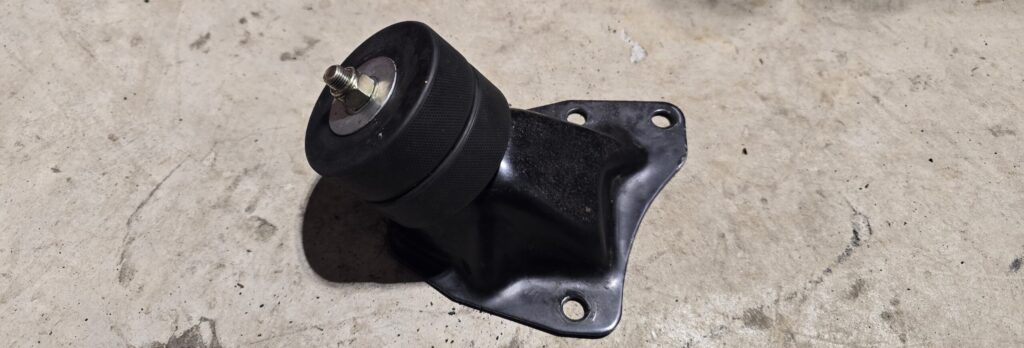

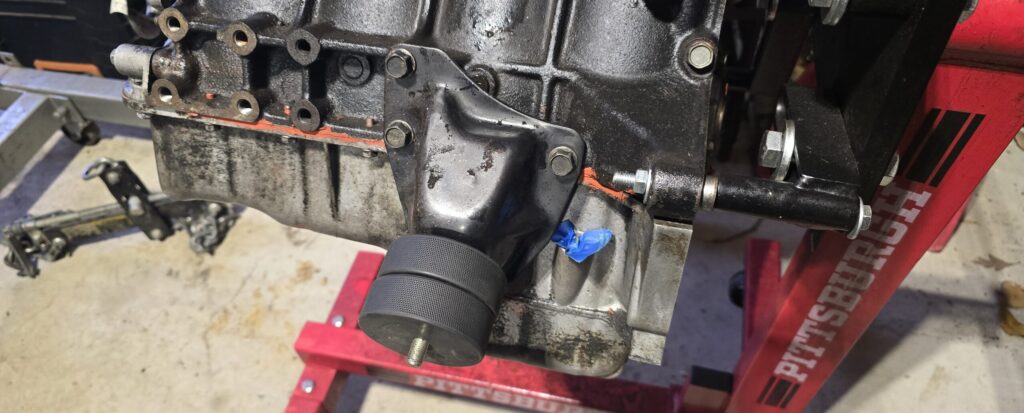
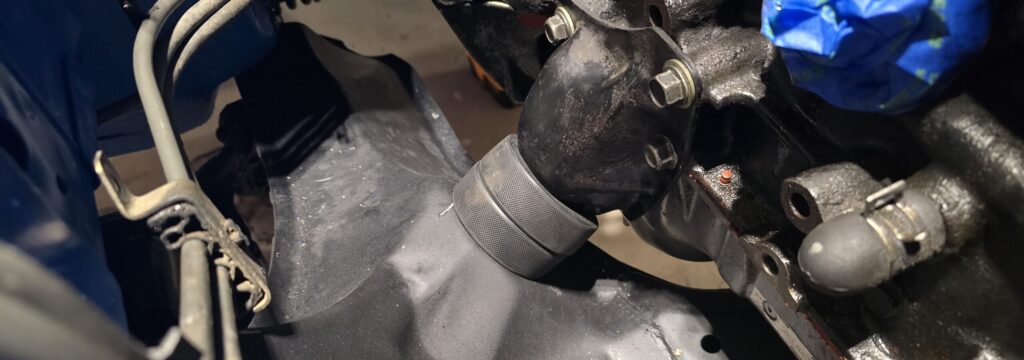
Third, remove the bolt, washer, and hockey pucks and allow the bolt to cool. Once cooled, add the pucks back and loosely attach the engine brackets to the block. (3 x 14mm bolts) Then, slowly lower the engine into place. I find guiding the driver-side bolt into the subframe (center hole) easier. Then, let the passenger-side bolt slide into place. Once the bolts are aligned, and before taking all the weight off the lift or jack, tighten the engine brackets to the block completely. Now, set the entire weight of the engine down. Finally, tighten the nylon lock nut and washer to the bottom of the engine mount through the subframe.
Conclusion
I previously explored hockey puck motor mounts while building Nissan 240sx’s for drift competitions years ago. Some of these ‘old school’ methods are relevant today. This exo car built on the NA Miata chassis is one such example. It is a way to build high-performing garage parts at a fraction of the cost of store-bought. And as the project nears completion, expect to see more offerings of this ‘old school’ methodology.
”

