I came across an ad for these little matchbox drift cars. You mount them to your dash, and they move when the vehicle turns, giving the appearance of a ‘drift.’ At first, I thought, ‘That’s silly.’ Then it became, ‘Eh, kinda cool.’ Which quickly turned into, ‘I want one for the racecar … this weekend.’
That’s where I ran into a little hiccup. I found dozens of vendors on Amazon and Temu selling these. Unfortunately, all of them show delivery dates that are a month out. As my first race of the 2025 season was quickly approaching, waiting wasn’t an option. So, I built my own dashboard drifter out of fidget spinners and Hot Wheels, beating Temu prices (and quality).
(A Little Side Note: After some research, it appears every vendor of these is reselling the Temu unit, even the guys who took the time to build a web store. This makes me even happier with how this DIY approach turned out. Building my dashboard drift car is cheaper, and I can use almost any Hot Wheels or off-brand car I want. )
Dashboard Drift Car Parts
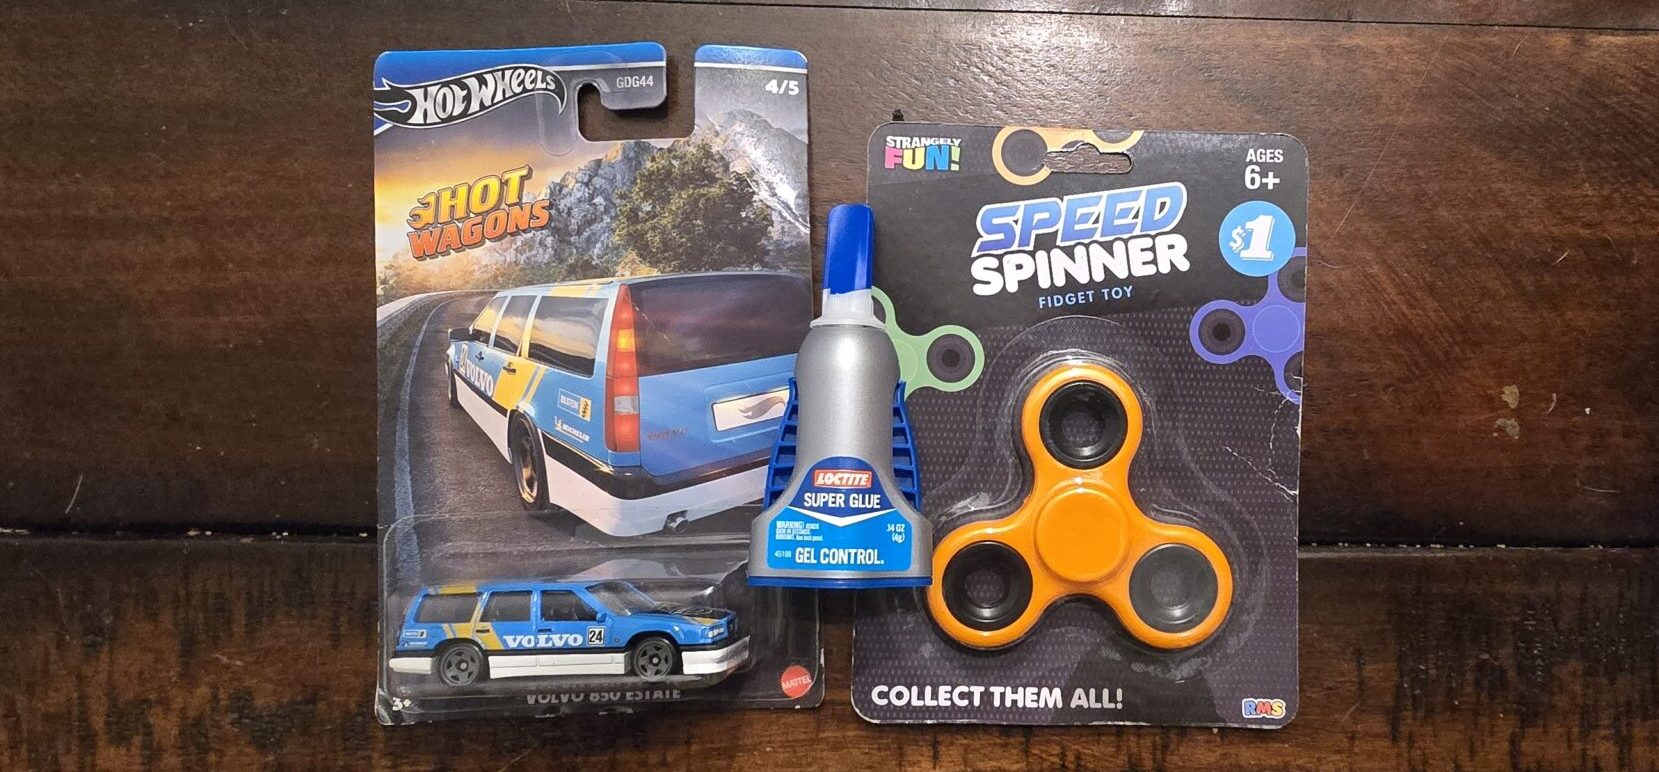
The design is super simple. You only need a fidget spinner, a Hot Wheels-style car, and super glue. The fidget spinner was surprisingly ‘difficult’ to find, but I eventually found one at the Five Below store for $1.00. Hot Wheels are everywhere, and I settled on the bargain bin at Walmart for $1.18. I also opted for the gel super glue to make the application easier.
Building the Dashboard Drift Car
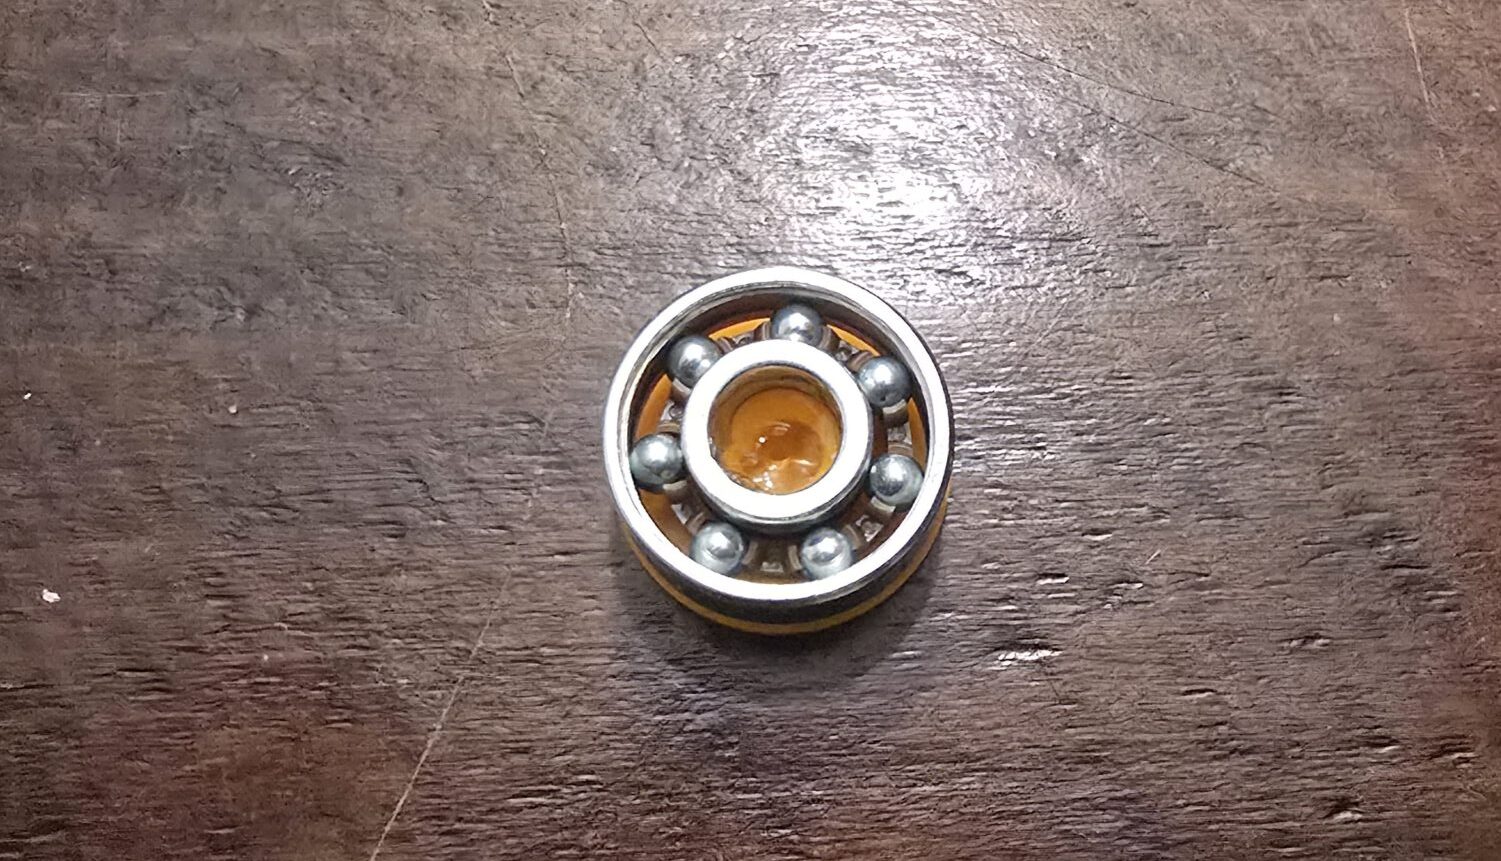
Starting with the fidget spinner, remove the two plastic covers from the center bearing. Then, press the bearing out of the spinner. I found that pushing a small screwdriver through the center of the bearing will help remove stubborn ones.
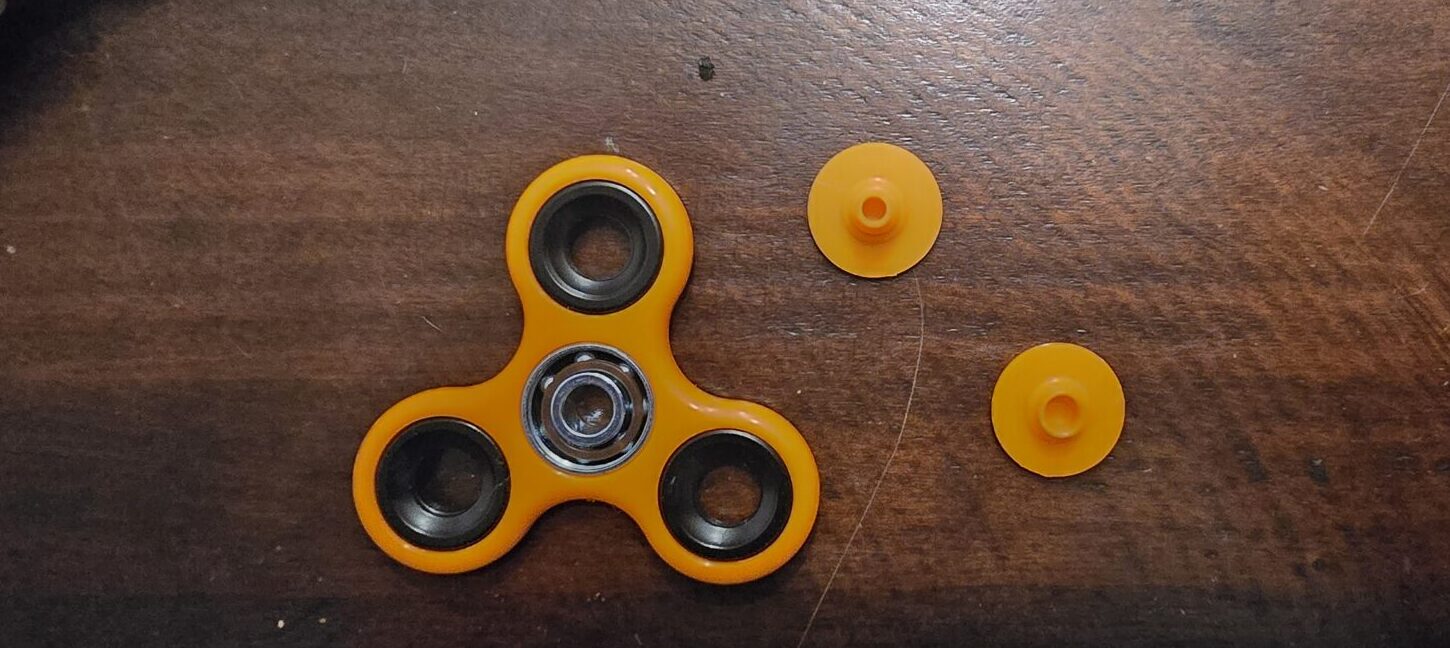
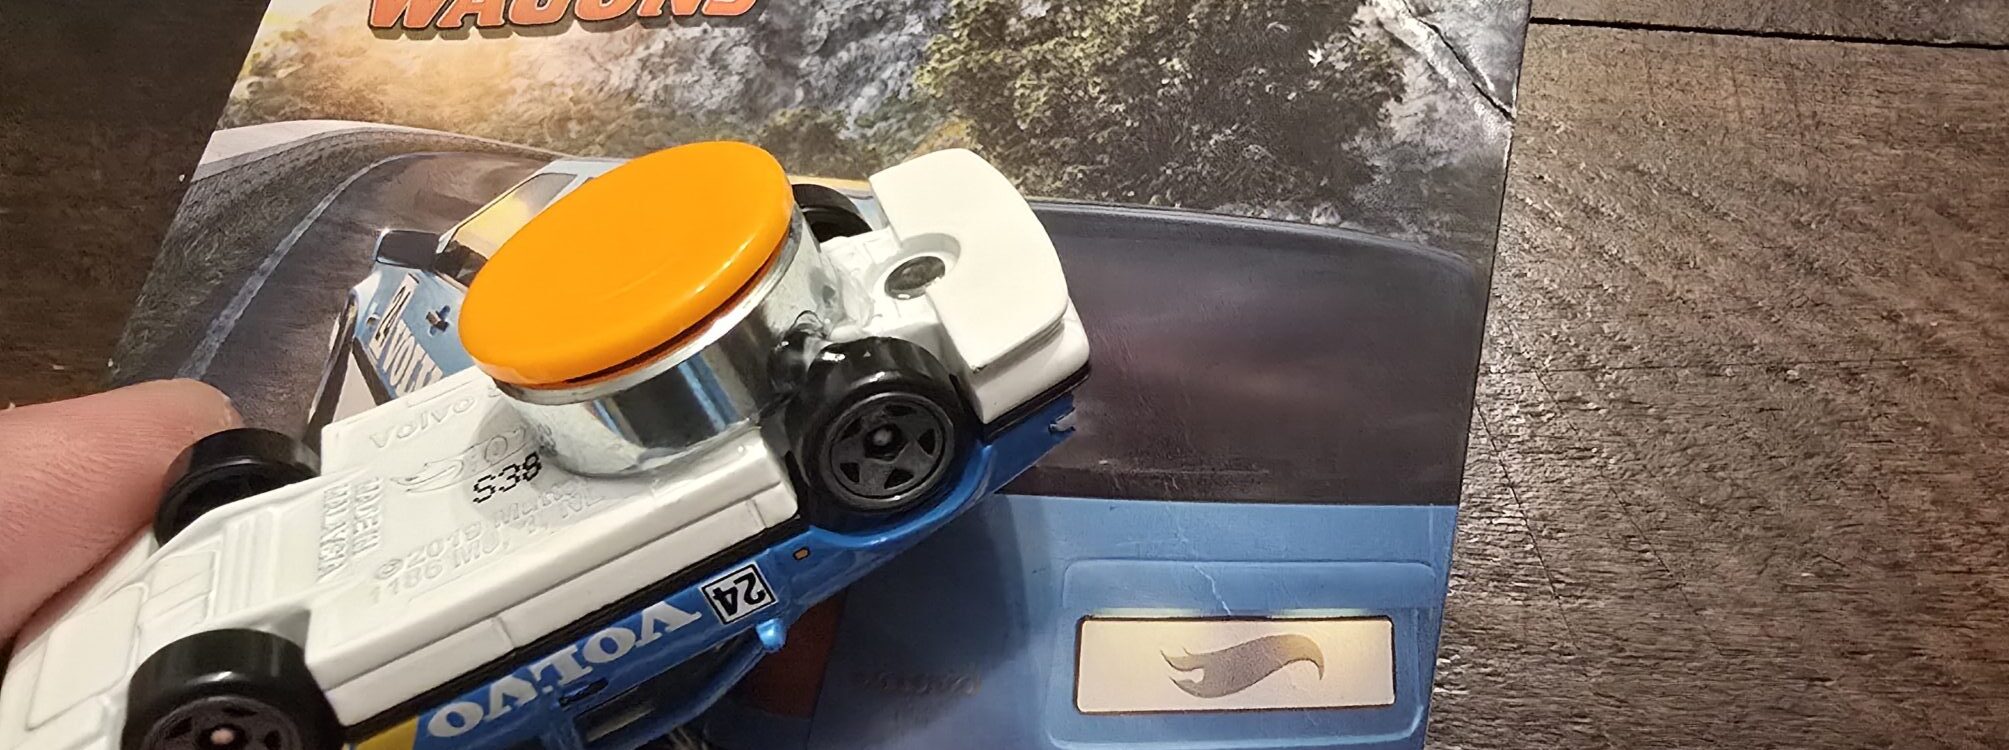
Once the bearing is removed, glue one of the covers to the inner bearing race. I used the one with the larger flair. This will function as the mount base.
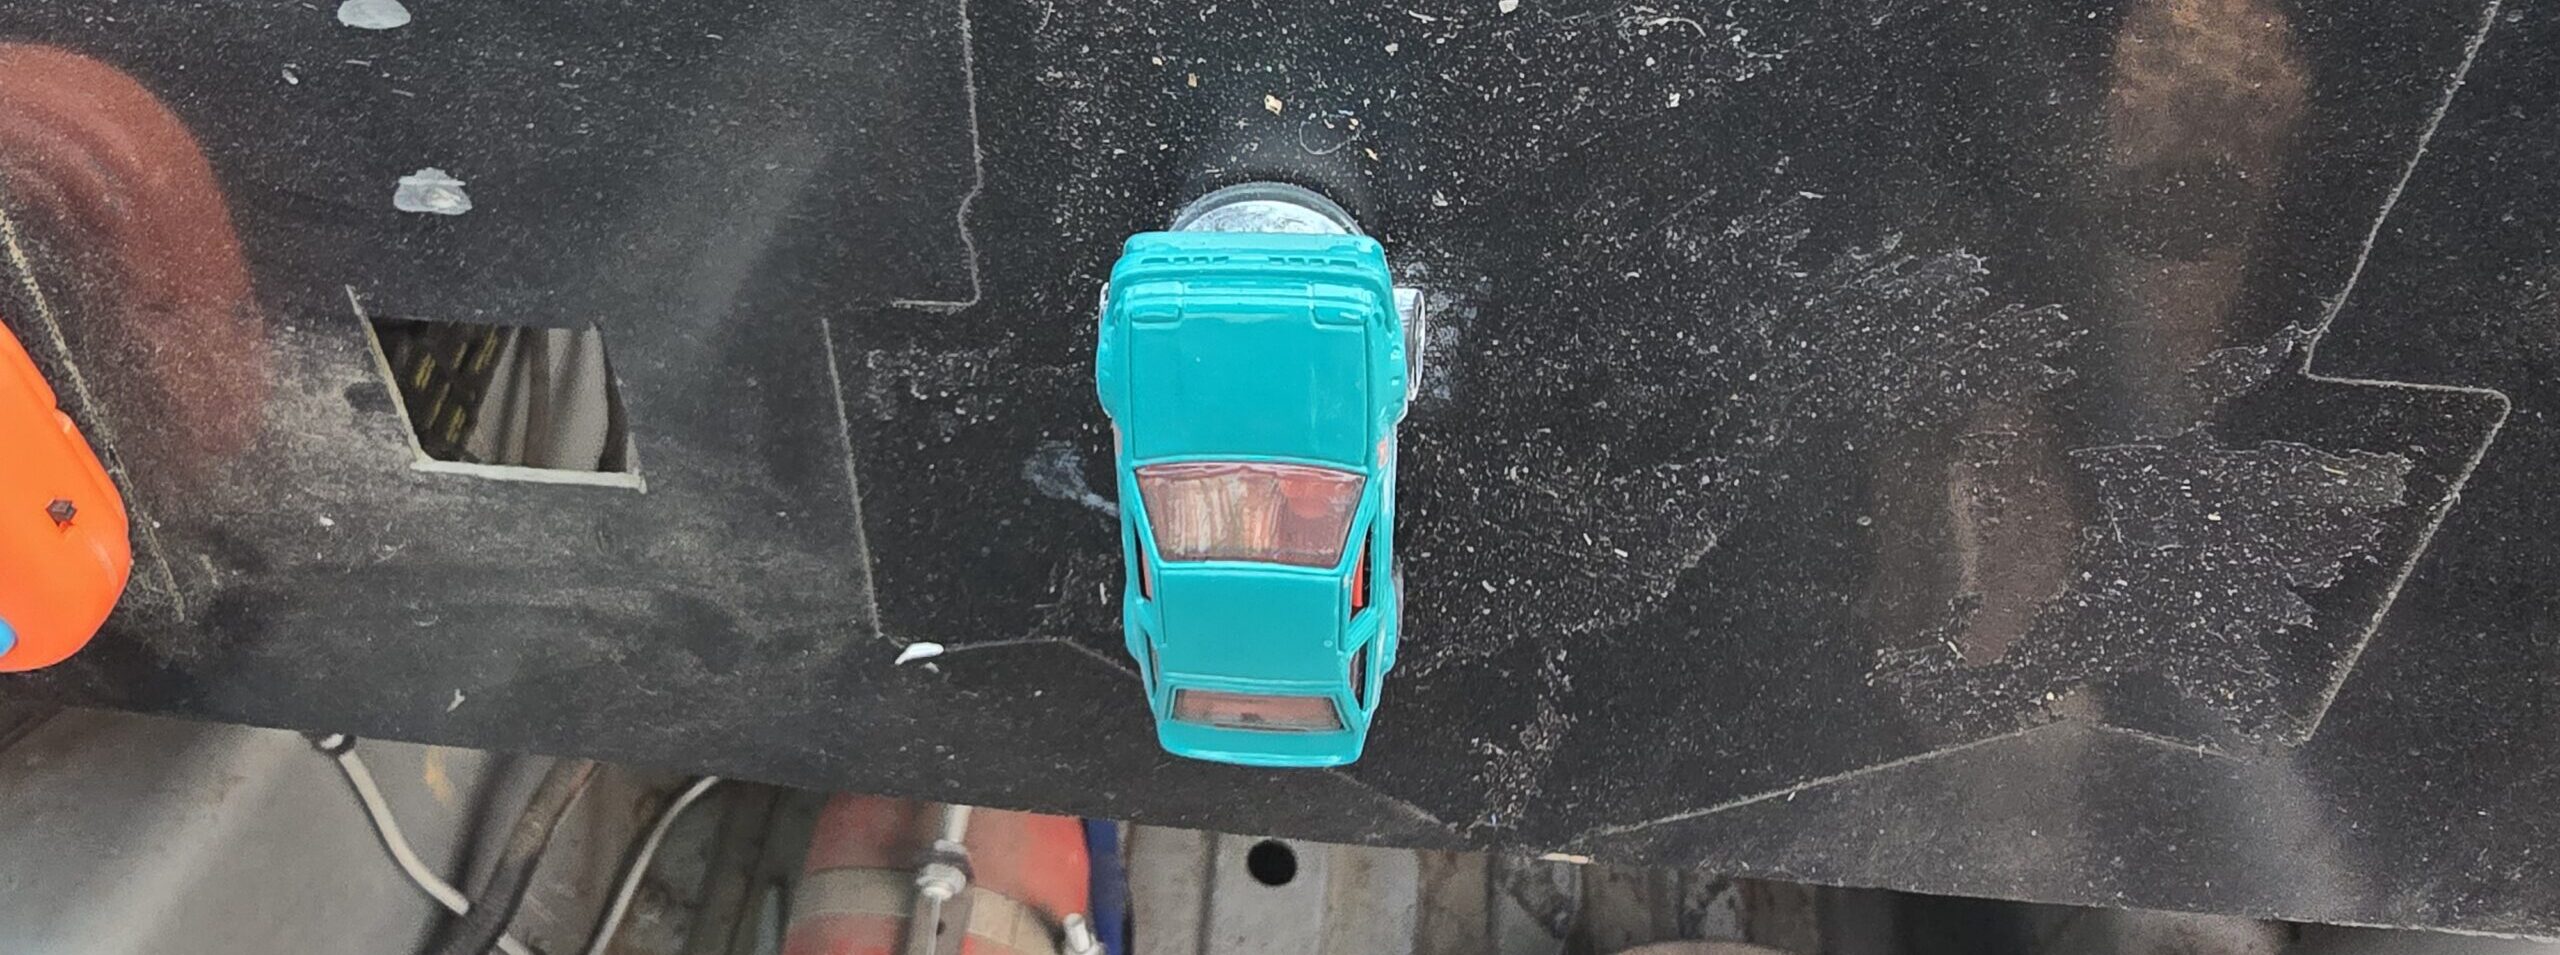
Now, glue the outer bearing race to the bottom of the Hot Wheel. You want to place the bearing on the forward portion of the car. All Hot Wheels are different. For instance, on the Volvo model in this guide, the bearing is too wide to fit between the front wheels, which I identify as the ideal placement. However, as long as the bearing is placed forward of the midline, it will work fine as a dash drifter.

Mounting the Dashboard Drift Car
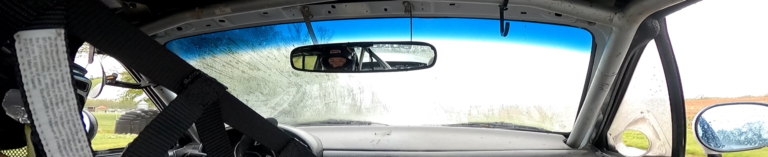
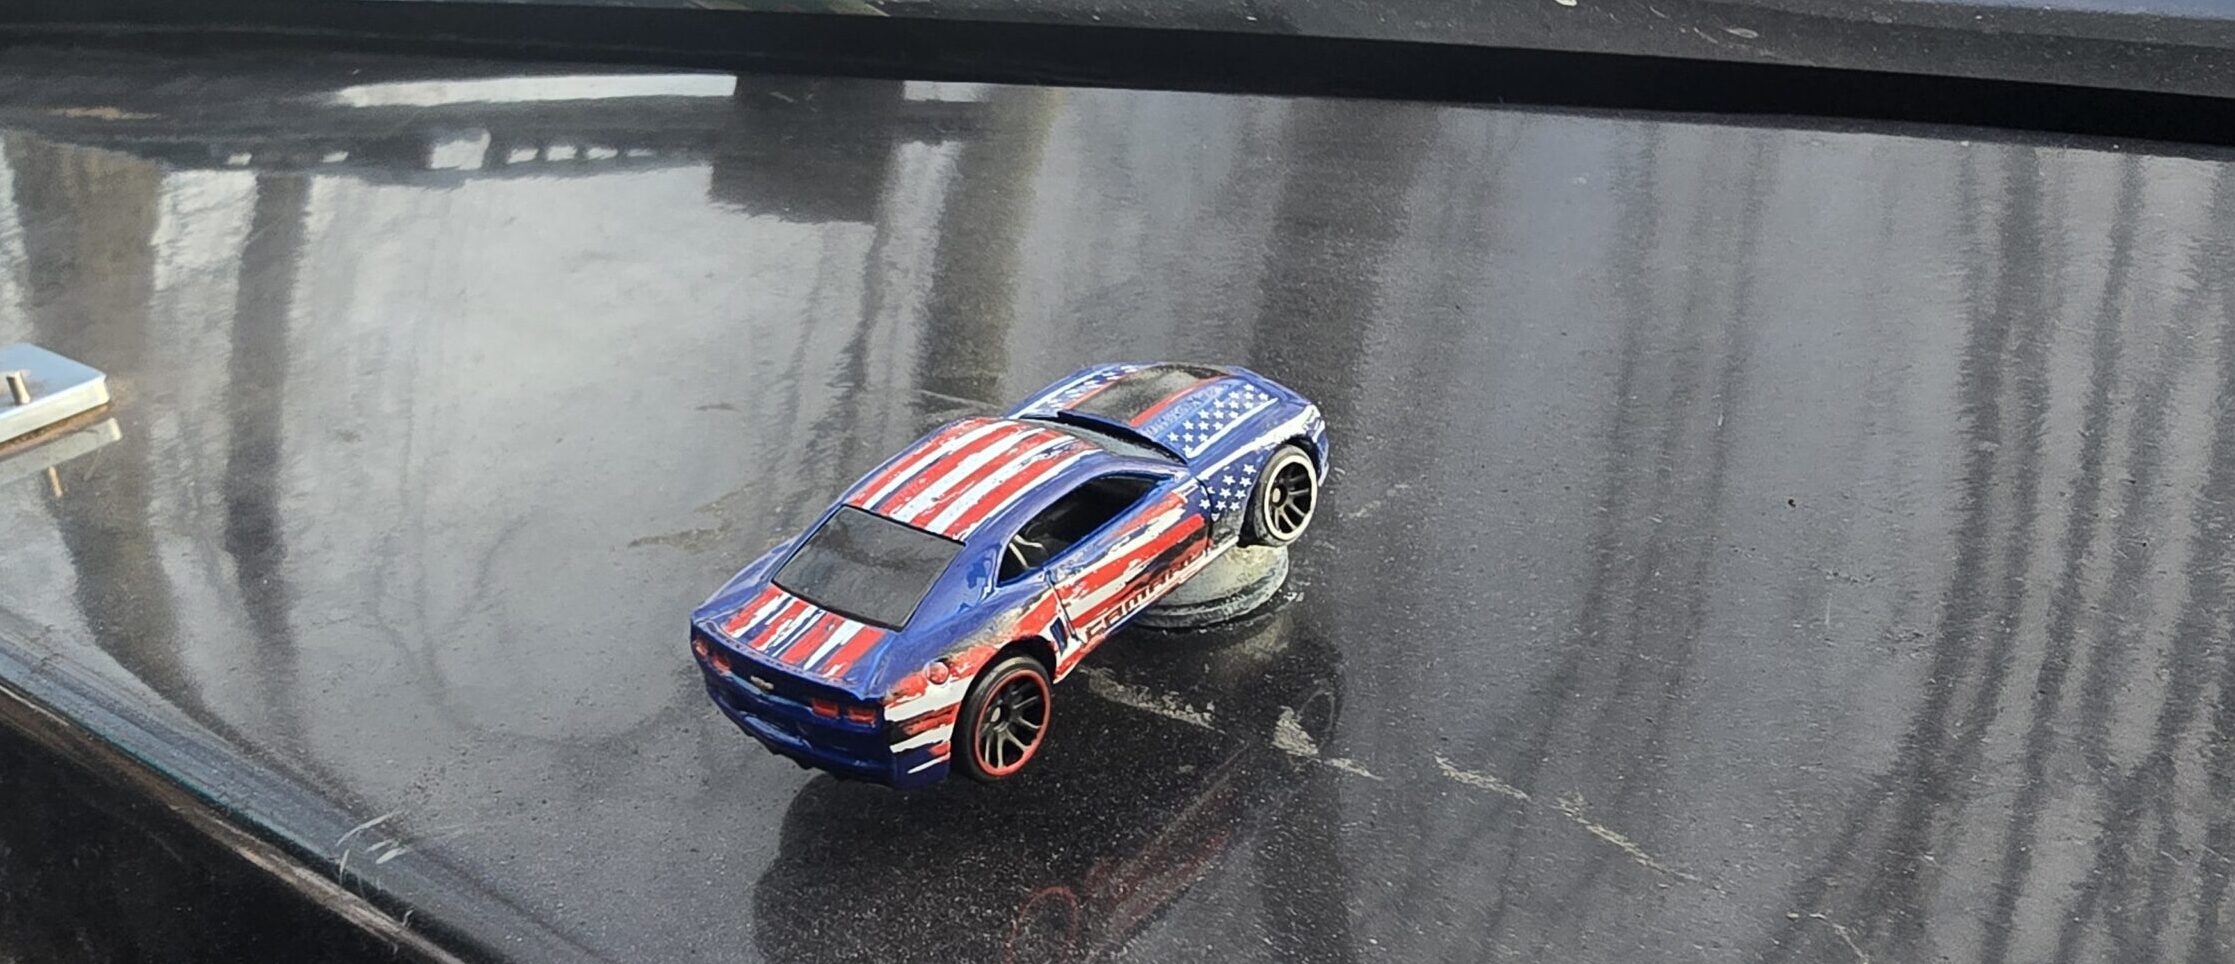
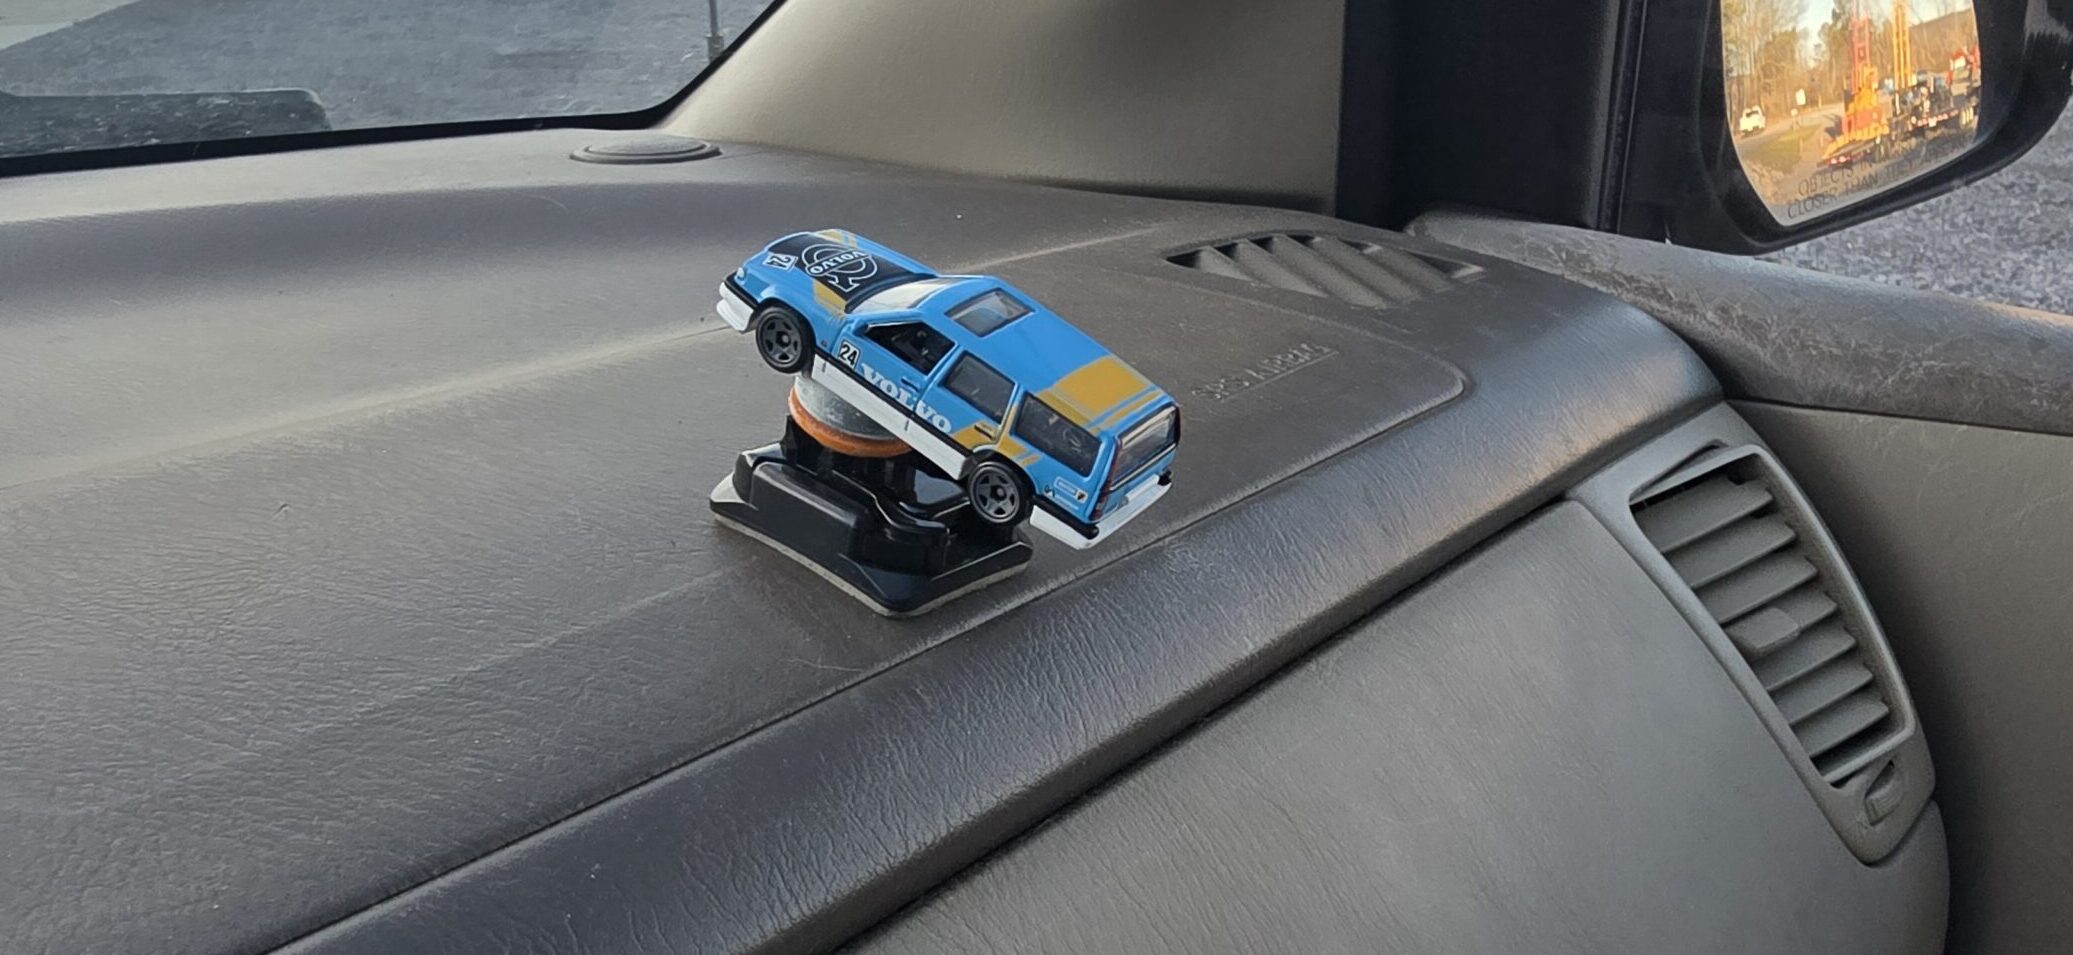
Now, you have officially built a dashboard drift car. But how should you mount it? I glued a couple to the racecar’s dash in several locations to test the movement. They all held up great under those extreme conditions, although I did find that the drift cars work better when mounted less than horizontally with a slight downward slope. If mounted perfectly flat, they can spin 360 degrees, especially under heavy braking … breaking the illusion of drifting. Around a 10-degree plus rearward slope allows gravity to keep them oriented forward. (I will link a video below of one of the races to show the motion)
A less destructive mounting method is needed for a street car. You can velcro the base to the dash or use a two-sided pad like those used in GoPro mounts. These work great on dashboards with a slight slope. To simulate a downward slope on flat dashboards, I ground down an old GoPro mount and glued the dashboard drift car base to the mount. Check out the images below for more details.
Conclusion
This was a fun little exercise. Not only did I beat Temu, but now I have a few custom dashboard drift cars that hang out in the racecar. Check out the race footage to see them in action. (footage in a day or two, still editing from the race weekend)