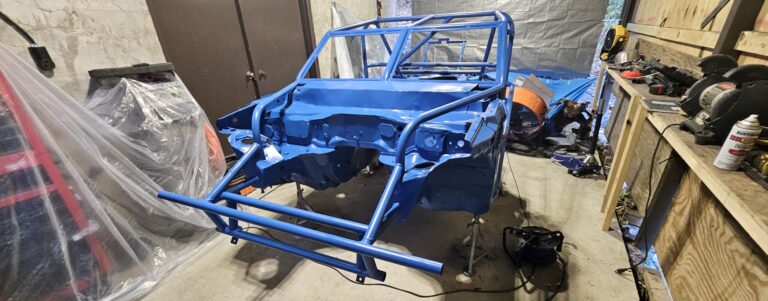
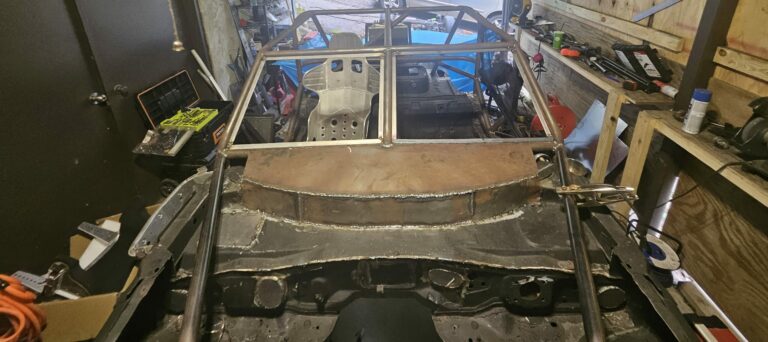
The roll cage is a pivotal moment in the exo car build, and I am taking a super small step back to ensure the cage is executed properly. After all, it has been 10 years since I fabricated, installed, and welded a roll cage. Although I am still confident in my abilities, a few decisions and other considerations need to be planned before the first tube is cut.
Roll Cage Considerations
Two large decisions from the start: material and design. I put these first as the purpose of the car dictates these choices. Many exo cars are proof of concept, street cruisers, and parking lot warriors, so cage design has a bit of flexibility. (I see quite a few without proper side impact bars, though) This is all acceptable for the hobbyist, but my build will see serious track time and wheel-to-wheel action. Which means it has to pass technical inspection at the racetrack. And more importantly, protect me as much as possible.
I do most of my racing with the National Auto Sport Association (the other NASA). So, for the roll cage and safety standards, I will consult the NASA Club Codes and Regulation document, or CCR. Fortunately, most race groups, like the SCCA and Gridlife, have similar standards and will honor the other organizations’ build guidelines.
This isn’t a hard task as there are just a few proper ways to build a roll cage and many improper ones. For this purpose, I am referring to section 15 of the CCR, Required Safety Equipment. Section 15 lays out proper material choices and design do’s and don’ts.
Roll Cage Material
First up is the tubing material choice. There are four choices listed in the NASA CCR:
- Seamless Alloy (4130 aka Chromoly)
- Cold Drawn Steel (CDS Mechanical)
- Drawn Over Mandrel (DOM 1020)
- Docal R8.
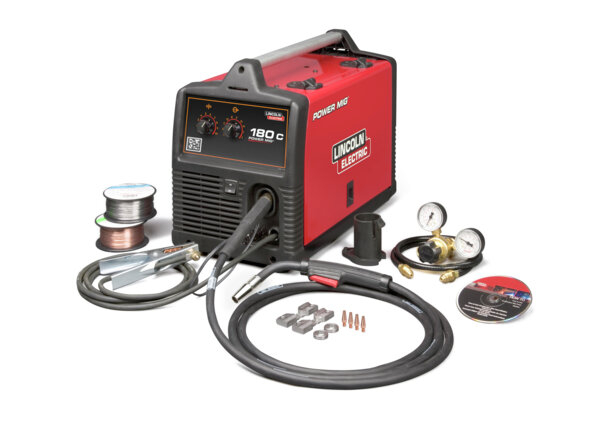
For my purposes, I will dust off the old Lincoln Electric MIG welder and eliminate chromoly, as it requires TIG welding. I’m unfamiliar with CDS, and although I am interested in trying out Docal R8 in a build soon, DOM steel is readily available locally. And it doesn’t hurt that I have worked with it before.
Tube Sizing
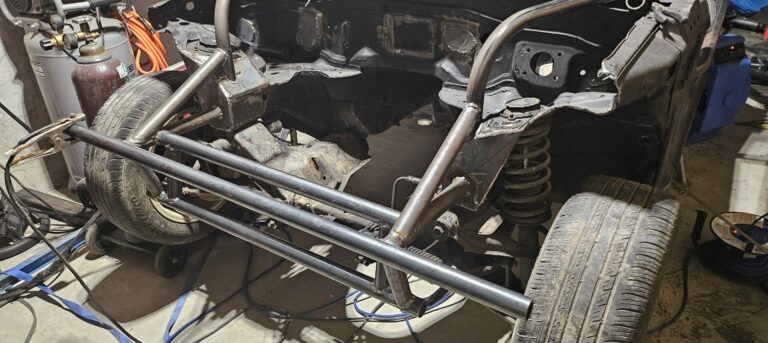
Next is the tube sizing, which is based on the car’s weight minus the driver and fuel. The last weight was 1373 lbs. Considering the roll cage weight, fire suppression, cool shirt, seats, harnesses, and miscellaneous, I could see the final weight tipping the scales right over 1501 lbs. That is the weight threshold for the next size up in tubing, so I will use 1.5″ x .095″ DOM 1020. I also already have the 1.5″ bending die, which doesn’t hurt.
Cage Design
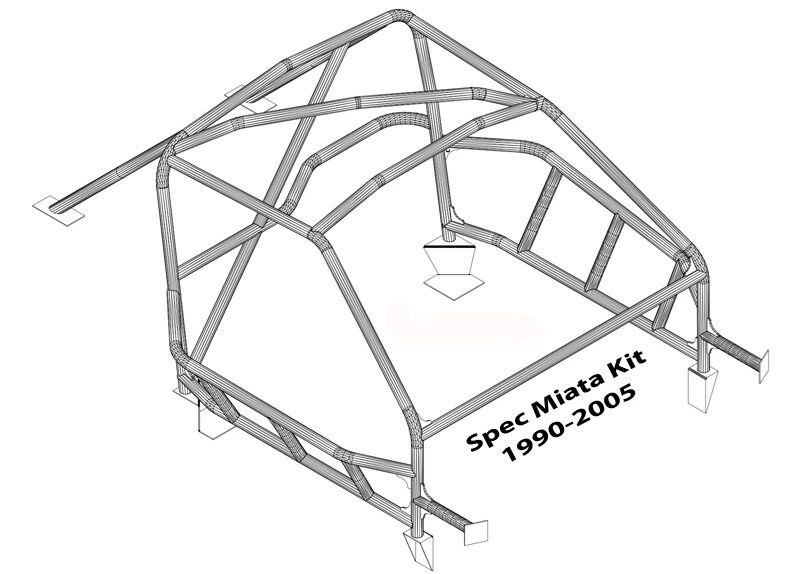
Many references are available online to give a general idea of Miata roll cage design. One example is the Miata Cage kit used in many Spec Miata’s. My custom build will be similar to their design with a few alterations. I am moving the main roll hoop back to the B-pillar support area. Yes, I know the Miata doesn’t technically have a B-pillar, but by moving the main hoop where one would be, I can forgo mounting the hoop to the seat floor. This will open up the interior for a wider selection of seats. I will also raise the main and forward hoop above the windshield line to accommodate taller drivers. (Potentially looking into a halo bar design for maximum headroom) For the sides, I will do hybrid NASCAR bars with panel tabs welded to the side to allow easy decal and number placement.
With a design in mind and easy access to the interior, I won’t use any software or CAD programs to design the final cage. I will hand-measure, cut, bend, and fit myself. Programs like Bend-Tech software, while great, are overkill for something like this.
Tools
I need to dust off some old tools and purchase a few more to build the roll cage. I weld on the racecar maybe once a year to fix something, especially when running in 944 Spec, so I have the welding side covered. For this project, I am using a 220v Lincoln Electric (not ancient yet) MIG welder. This is the machine I have been using for over 10 years, and it welds DOM tubing perfectly.
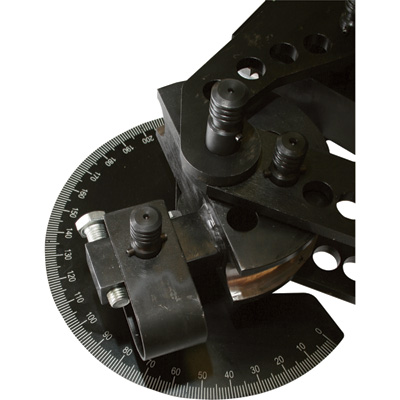
Almost ancient is probably the same story for my tube bender. I have the old-school JD2 Mechanical Tube Bender. But this simple machine should last forever.
What I can’t seem to find is my welding mask (I have 2), my tube notcher, and my tube tracer.
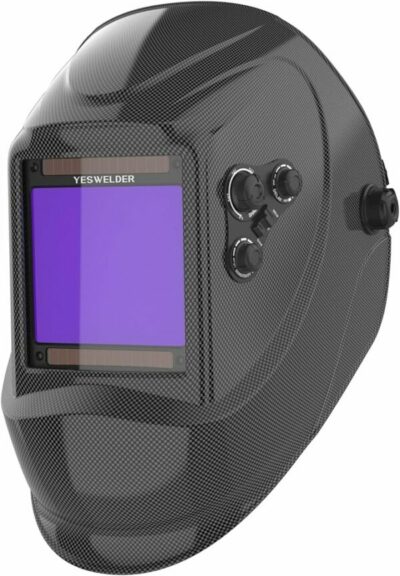
The welding mask is easy. I have been hearing really good things about Yes Welder, so I will be giving one of their large-view, auto-dimming welding helmets a try. The one I am getting is the M800H-Q. It’s two dollars more than the base model, but I think the carbon fiber look is worth it.
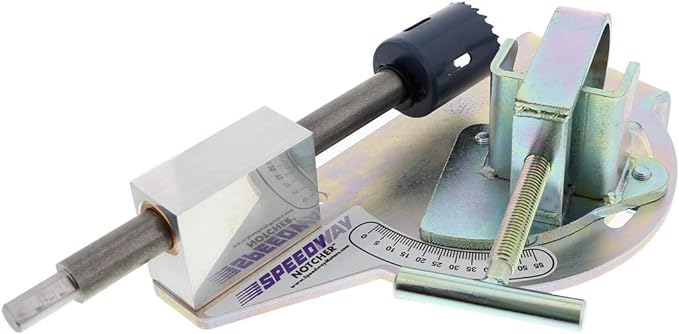
I opted for the Speedway Motors unit for the tube notcher. There are many knockoff tube notchers. A reputable name makes sense, as knockoff tube notchers can produce mixed results.
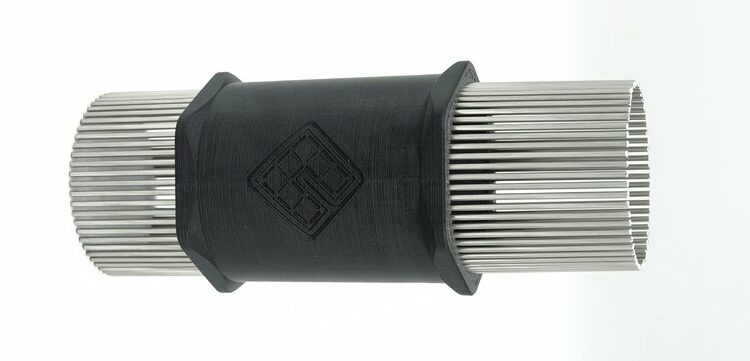
The tube tracer makes transferring the notch to be cut to the tube end super easy. I purchased a 1.5″ tracer from Centurial Inc.
Misc and Next Step
As I move forward with the roll cage fabrication on the exo car, I will use other miscellaneous items. These will be discussed briefly as they come up. For instance, various measuring tools, grinders, presses, vices, etc., will come into play.
One of the first tasks I have done, and outside the scope of this post, is to set up and control my work area. This isn’t the first mention, but my workspace is a concrete pad under a covered deck. Since we live on a mountain, strong winds are common, and when combined with rain, it is very easy for the work area to get wet. In preparation for the next steps, I constructed a wall with old plywood along the exposed end of the workspace to keep the water out.
Another great thing about living in the country is being the carpenter, plumber, and electrician. So, I have also installed a dedicated 220v 30 Amp circuit for the welder.
Now that everything is set up, I am off to pick up the roll cage tubing, practice my welding a little bit, and start the fabrication once the rest of the tools arrive.