Introduction
After installing the Speed Source shifter bushings it is time to tackle the other end of the shifter mechanism. Namely, the rubber bushings at the end of the shifter cables. By replacing the rubber cable ends with solid bushings, the shift mechanism is made that much more precise. Also, unlike the rubber bushings, these solid bushing will not wear out and deteriorate overtime.
Tools
- needle nose pliers
Procedure
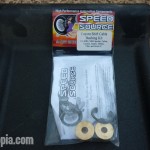
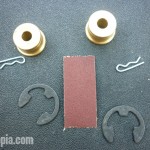
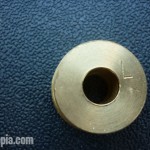
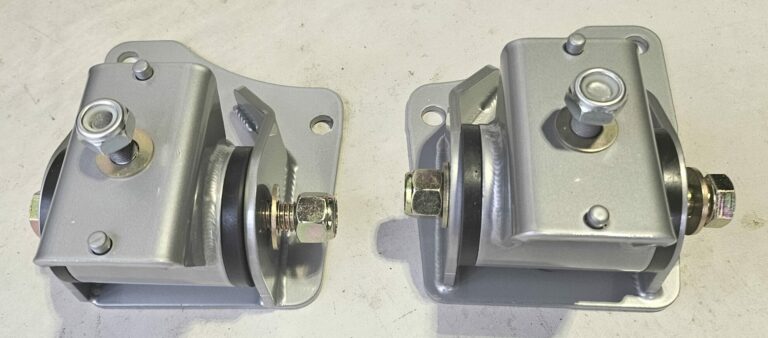
This is a very easy modification that will take around 15 minutes from start to finish. First, we’ll break down the kit. The Speed Source kit includes 2 bushings, 2 c-clips and 2 retaining pins. (sandpaper is included but not necessary) Also note that one of the bushings is marked with an L. This L indicated the lower bushing. (This will make more sense in a moment.)


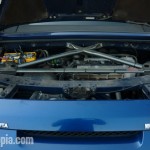
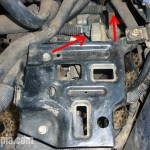
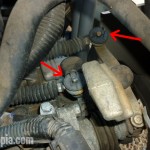
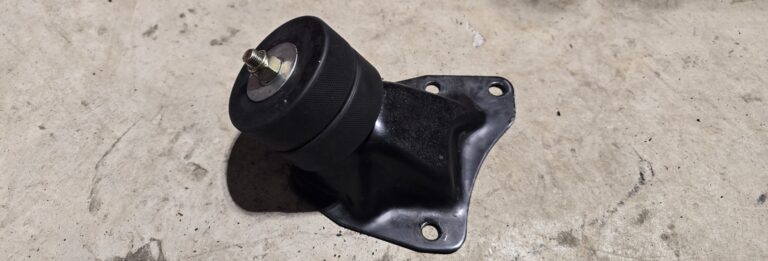
To remove the old bushings, first remove the battery from the engine compartment. (Alternately, you could remove the intake box instead of the battery but the battery is a lot easy to remove and replace.) Standing on the drivers side next to the battery tray, look below thew air intake filter box and you will see two cables that connect to a lever mechanism on the gearbox. At the end of these two cables are the two shifter cable bushings. Using the needle nose pliers, straighten the ends of the retaining pins and pull the pins out. The bushings will now slide off of the mounting pin and you can pry the factory bushings out of the shifter cable ends. (These remove easily and you can use the sand paper at this point to clean the cable ends.)


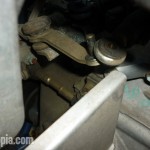
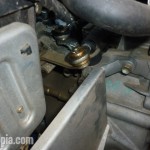
Once the old bushings are out, slide the new solid bushings into the cable ends with the larger end of the bushing on the bottom. Then slide the bushing onto the pin from the shifter lever. (Note: This is where you need to make the distinction between the two new bushings. The bushing marked with the L goes on the lower shift cable end.) From here, slide the C-clip onto the grooved end (top) of the solid bushing. Once clipped in place, slide the new retaining pin through the hole and then bend the ends with the needle nose pliers to secure the cable ends / bushings . and shift lever pins together. (Note: The factory bushings use a small washer on top with the retaining pins. The solid bushings do not use nor require a washer so just discard these old washers along with the old bushings.

Product Sources