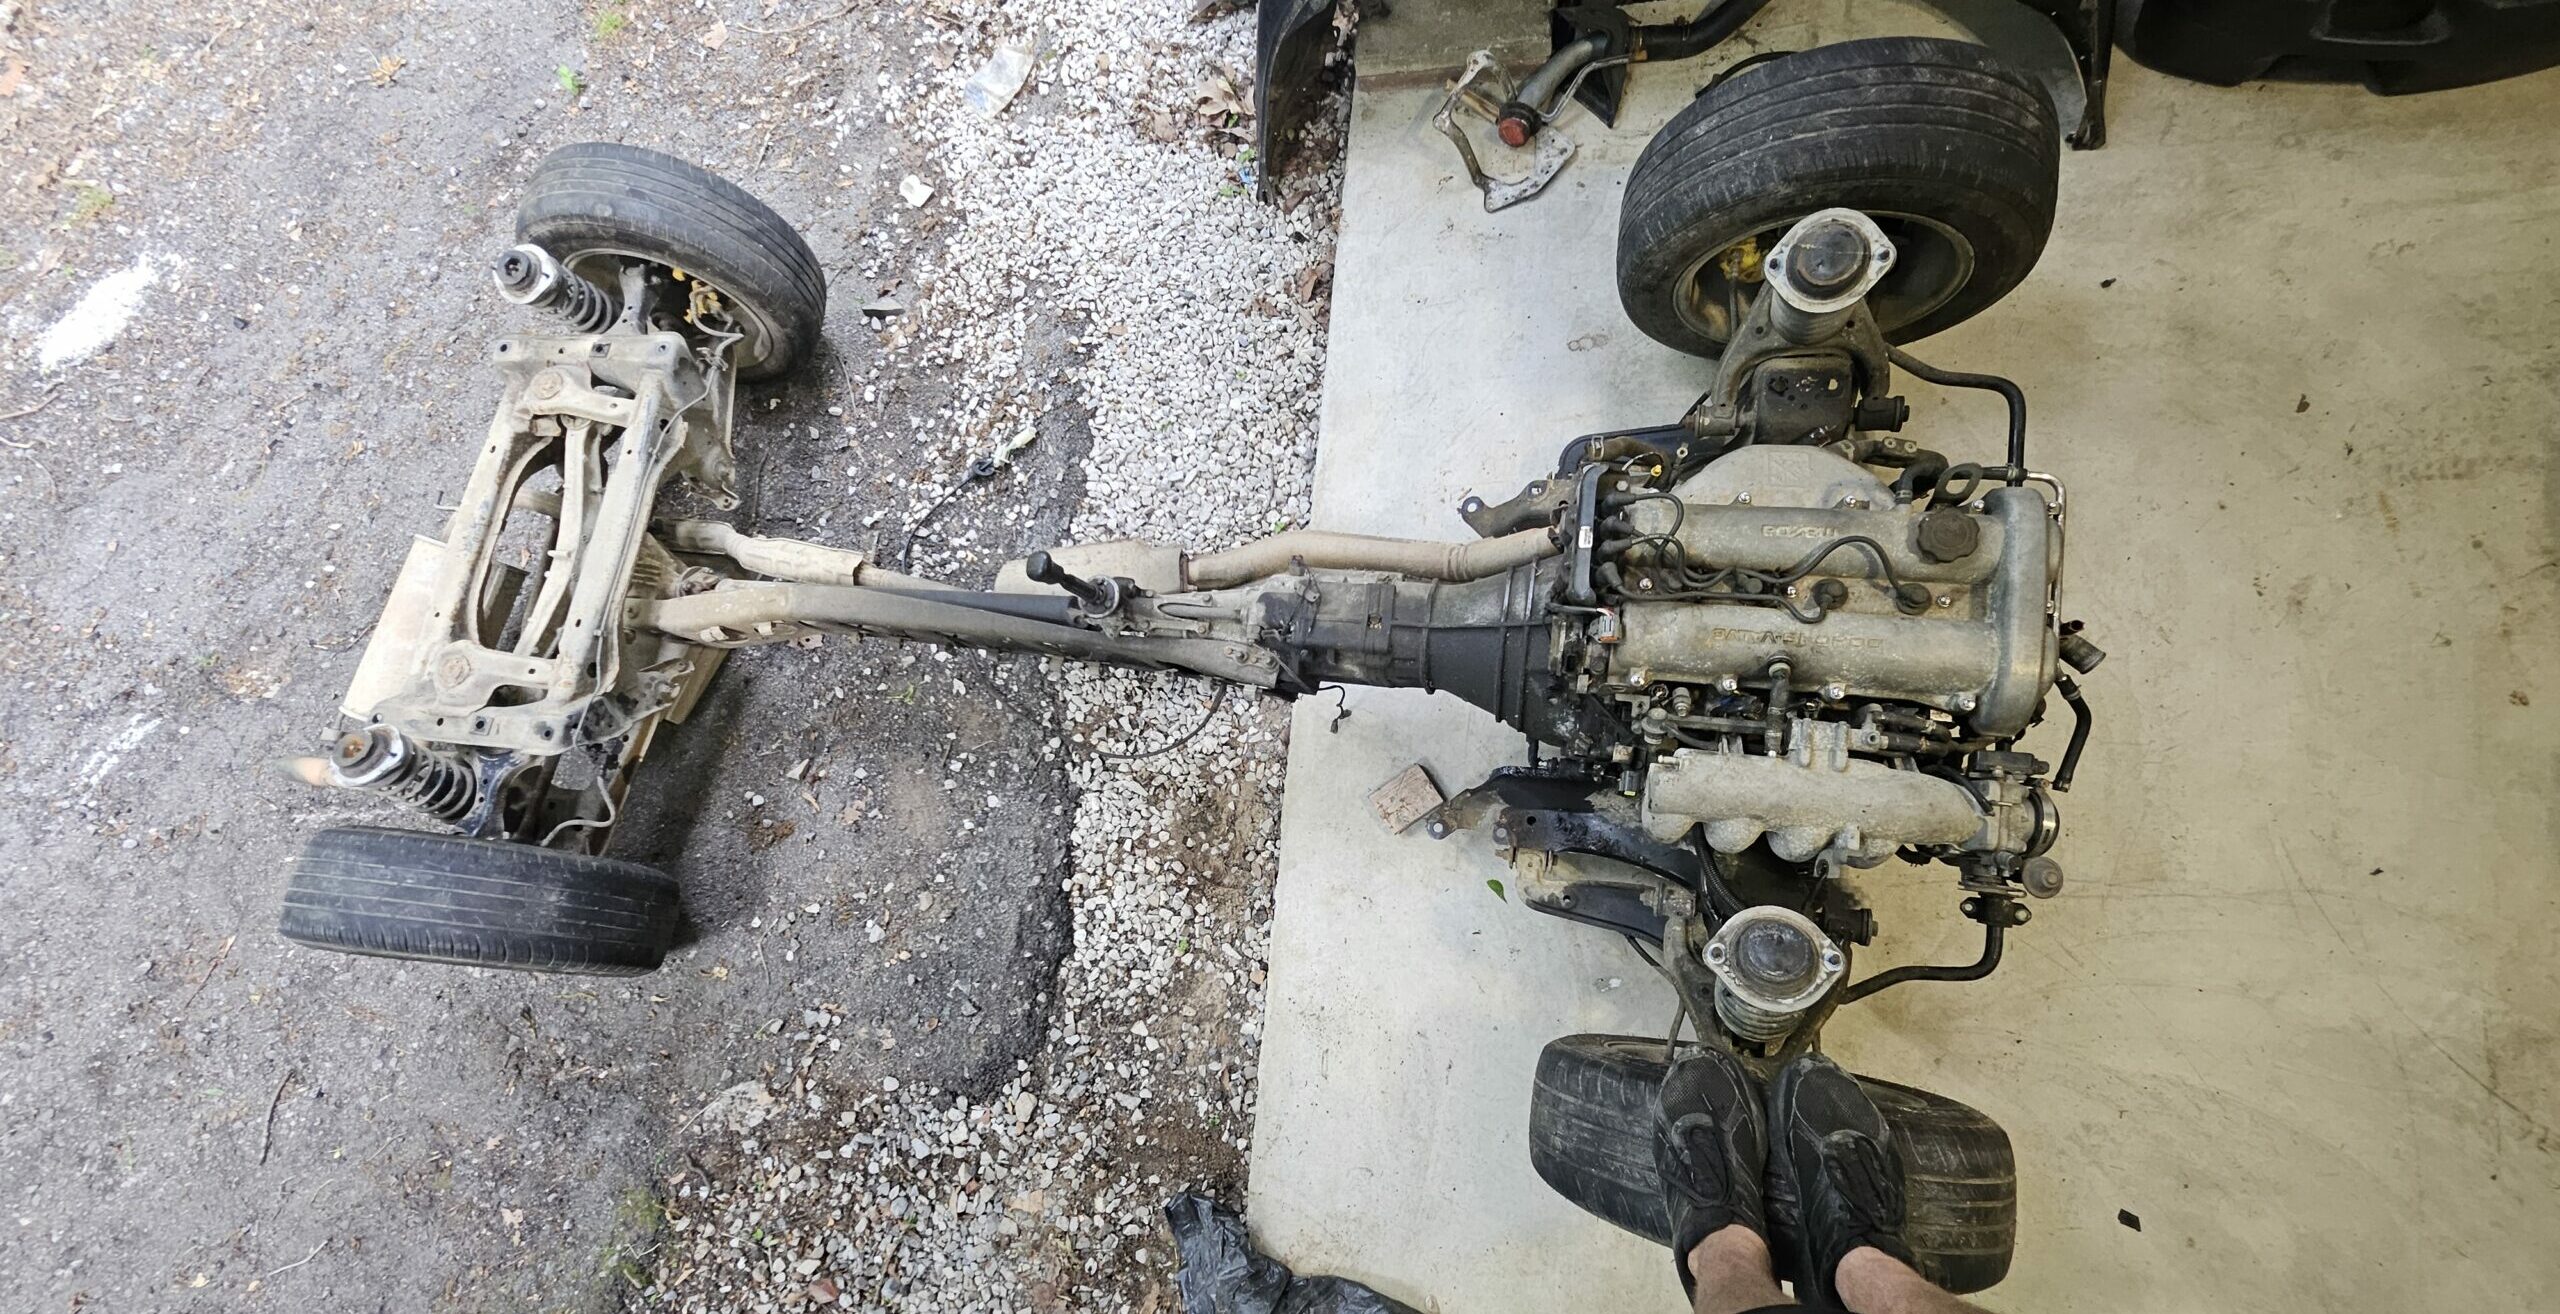
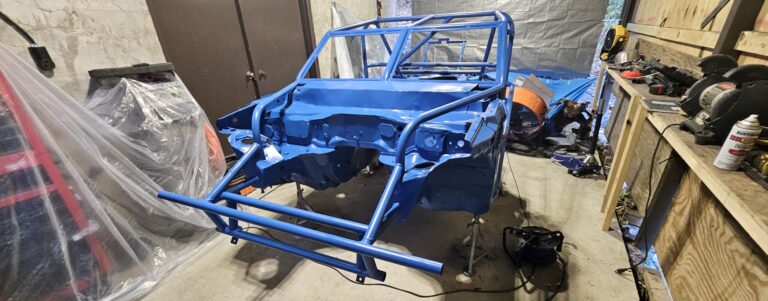
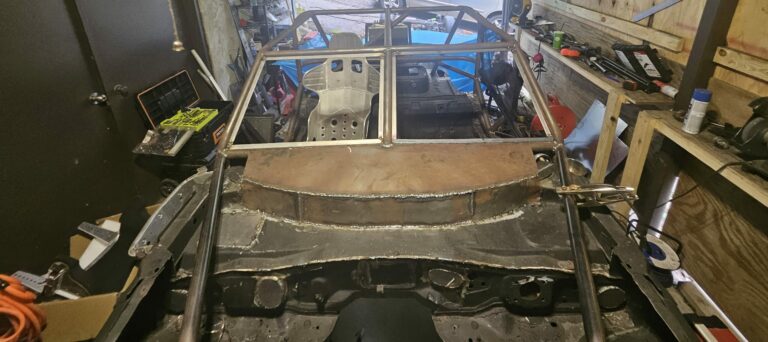
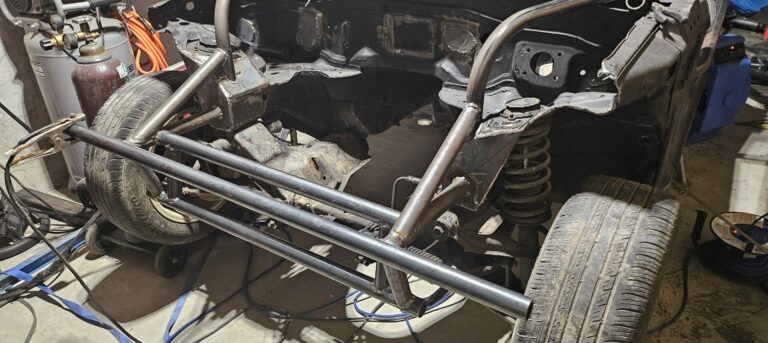
I decided to go ahead and remove the subframe from the chassis. This is a pretty straight forward process in the Miata and will give me easier access to everything when I finish the chassis prep and install the roll cage. However, due to my limited work area, I did have to get a little creative.
Miata Subframe(s)
The NA Miata has both a front and rear subframe that bolt to the chassis. These are then connected together via the Power Plant Frame (PPF). As such, it is relatively easy to separate the subframes that hold the drivetrain from the chassis as a single unit. I will say that in hindsight, I would have documented this process a little bit better in photos. I will either add photos from the racecar or when the exo car is back together to highlight these areas.
Regardless, let’s dig in.
Items to Disconnect
First, close your eyes and imagine the body of the Miata lifting into the air while the wheels, diff, engine, etc. remain on the ground. Now ask yourself, ‘what needs to be removed/disconnected between the subframes and the chassis to accomplish this.’ Surprisingly, not a lot.
Items to disconnect are:
- brake lines – the front 2 lines and the rear junction that are on the passenger side
- engine harness and PPF harness (I had already removed the entire harness but there is a line that runs along the PPF from the battery to the engine bay)
- clutch line
- ebrake cables from rear caliper
- steering column
- fuel lines from fuel rail
- exhaust hangers
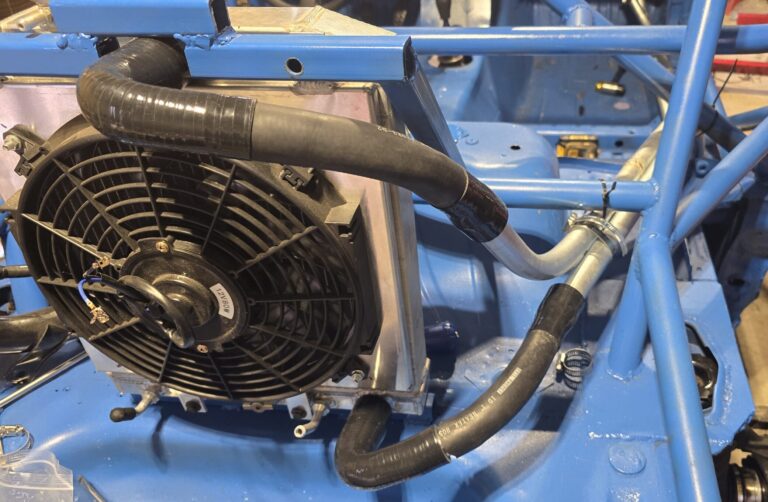
Note: Depending on the state and build of your car, you may have other items to disconnect like heater hoses. Also, more pics to come.
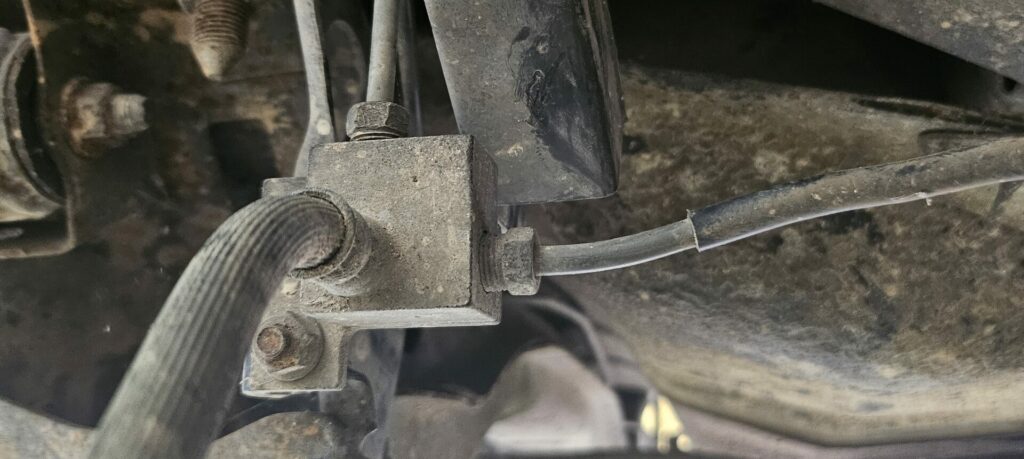
Separating the Subframe(s)
I don’t have access to a lift at the moment, and I used a hybrid method to ‘walk’ the subframe down. First, I placed a hydraulic jack under the front subframe and a second one under the rear diff. I then placed all 4 corners on jack stands under the control arms. This supports the entire weight of the car while I disconnect the frames.
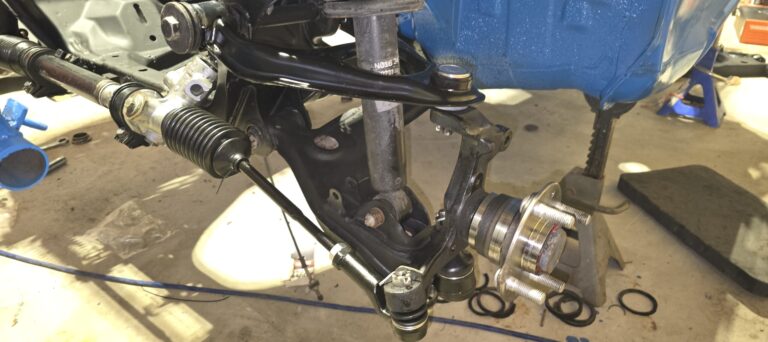
The front subframe is held to the chassis by 4 x 19mm nuts (2 per side), located below the strut towers on the outside. There are also 4 x 14mm bolts on the rear lower of the subframe (2 per side) Finally, the 14mm strut mount bolts on top of the strut tower need to be removed. (2 per side) Once complete, the front subframe is disconnected from the chassis but should not move yet. The weight should be supported by the jack stands under the control arms.
For the rear subframe, first remove 4 x 14mm nuts holding the diff mount covers. Then remove the 2 x 17mm nuts on the diff mounts themselves. Upon closer inspection, the diff mounts to the subframe and has no connection to the chassis. Leave it intact although there should be a hydraulic jack supporting the diff. Now, on each side of the outside of the rear subframe are 2 x 19mm nuts and 1 x 19mmm bolt. Remove these and then the 14mm strut mount nuts. The rear subframe is now disconnected with the weight on the control arms.
Lifting the Chassis Off the Subframes
This is much easier with a lift but seeing as I don’t have one, I had to get a little creative. Using the hydraulic jacks at the front subframe and rear diff, I raised the car enough to remove the jacks under the control arms. I then placed the jack stands under the chassis lift points. At this point, the drivetrain is supported by the two hydraulic jacks and the chassis by the stands. Ensuring the wheels are secure, I then lowered the subframes.
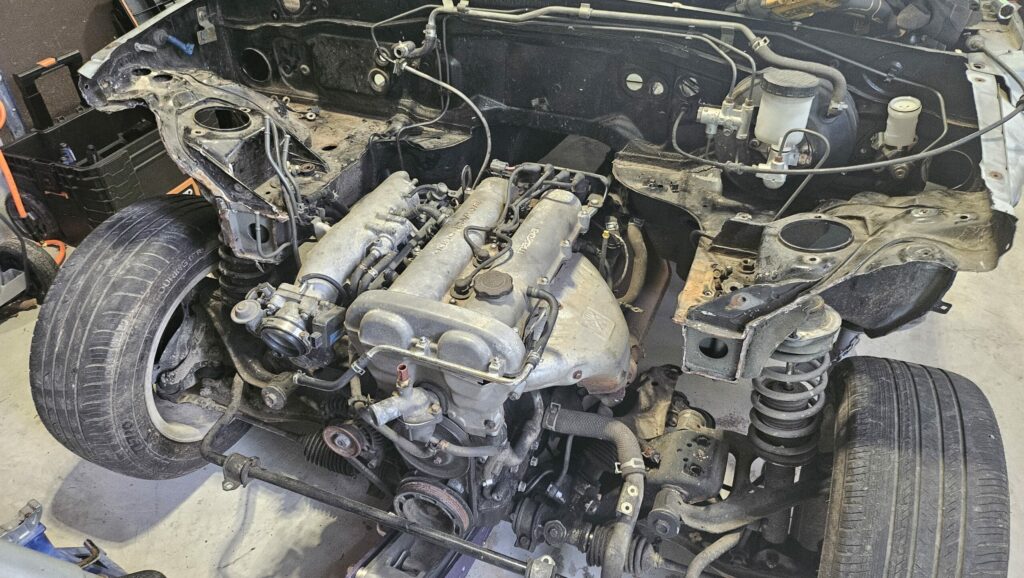
The subframe and chassis are officially separated but I need to now roll the subframe out from under the chassis. To do this, I need to raise the chassis in the air without a lift. To do that I placed 4 anchors/hooks in the ceiling of my work area. Approximately above the four strut tower corners of the Miata. Then I hooked tow straps to each hook. Two going through the front and two through the back. Allowing me to rachet the chassis into the air. In this method, at least one strap per end is always supporting the weight.
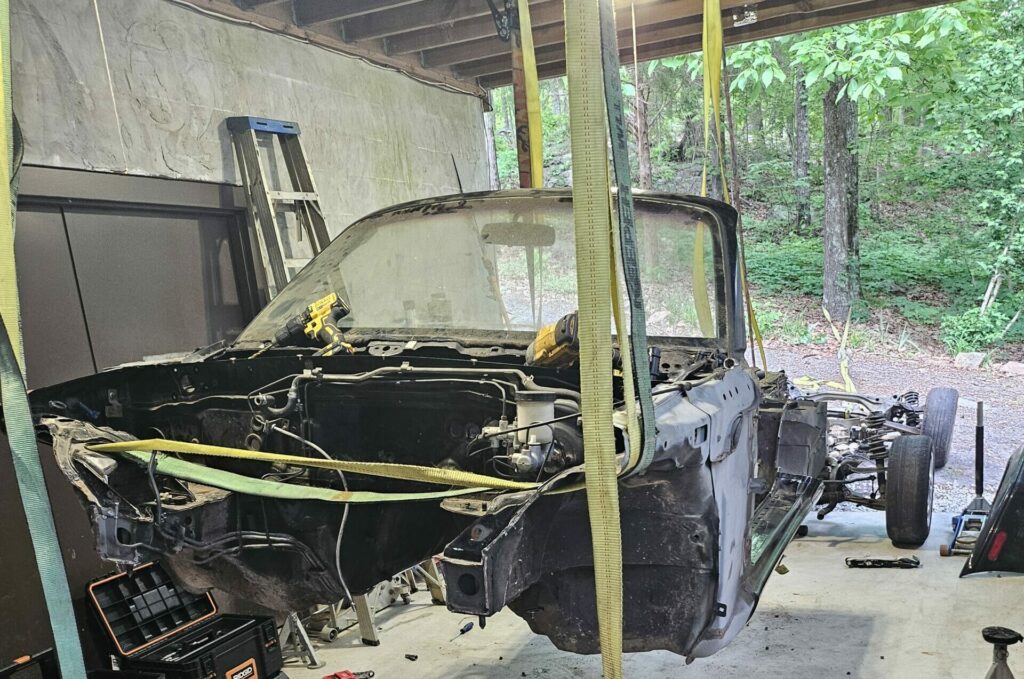
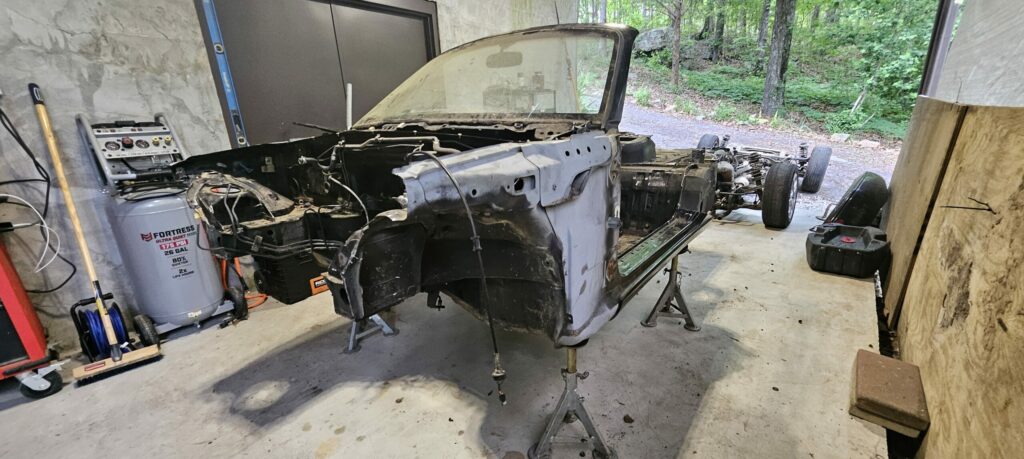
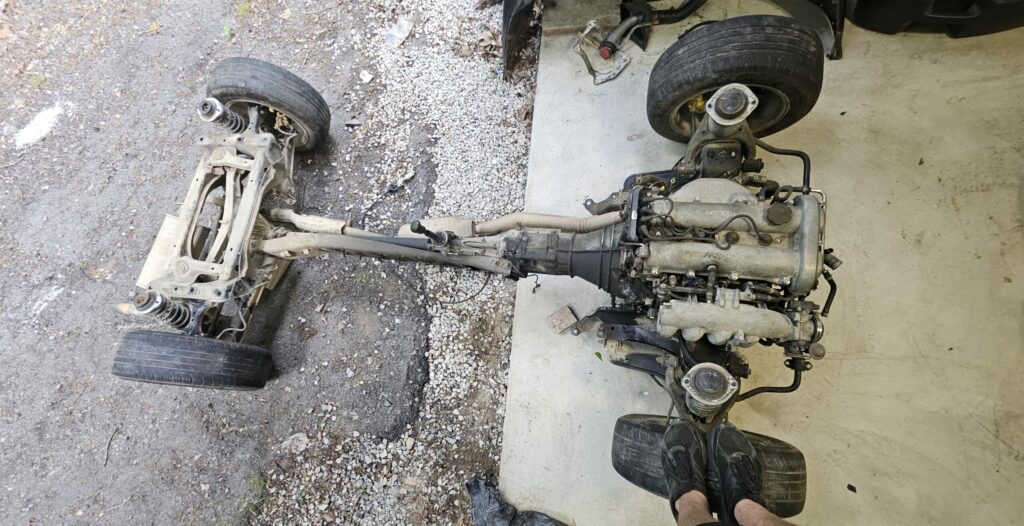
Once the chassis was high enough, I rolled the subframes and drivetrain back and out through the rear. Finally, I walked the chassis back down onto the jack stands alternating ends. Leaving me with an almost completely bare chassis to work on in my workspace.
Next Steps
It’s almost time to bring out the welder and tube bender but first, I need clean up the body cuts, remove any sound deadening material, thoroughly clean the chassis etc…

