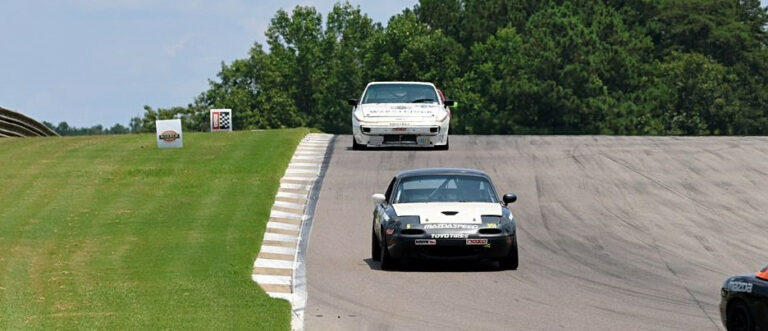
One of the things I have enjoyed about my foray into Super Touring racing with NASA is the open rule book. Building a car to a power to weight instead of the strict rules that go along with Spec racing. This has opened up many engineering possibilities and things I would like to try. One of those is replacing the rearview mirror with a rearview camera.
Background
I became interested in the backup camera idea when I started playing with POV, helmet-mounted camera angles during a few races. I discovered that although the action is pretty great, the rearview mirror drastically limited the view. Thus began several iterations of the rear-view camera in the racecar.
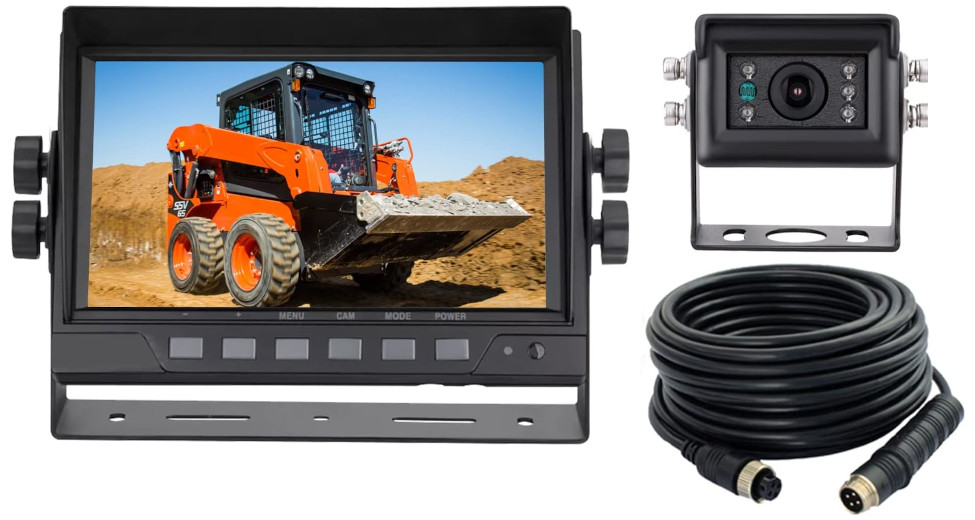
For this process, I didn’t use an expensive motorsports camera ($1000 plus). Instead, I ordered a heavy-duty camera made for earth-moving equipment on Amazon. This camera has a 1080p resolution, day and night vision, and 10g vibration resistance. I opted for the wired version to avoid having separate power sources for the screen and camera. Oh, and it only runs $159.00.
Camera Iteration 1:
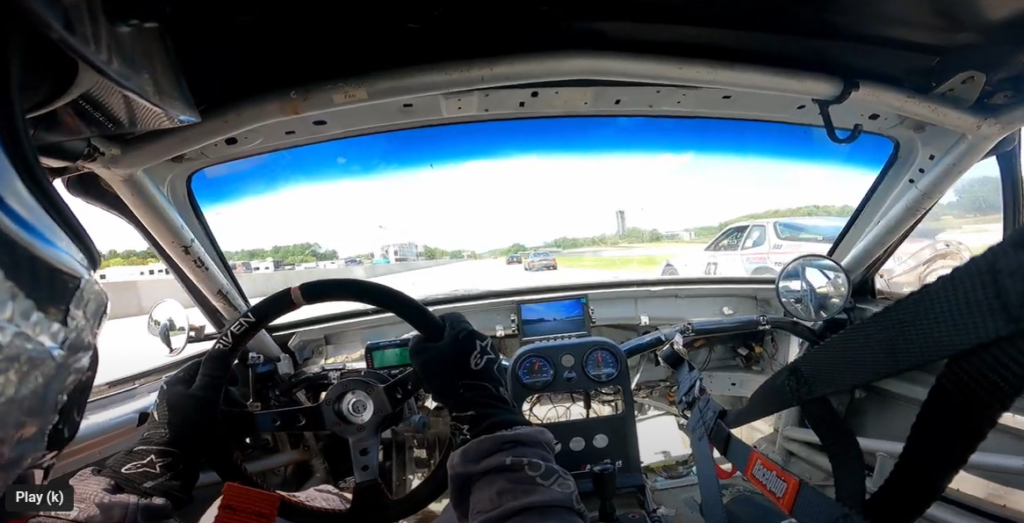
Before installing the camera for the first time, I had completed significant weight reduction on the racecar. As a result, and running without a dashboard, there was what appeared to be the ideal place to install the backup screen. Just under the center of the windshield were two threaded bolts that the monitor attached to perfectly. Being close to the oil pressure and coolant temp gauges, I was able to easily grab 12v power from them.
The camera portion was then routed to the car’s rear and bolted to the center, where the license plate would normally be. After verifying that the camera worked and providing a crisp view of what was behind the car, I would test it on the track at Barber Motorsports Park.
Results
The system worked great during the event, but the monitor was too far away. This was instantly apparent during race conditions. Ironically, I could see cars in the distance, but they became difficult to track once close. I used the camera as a ‘someone is behind you indicator’ and relied on the side view mirrors exclusively for anything close. And the Miata side-view mirrors are a joke, so I had to be extra cautious in traffic.
Camera Iteration 2:
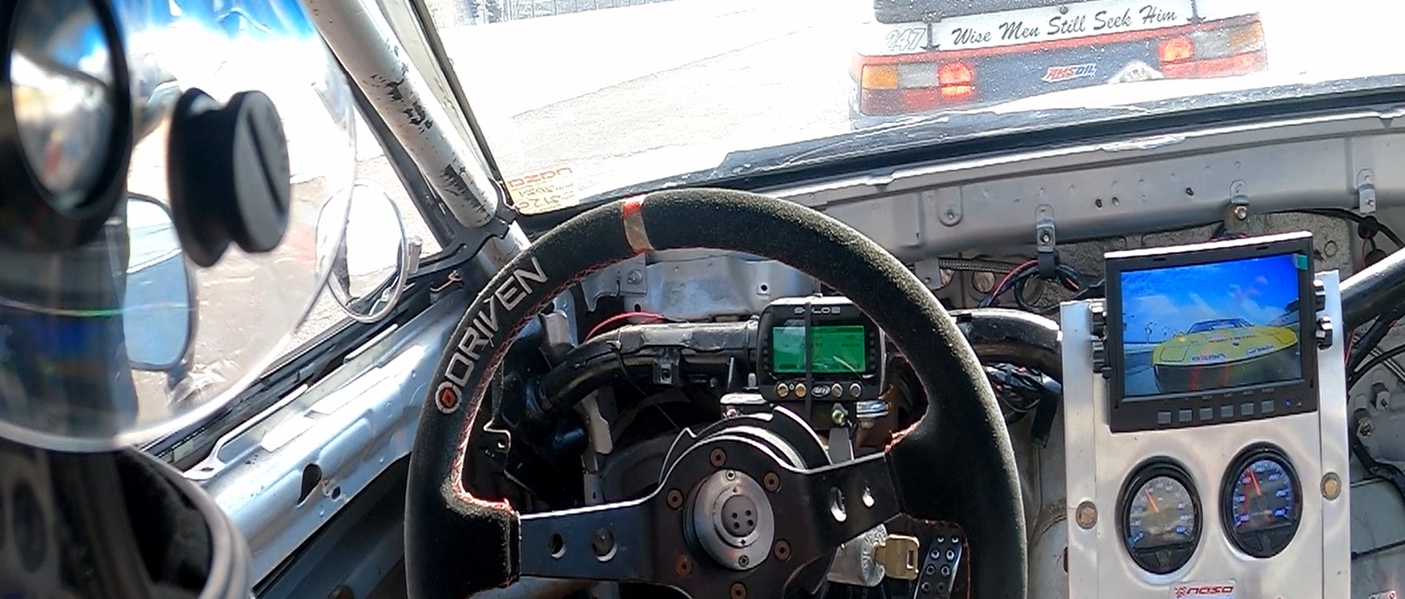
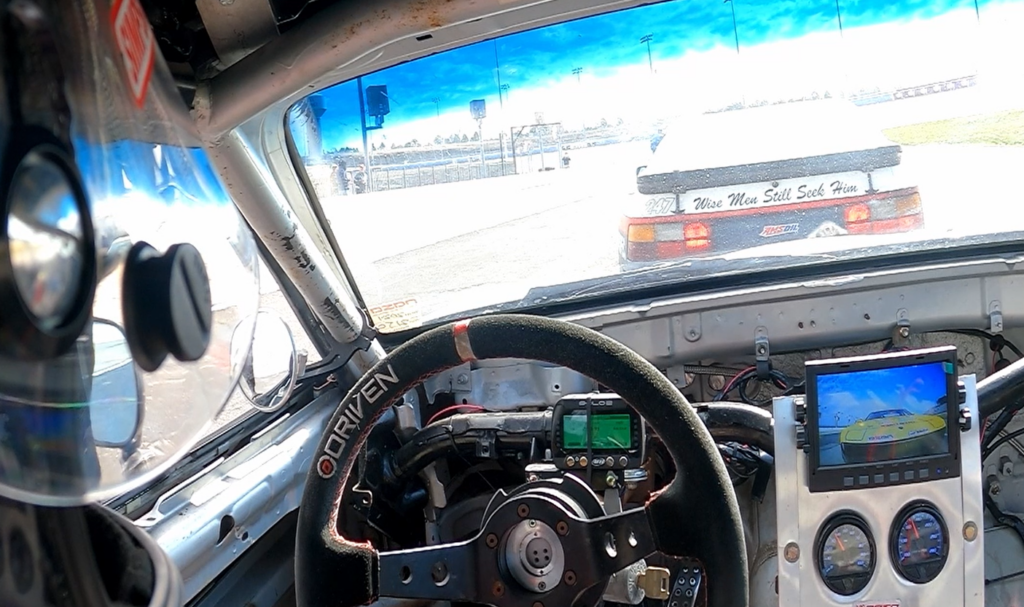
Not wanting a repeat of the Barber weekend, I set out to place the monitor closer to the driver. I settled on the center console where my gauges reside. To do this, I had to fabricate a metal plate to mount the monitor and gauges onto a single piece, replacing the factory console. I used a piece of HVAC sheet metal, bent the edges onto themselves for rigidity, and then bolted it in place. The monitor is secured with zip ties on the top and the gauges in newly drilled holes below.
Results
In short, this is a huge step in the right direction, but it is still not ideal. While this location provides lots of additional data, my peripheral vision does not react to the screen as it does to the rearview mirror when I look directly out the windshield. Although more usable, it is not a replacement for the rearview mirror. At least not yet.
Potential Solutions
This is a basic rearview camera for the racecar that can be done on a budget. I believe it can be perfected with a bit more testing. I will talk about these final iterations after I finish testing.
The solutions I have in mind are:
- Move the camera from the bumper to a higher angle, such as the car’s roof (or just behind the roof). This will allow more image data from the widescreen lens.
- Use a dedicated widescreen monitor to expand the image further.
- Ditch the rearview and run two systems—one in place of each side view mirror. The monitors would be left and right of the steering wheel, covering a 120-degree angle each. This would yield a 240-degree angle behind the driver, with all visuals in the forward field of vision.
I am actively testing these solutions over the next month and will either append this article with the results or drop a link to a part 2.

