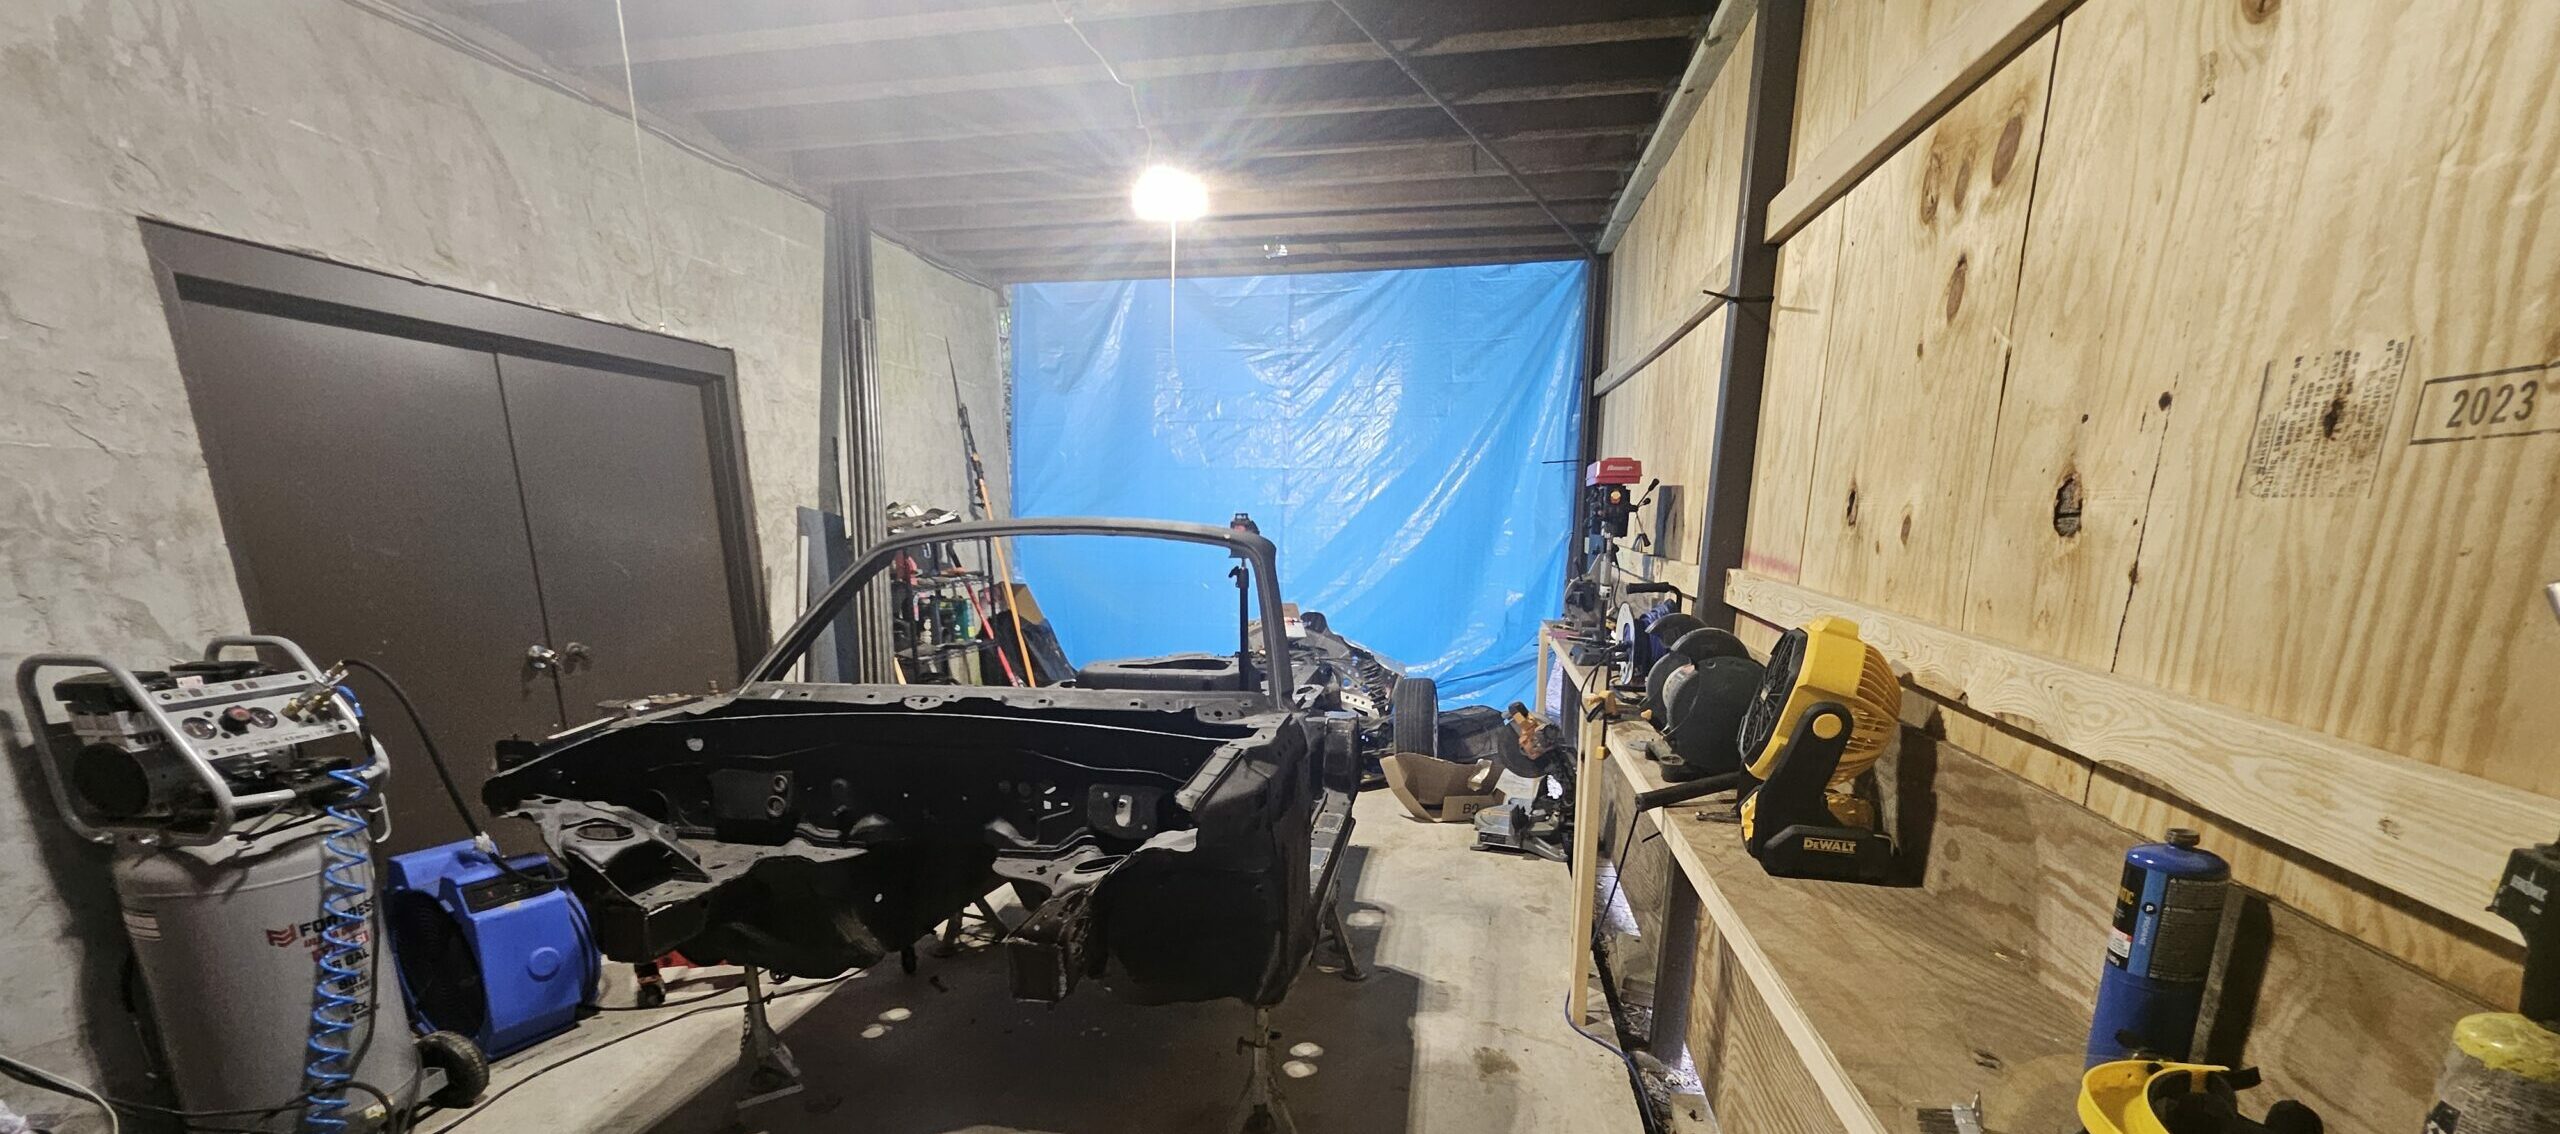
It is finally here: the fabrication portion of the exo car build. Getting to this point has been quite the process: digging up all of my old equipment and piecing together a functional fabrication space. But with all of the prep work behind me, it is time to build the roll cage. The first step is to build and install the floor plates.
Roll Cage Preparation Revisited
In the last installment, I reviewed a general guideline of what I needed to build a roll cage for the ghettocet. That list ended up growing. I converted the JD2 Model 3 mechanical tube bender to hydraulics using an adapter from SWAG offroad. This also allowed me to mount the bender on an old engine stand, which made the whole unit portable. Finally, my workspace is somewhat exposed to the elements, and I built a wall on the long side to prevent any more rain from getting through. This wall allowed space for a bench to hold items like a tube notcher, grinder, metal saw, and more. Tools that will see extensive moving forward.
Roll Cage Mount Plates
The roll cage mount plates connect the roll cage to the car’s chassis. Traditionally, the plates and mounts attach to the floor pan. However, the exo car’s lack of body panels and a roof opens up many different mounting possibilities. In this case, the vehicle will see extensive track use and potential endurance use, so I want to accommodate various driver sizes.
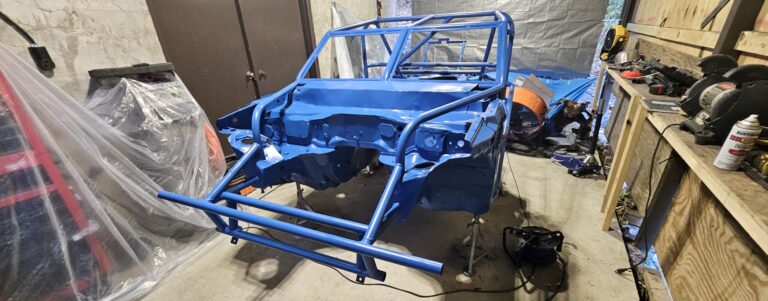
To do this, I am mounting the main roll hoop on the area behind the driver on the horizontal plane above the floor pan. The main hoop will also reach slightly above the factory roof line. This allows a larger containment seat installation—something rather tricky in a standard Spec Miata or any Miata racecar, for that matter.
The door bars will also mount to the door seam, further increasing the driver room.
Constructing the Roll Cage Floor Plates
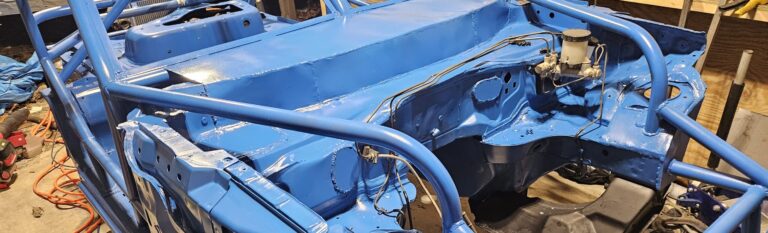
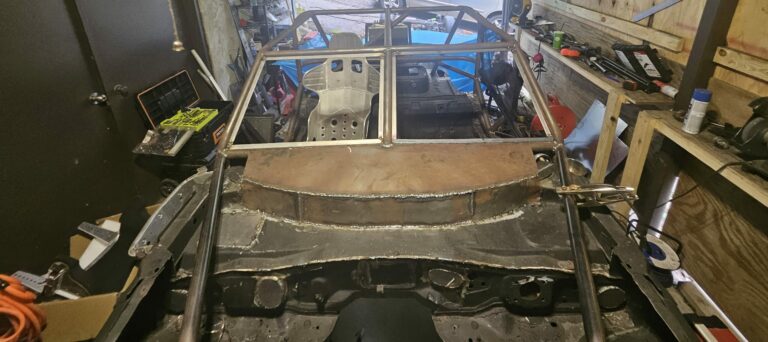
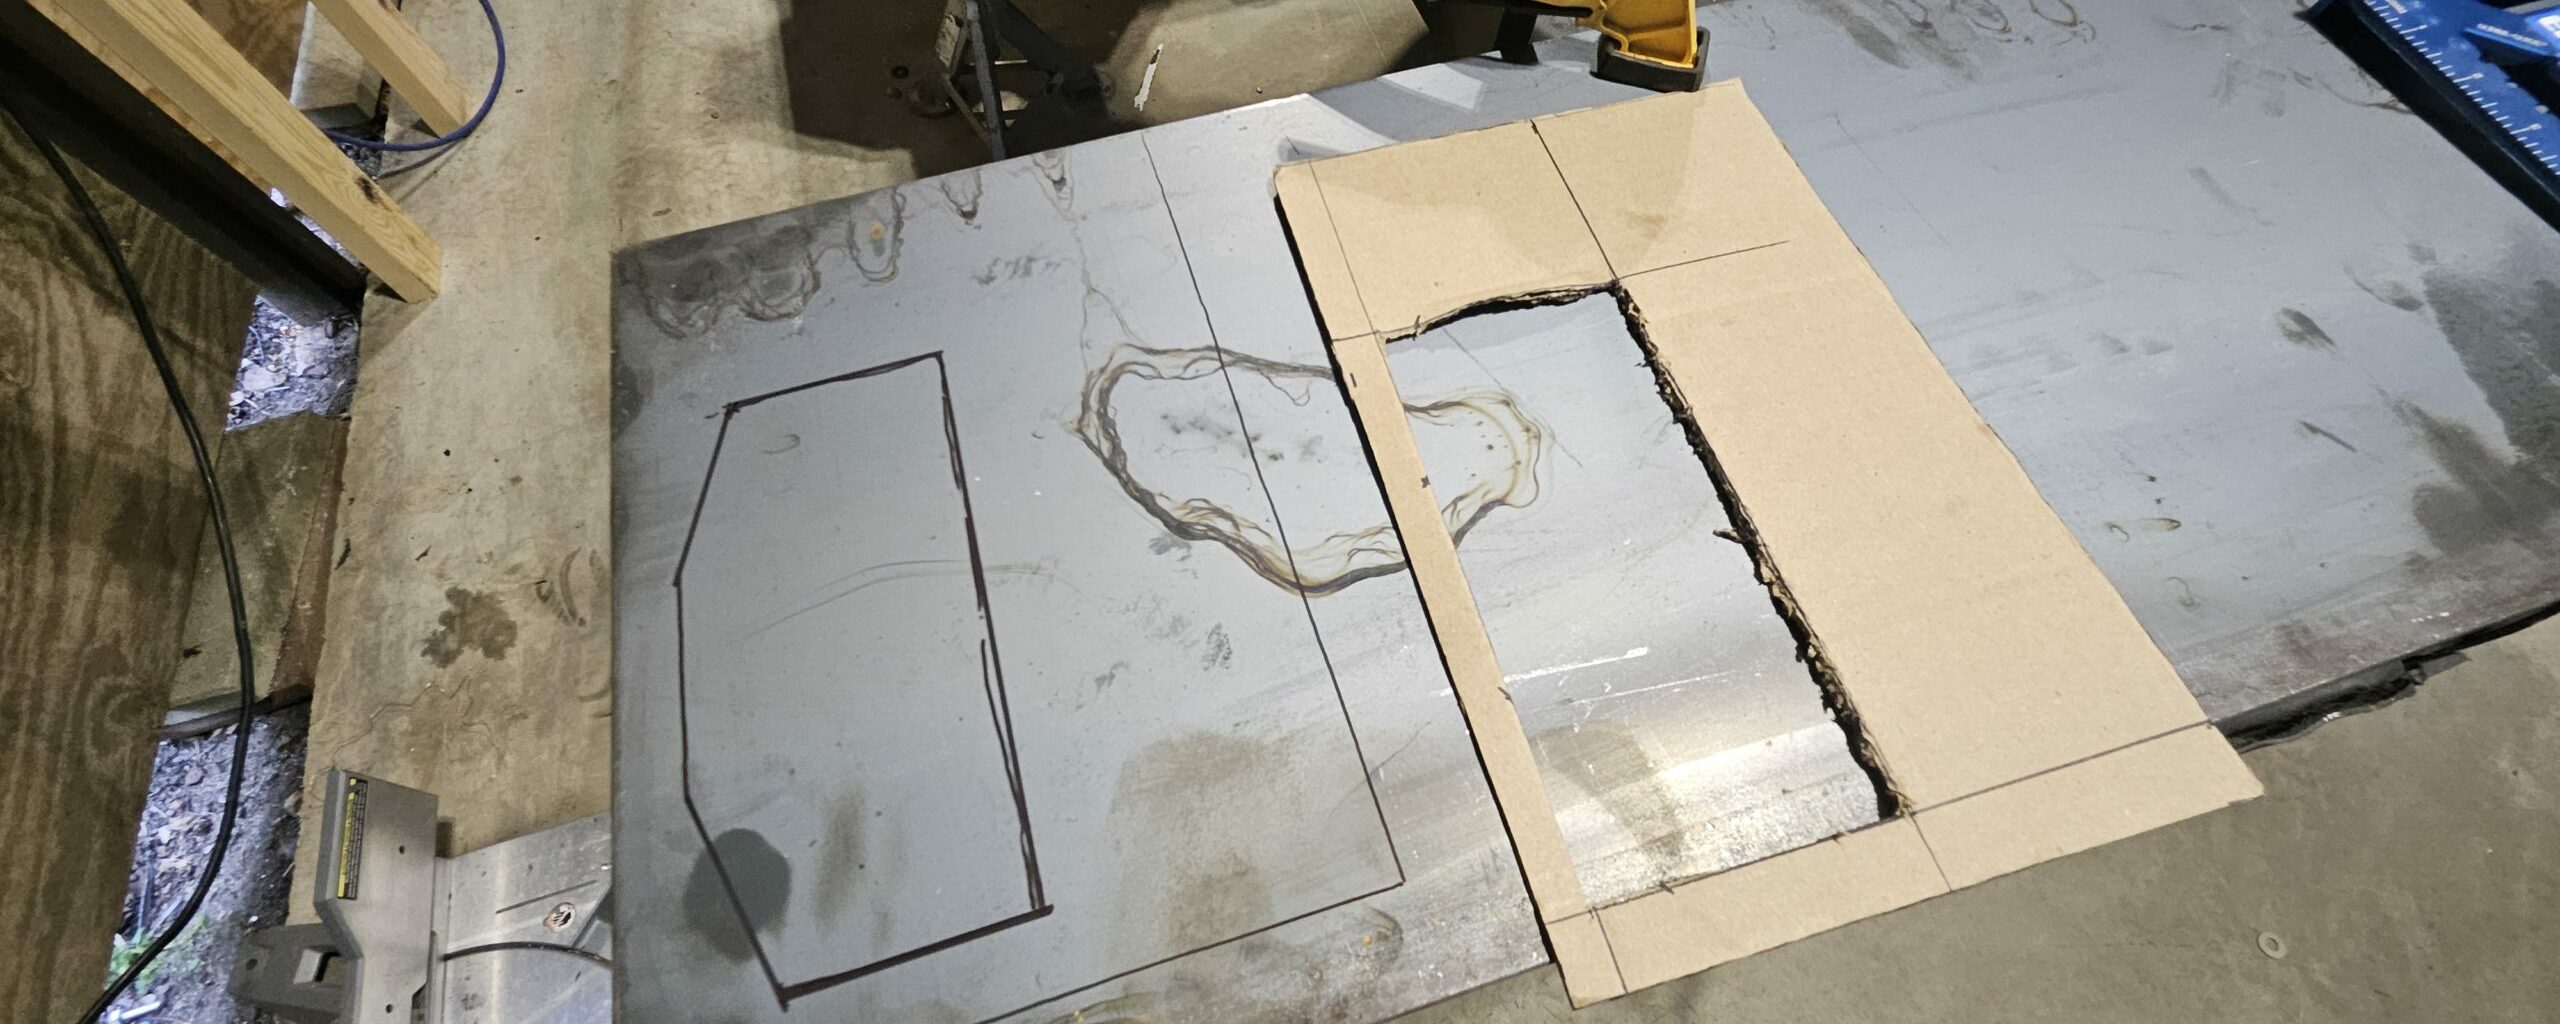
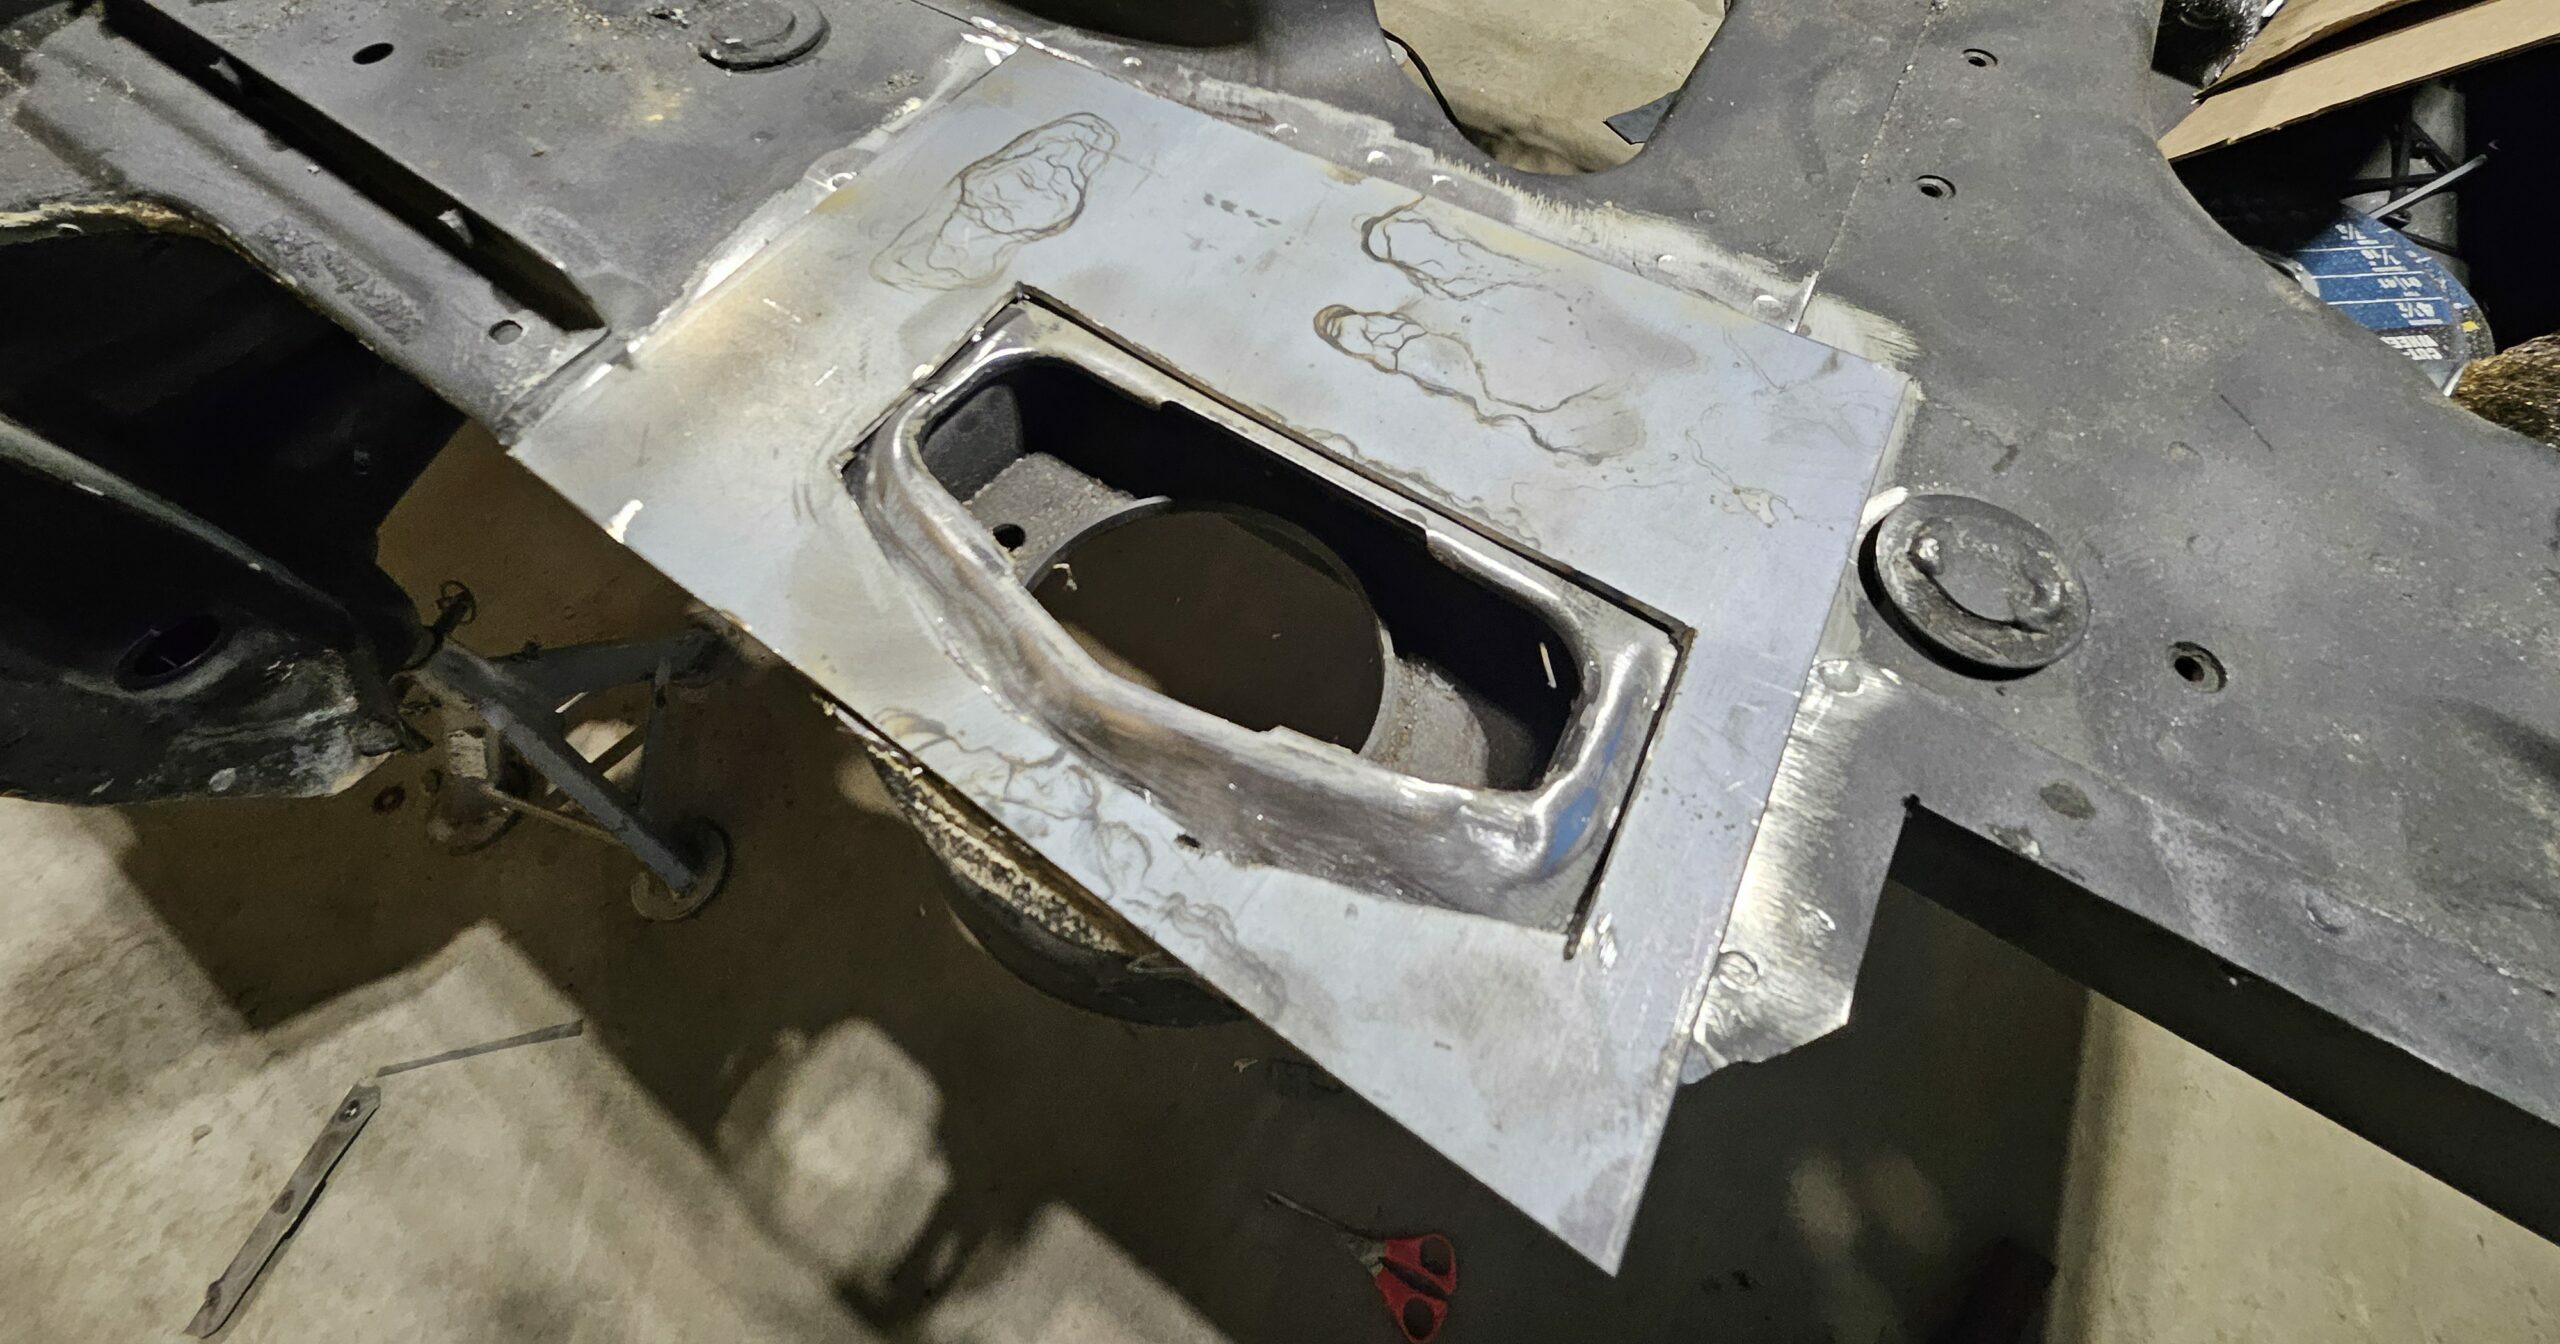
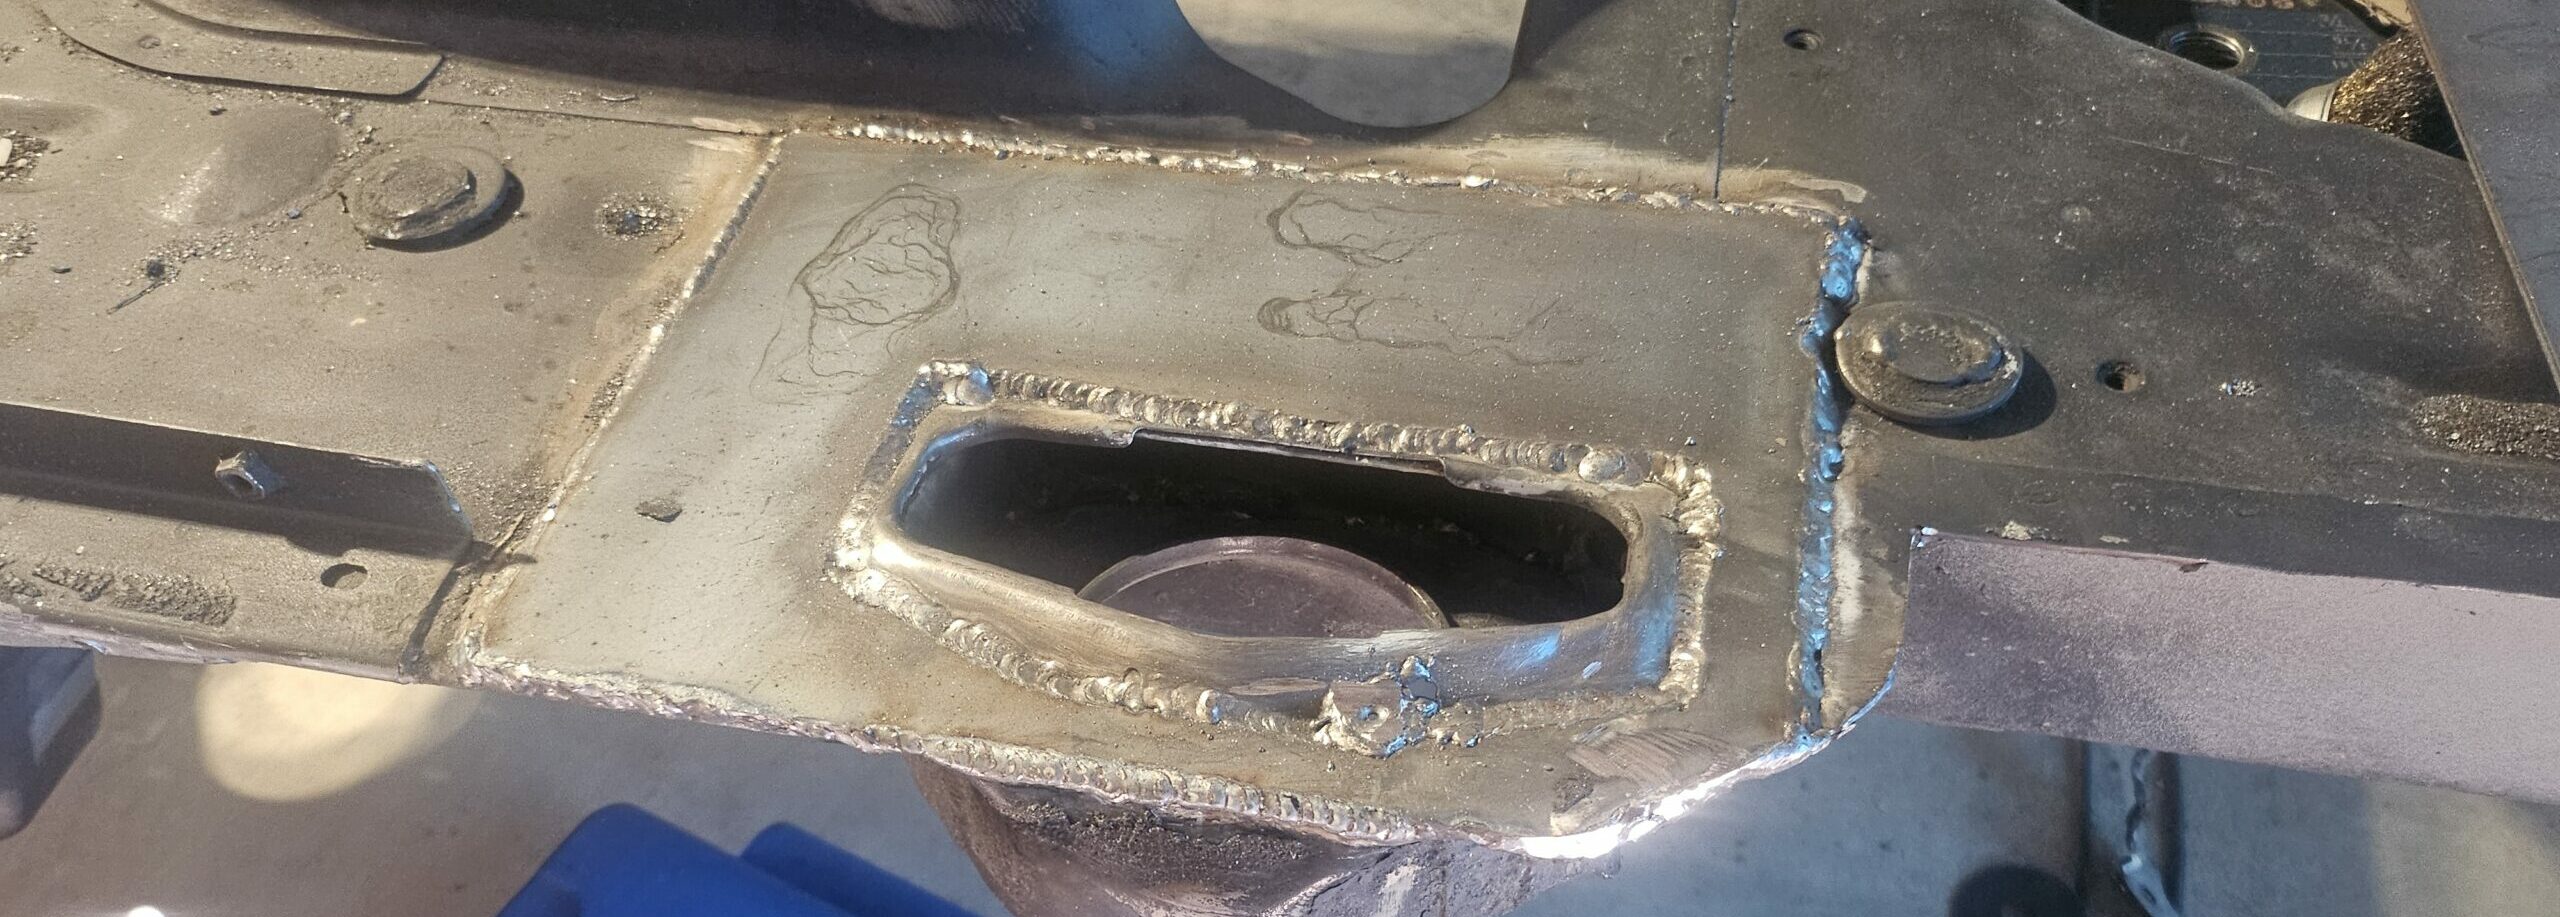
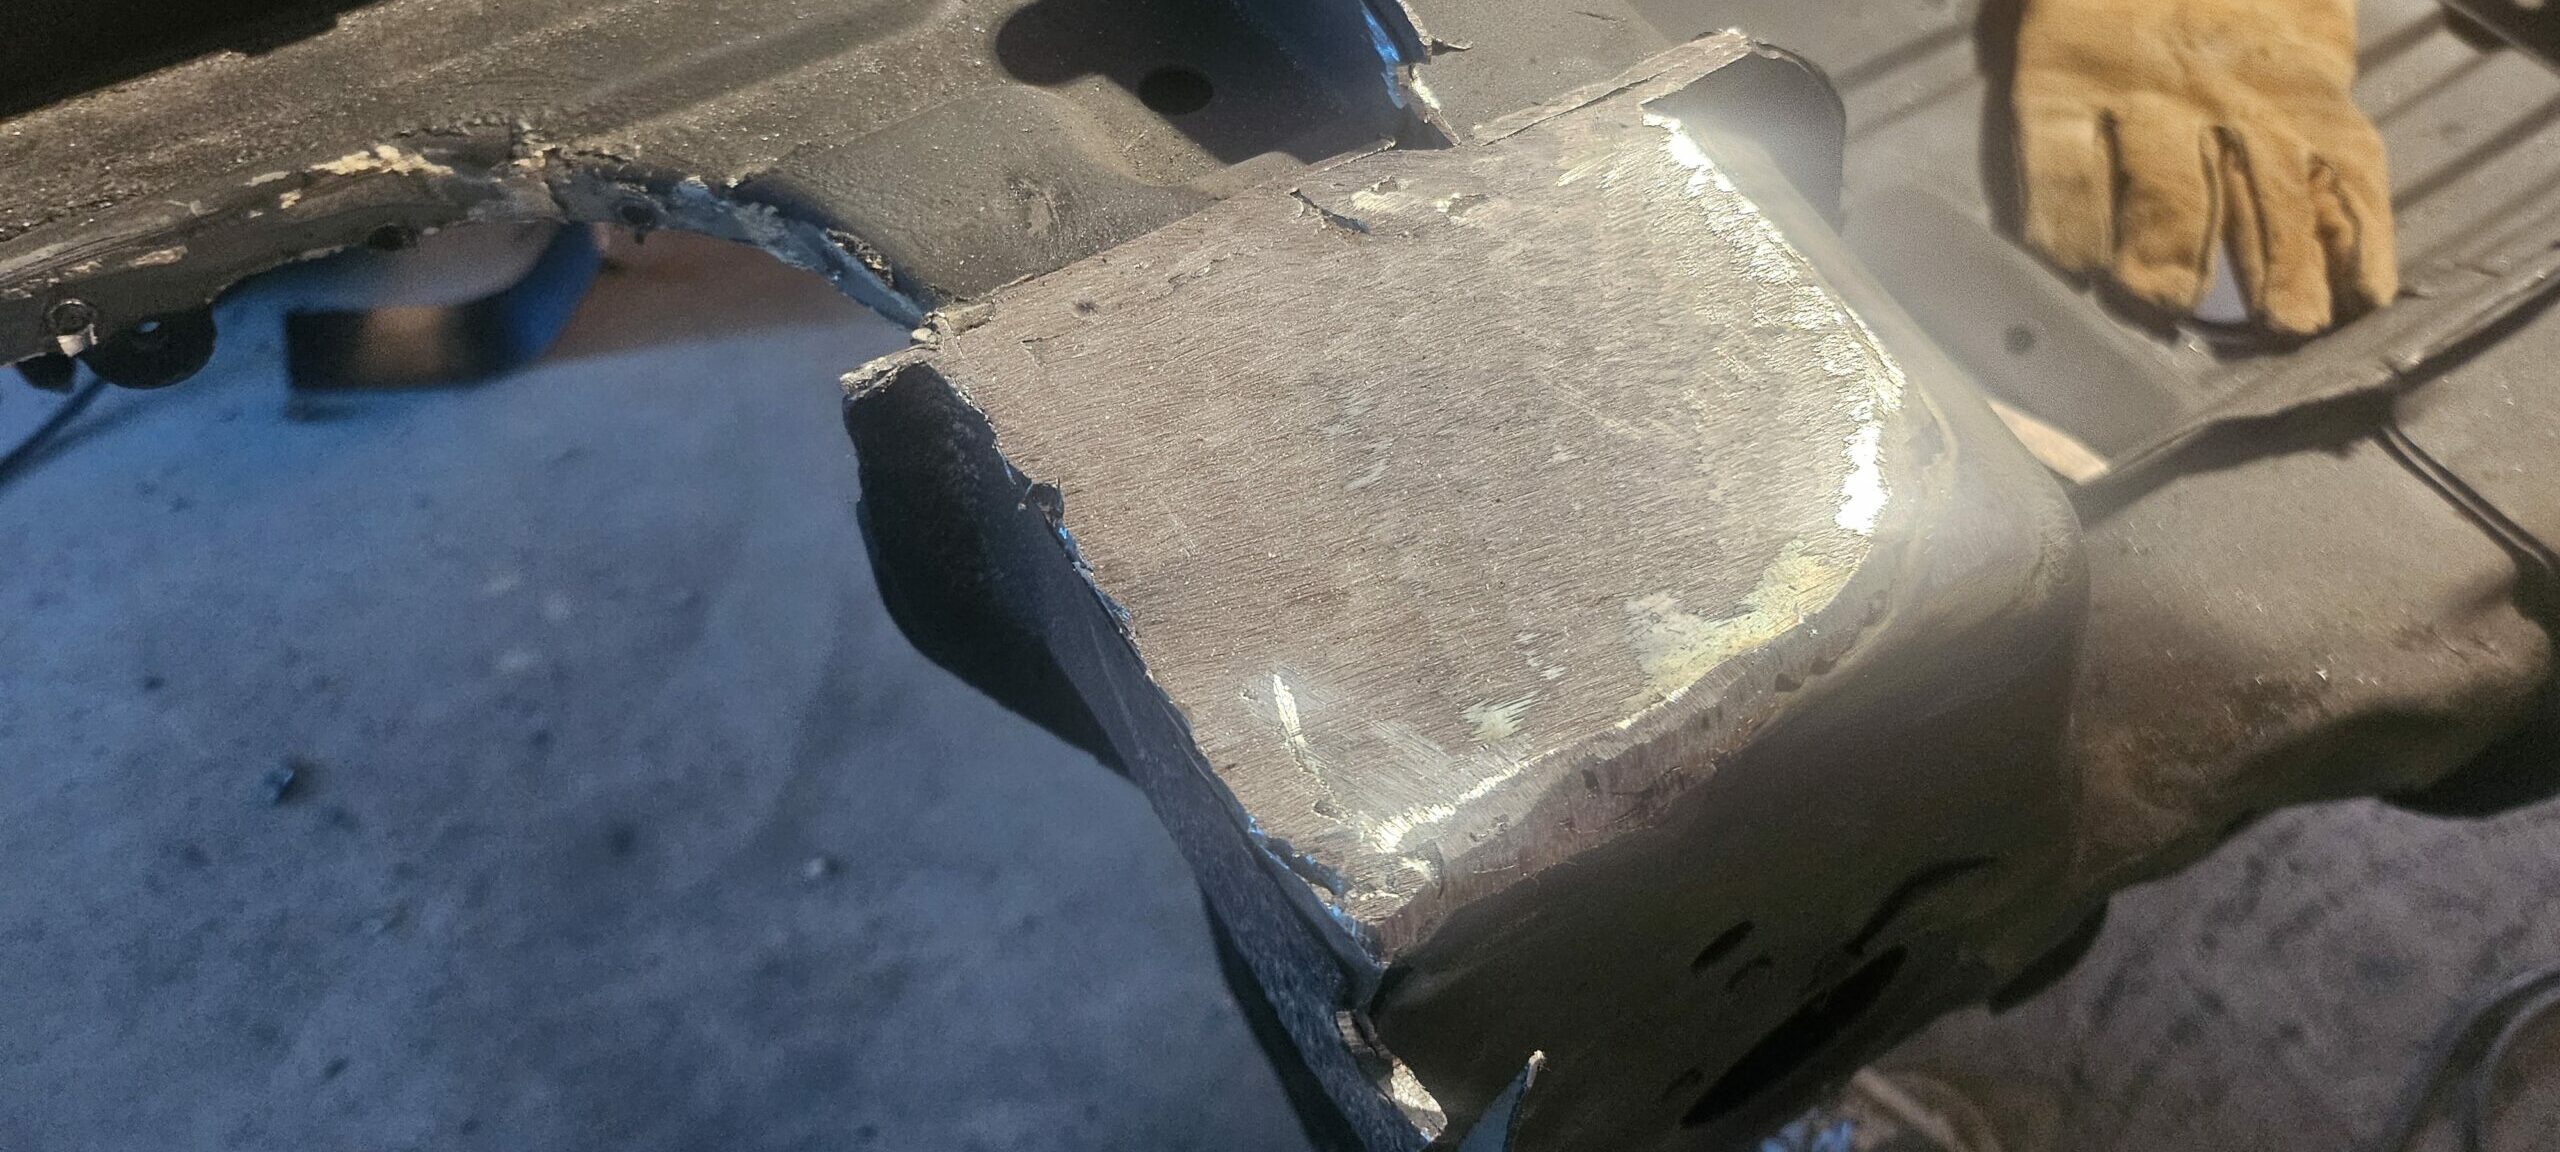
Floor plates are constructed from 1/8″ to 3/16″ plate steel. Starting at the back of the car, I first made the rear strut tower plates. There will be bars on each side of the chassis that triangulate the rear strut mount to the main roll hoop. These were the most complicated plates to construct as well. So, to get it right the first time, I used a piece of cardboard to cut a plate template. Then transferring the template to the metal.
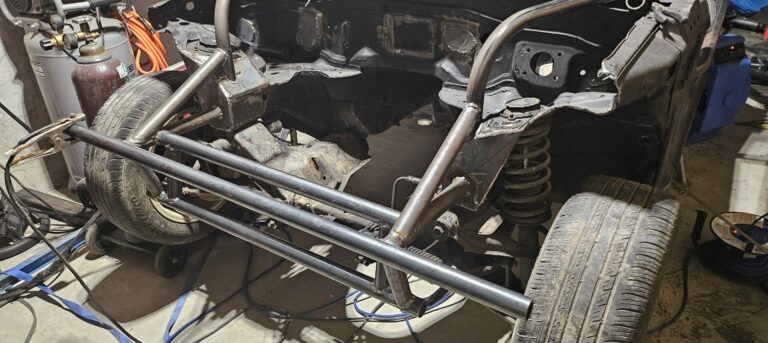
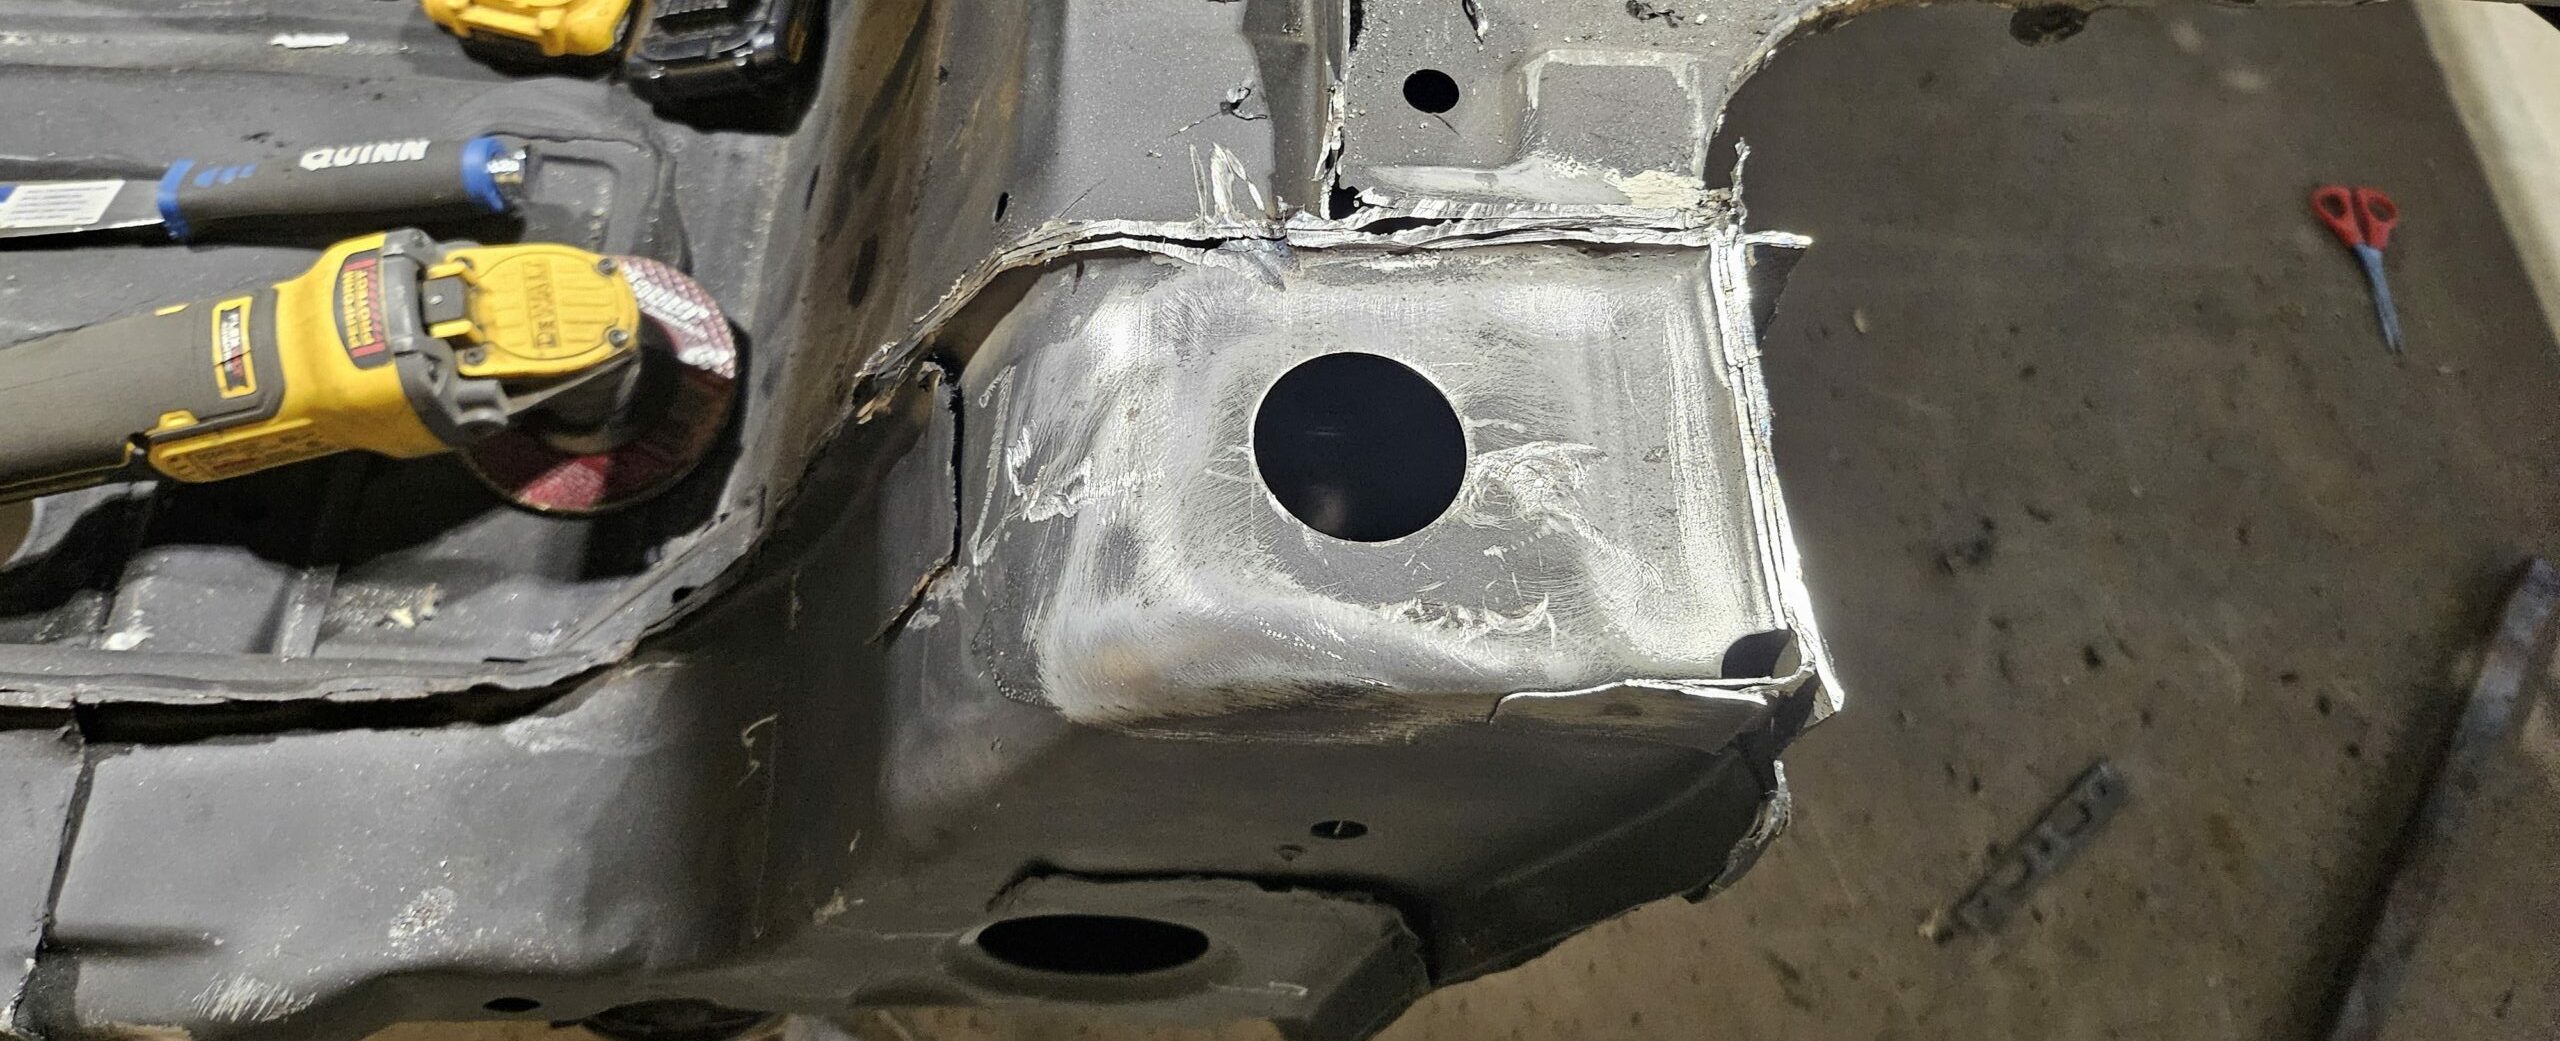
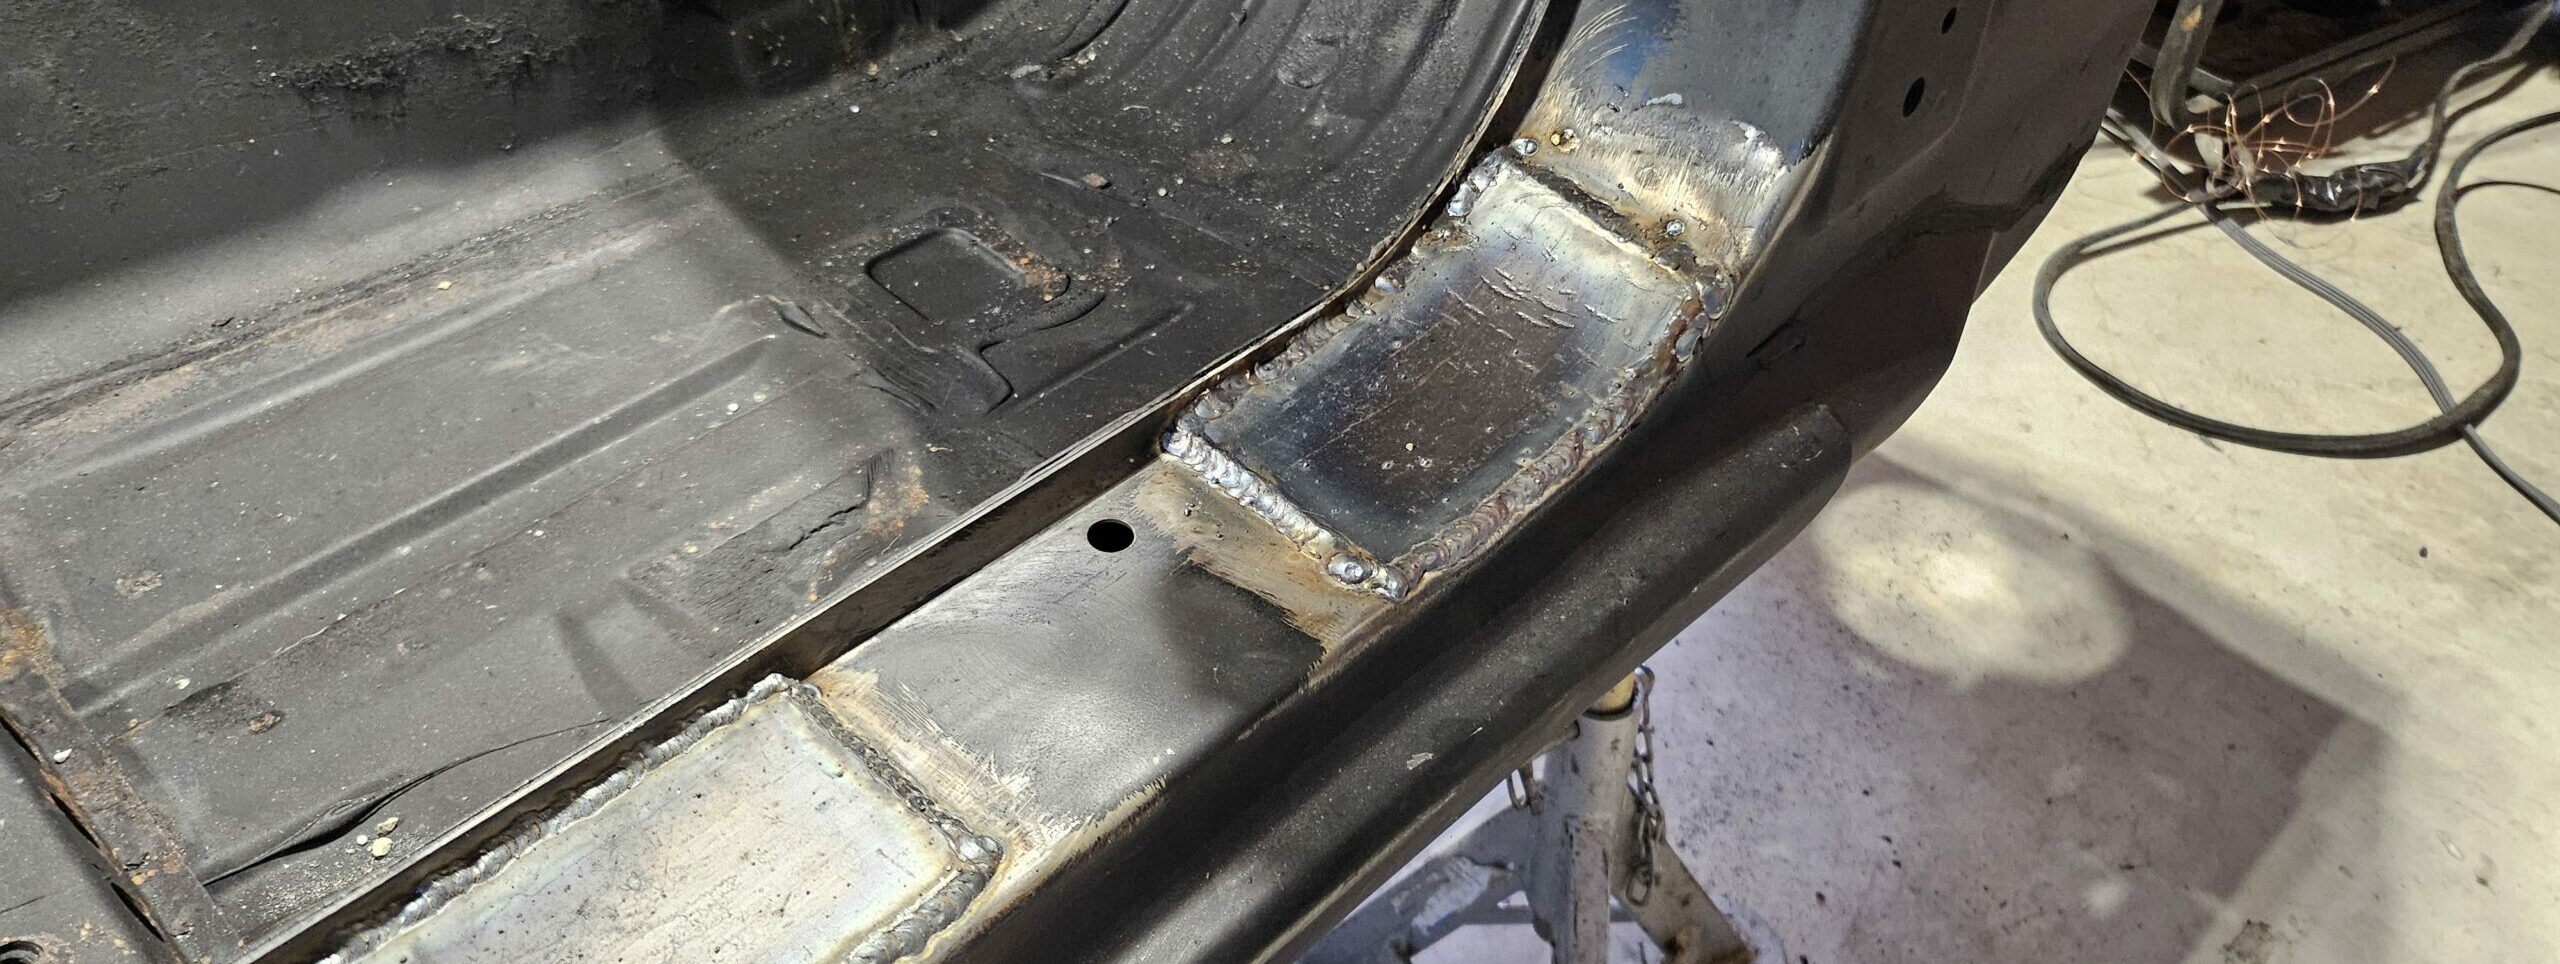
The rest of the floor plates were easy. Mainly consisting of square or rectangular pieces. Pushing the main roll hoop mounts out as far as possible for maximum space. I can’t think of what to name this area for the life of me, but the pics below show the location.
Once again, to maximize the interior room, the forward bars will be mounted just behind the A-pillar on the door seam instead of inside the pillar on the floor. This area has a slight curve, so I bent the plates slightly to ensure a tight fit.
Of course, there is a time lapse of this process, and this one is a bit longer. Wearing long sleeves in the summer heat of the Southeast is brutal, causing me to take several breaks throughout the day.
Next Steps
Now, it is time to bend some tubing and weld the cage together. There are a few considerations, as I want to tie the front strut mounts to the cage as well. But in the meantime, the main cage attachment points are set, and it is time to move forward.