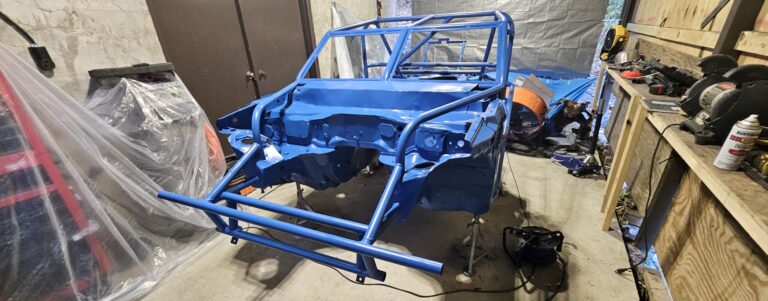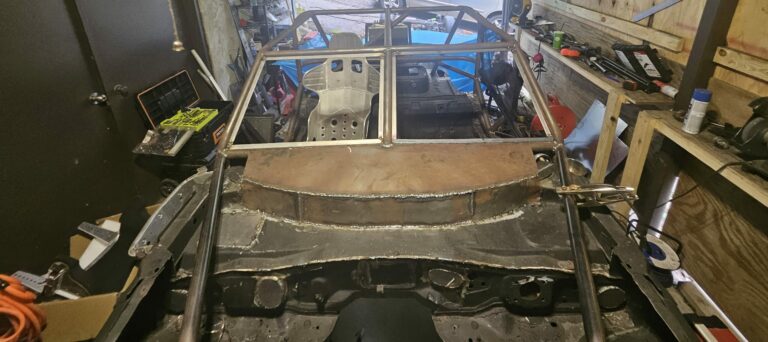
The NA Miata came to me with extensive front-end damage, so much so that the frame rails forward of the front struts were cut. Although I am getting closer to painting and reassembling, I must first construct a front end. I will create a tubular front bumper that ties into the front frame rails and strut mount reinforcements to stay aligned with the build. The focus is to make this front bumper as short as possible while protecting the wheels and engine compartment.
Considerations and Taking a Step Back
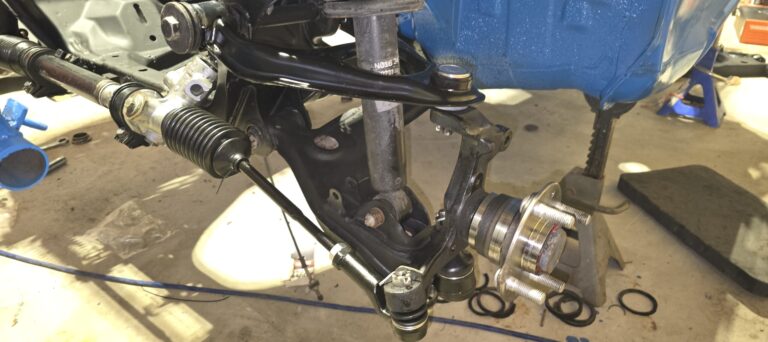
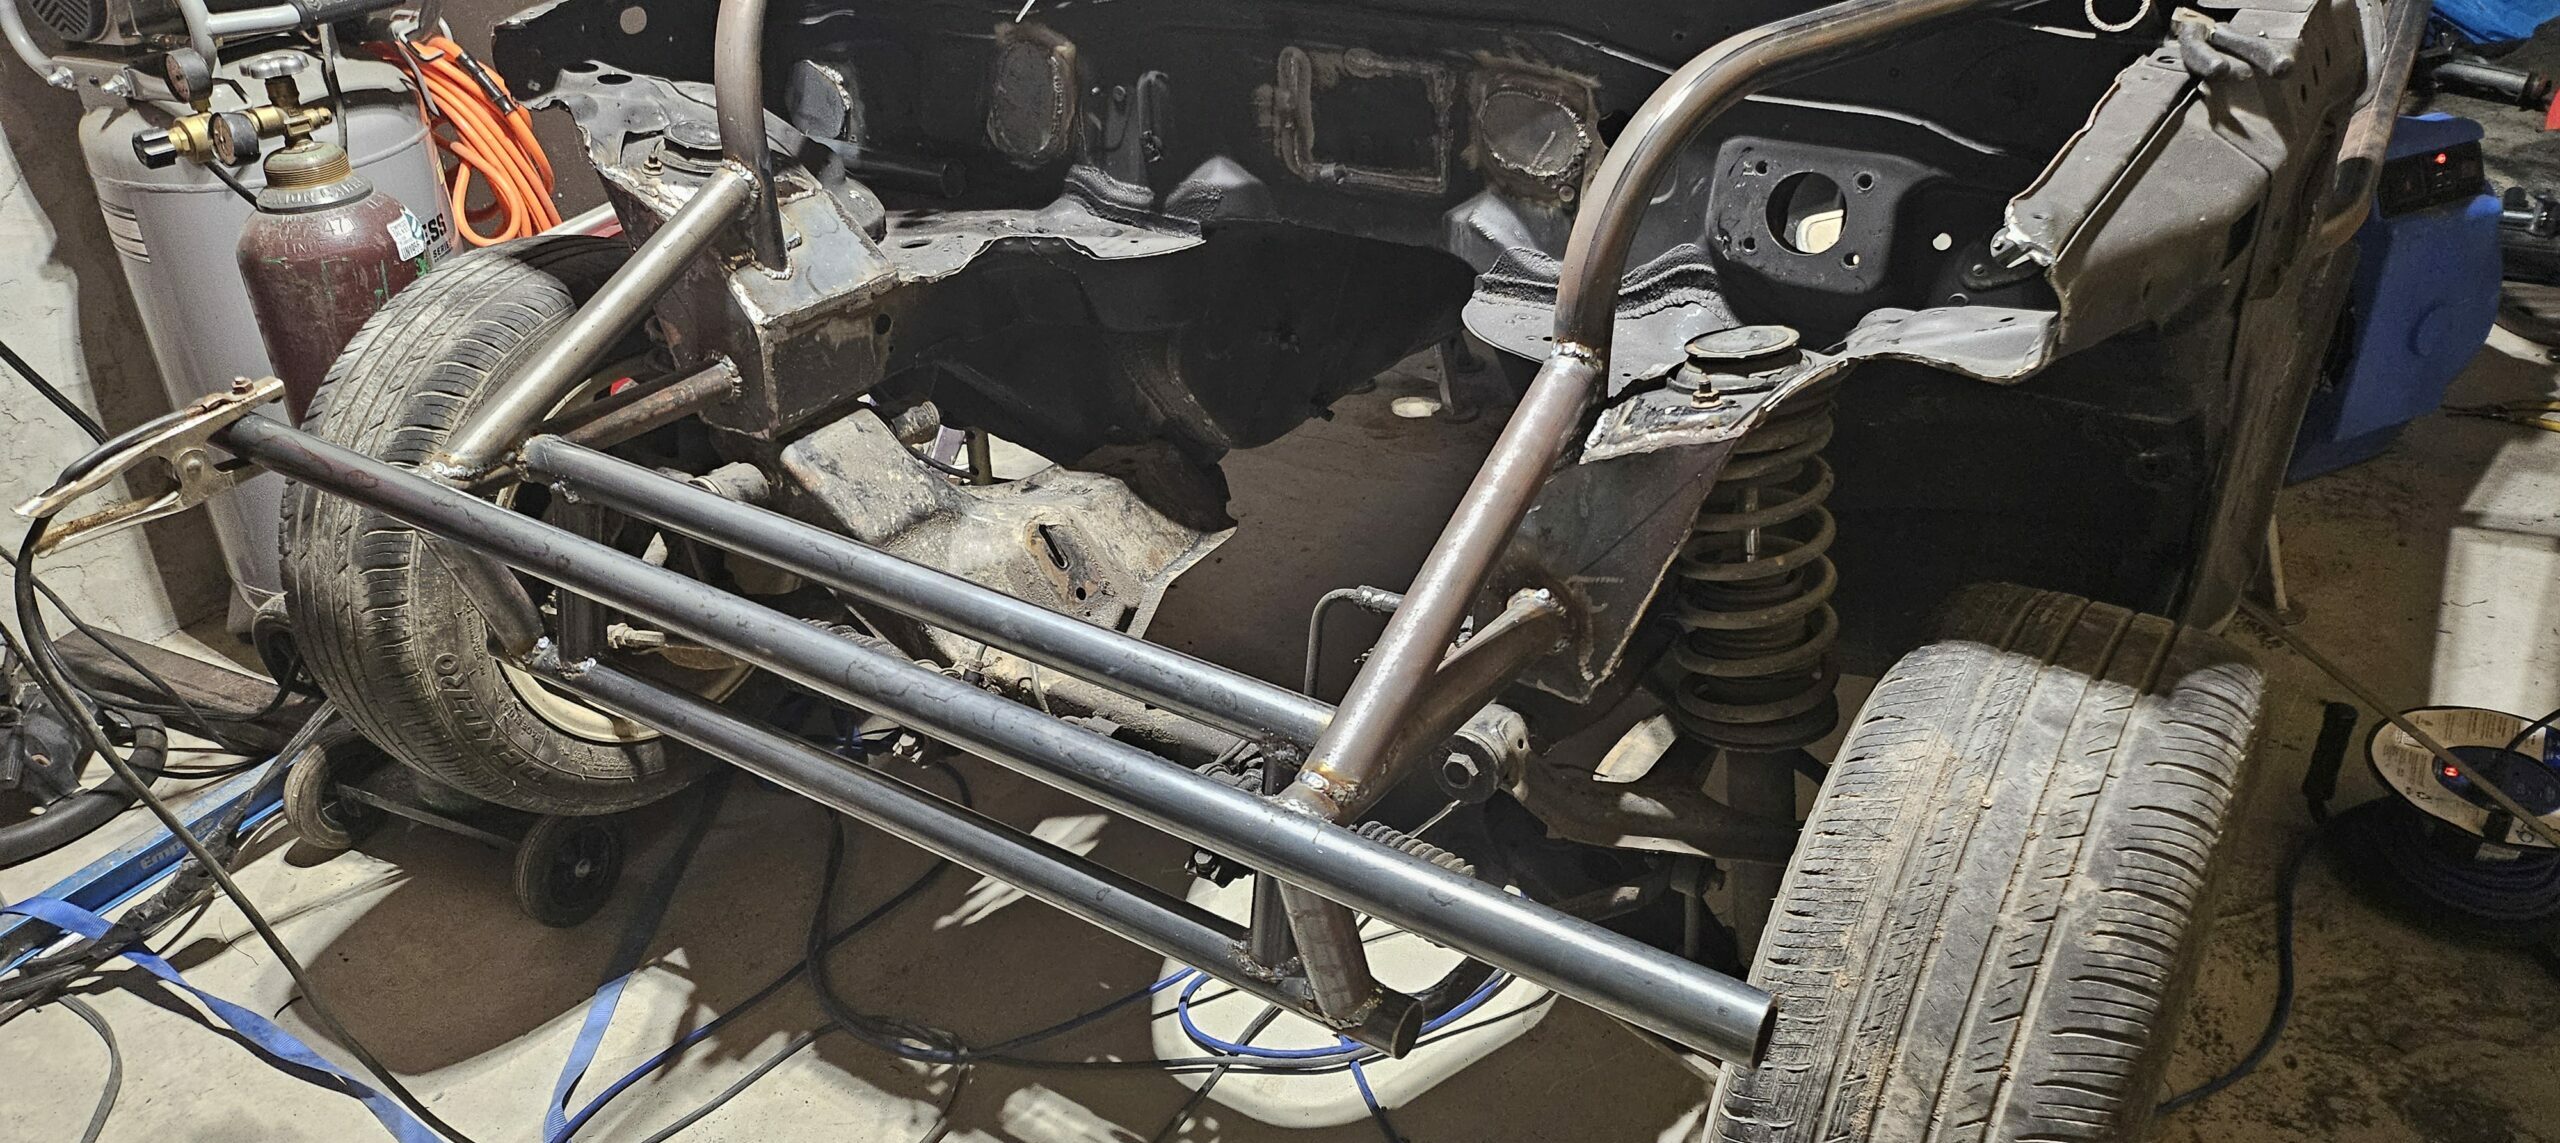
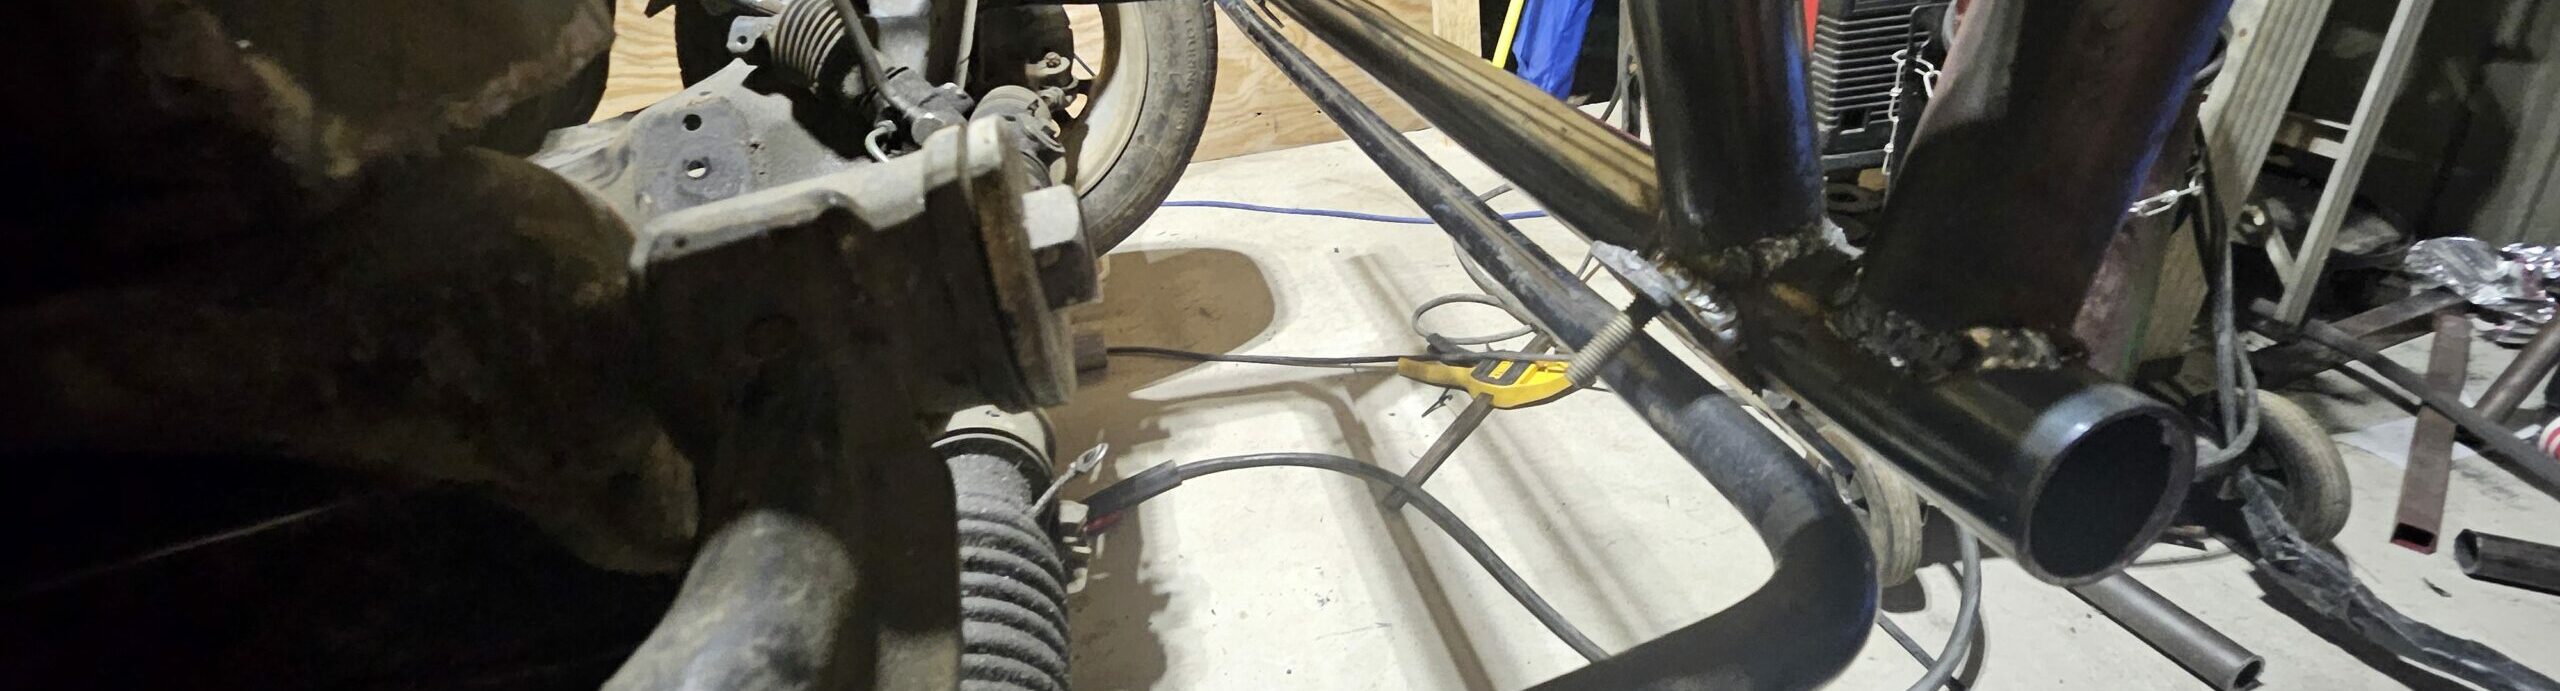
Before undertaking the last major fabrication of the ghettocet build, I had to take a few measurements and make one big decision. Namely, I forgot to measure the distance from the front frame to the front sway bar. I need to construct sway bar attachments along with the bumper. To get this measurement, I separated the engine from the front subframe. I then reattached the subframe and front suspension to the chassis. This allowed me to take measurements and verify placement as I constructed the front.
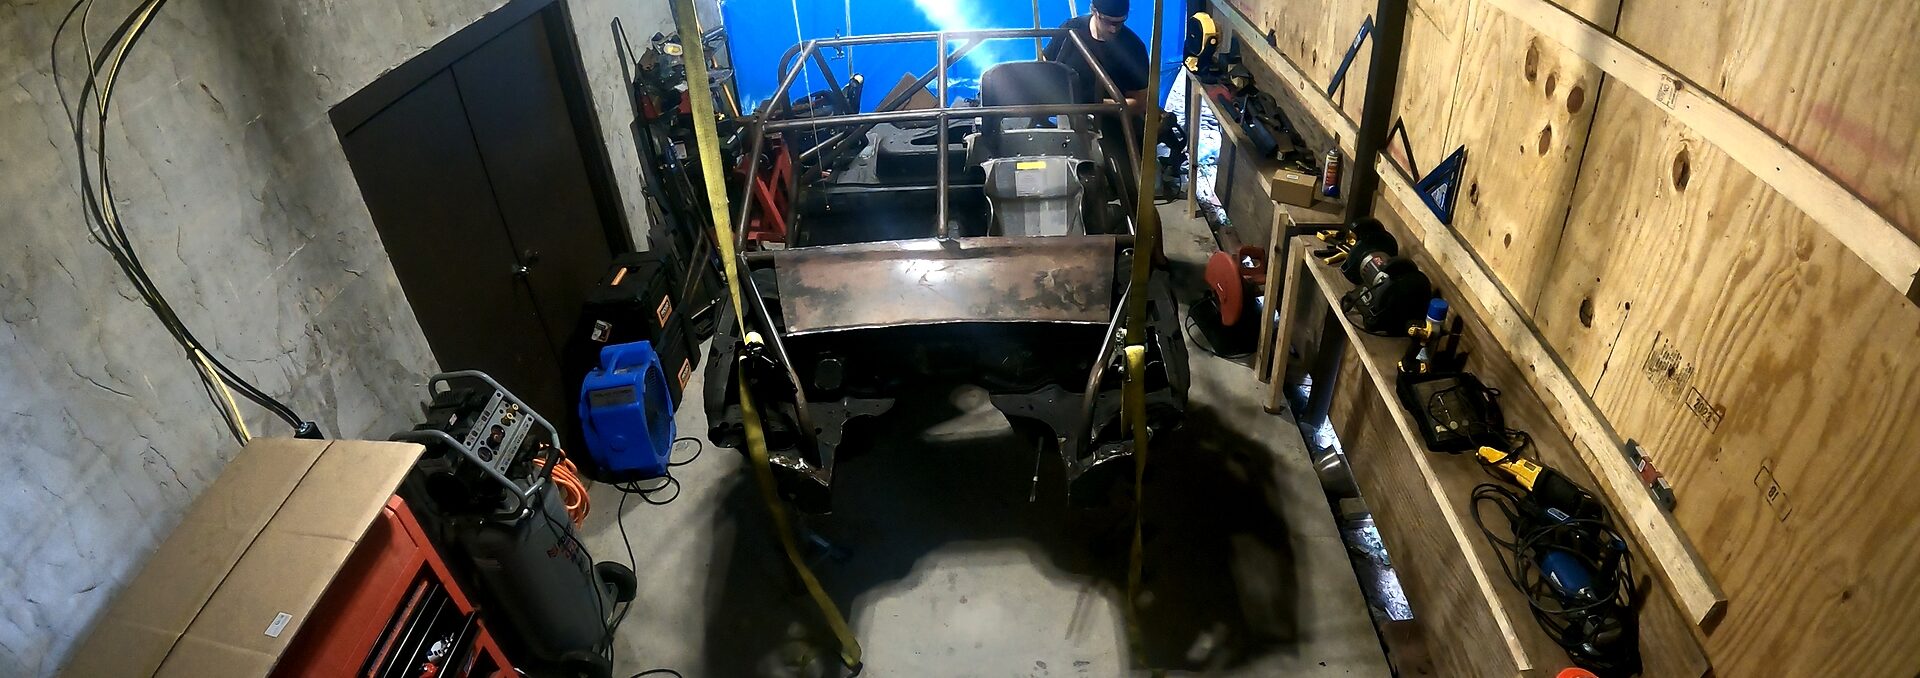
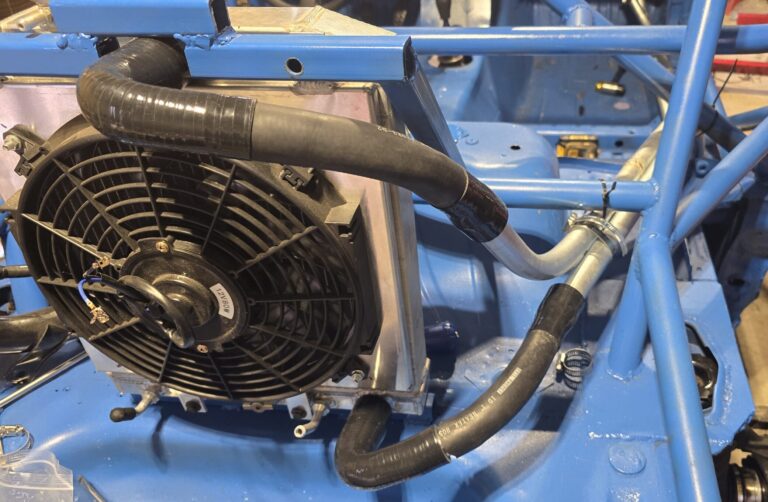
As for the big decision, this project is an ideal test bed for me before another, larger build. As such, I decided to mount the radiator in the rear. I came to this decision for numerous reasons. First, this car will see serious track time, and the radiator will be entirely exposed without a front end. I thought about building a protective screen, but as I got into it, I started to like the idea of keeping the front end as short as possible to complement the rear. Second, this will ultimately leave the engine area completely open to whatever I want to throw at it. (turbo, intercooler, water injection, etc…) And finally, not only do I need to get a little more weight to the rear, but I think a rear mount radiator on an exo car is going to look pretty damn cool.
Fabricating the Front End
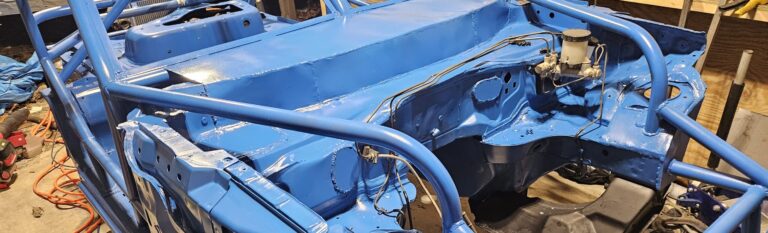
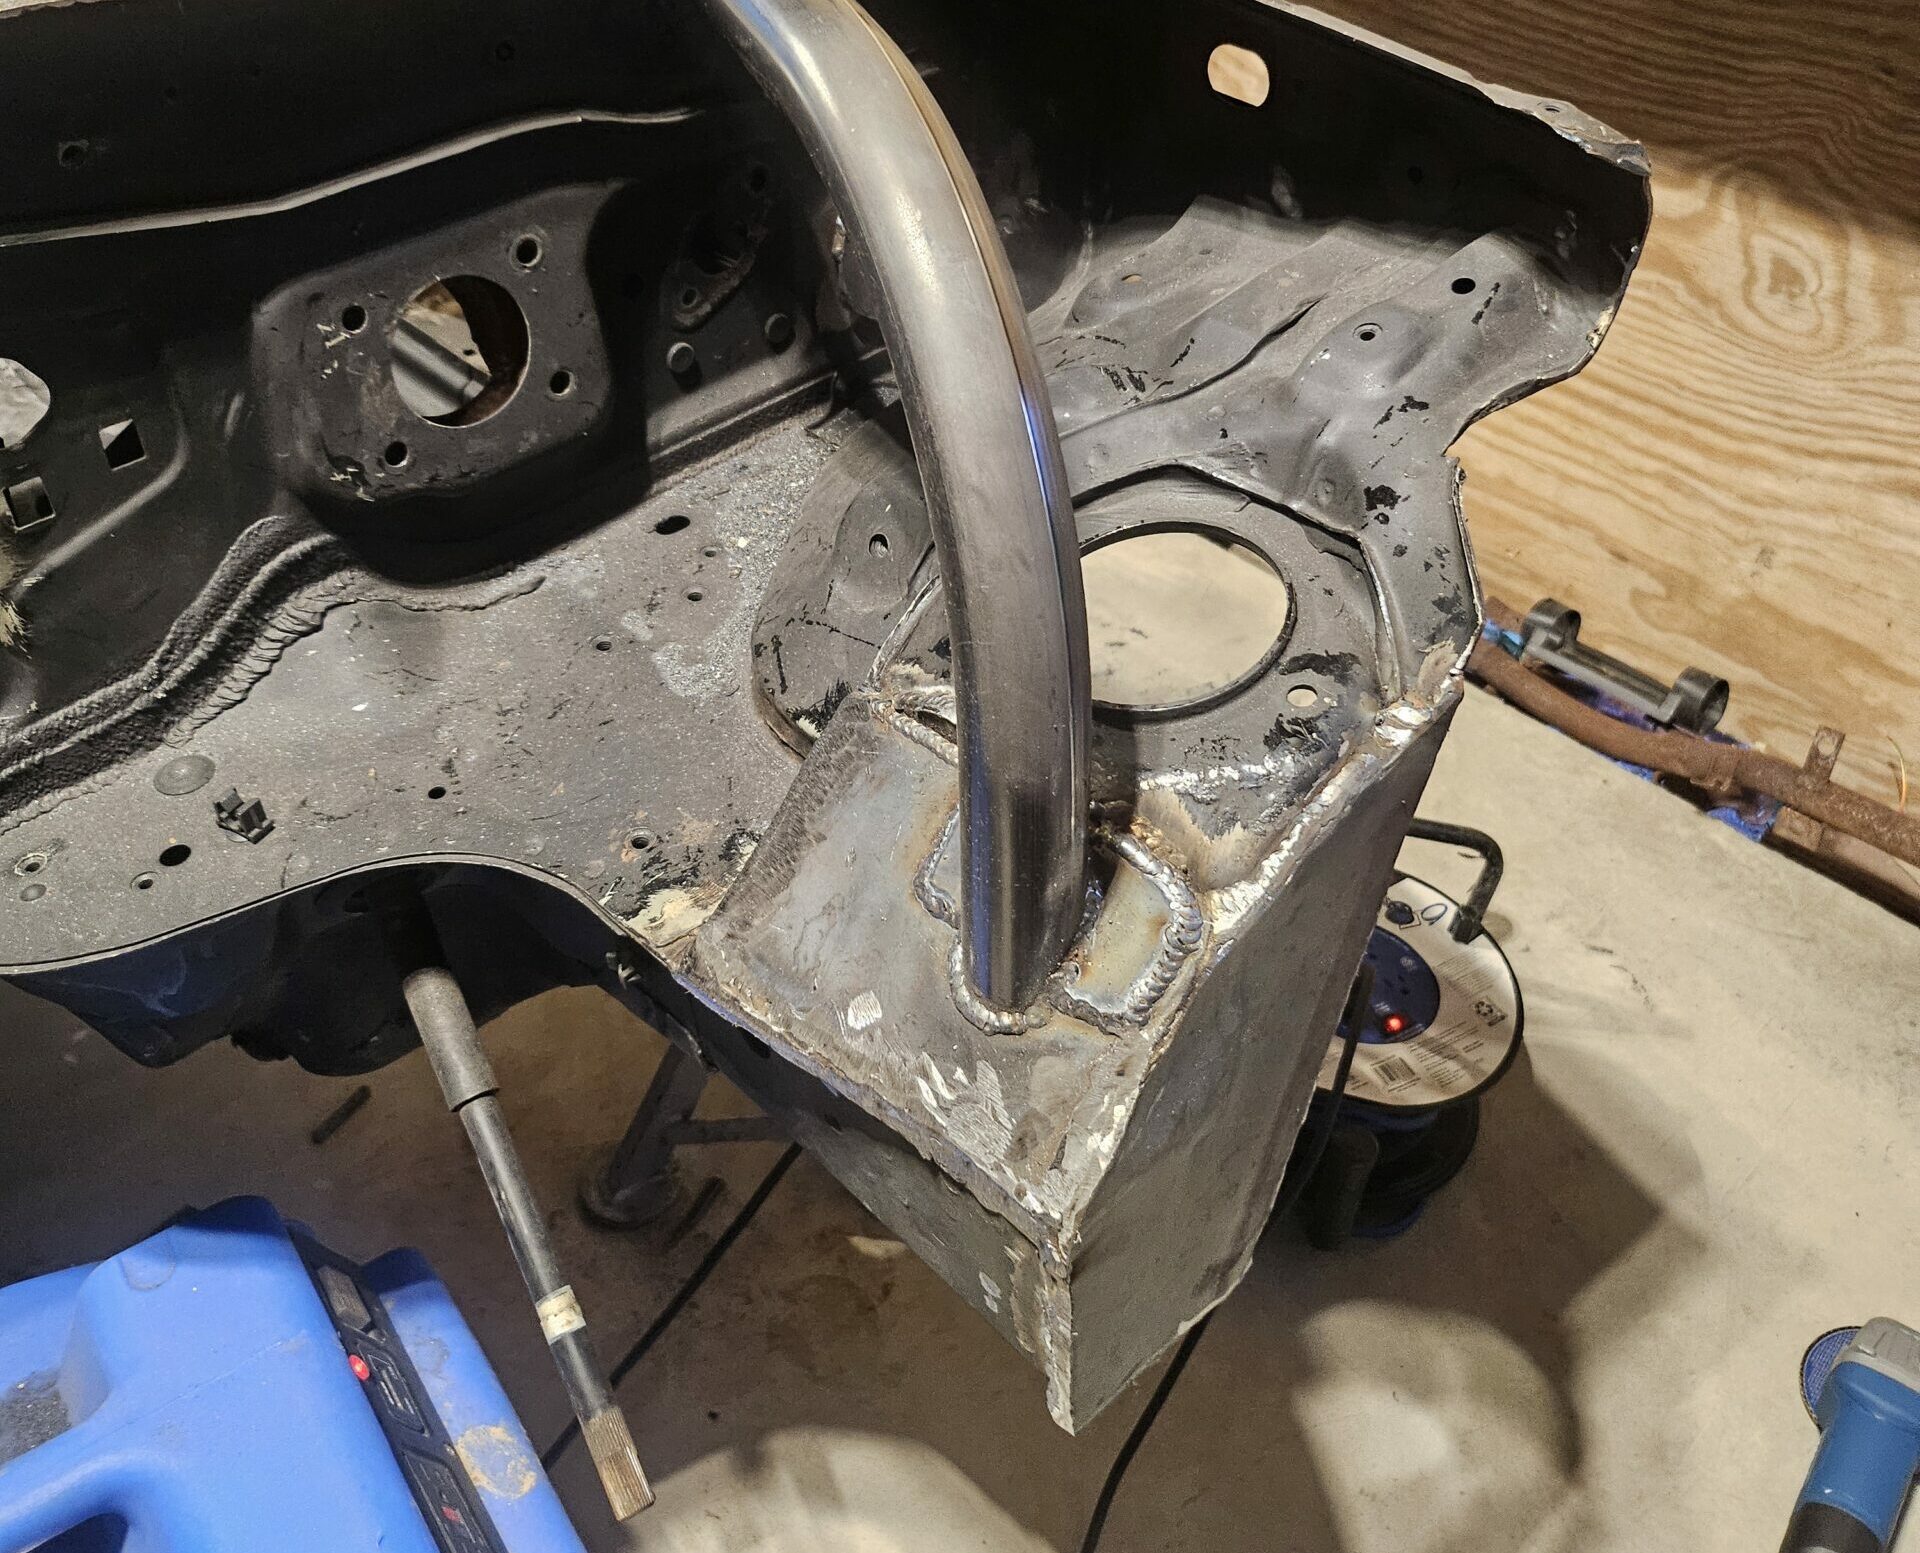
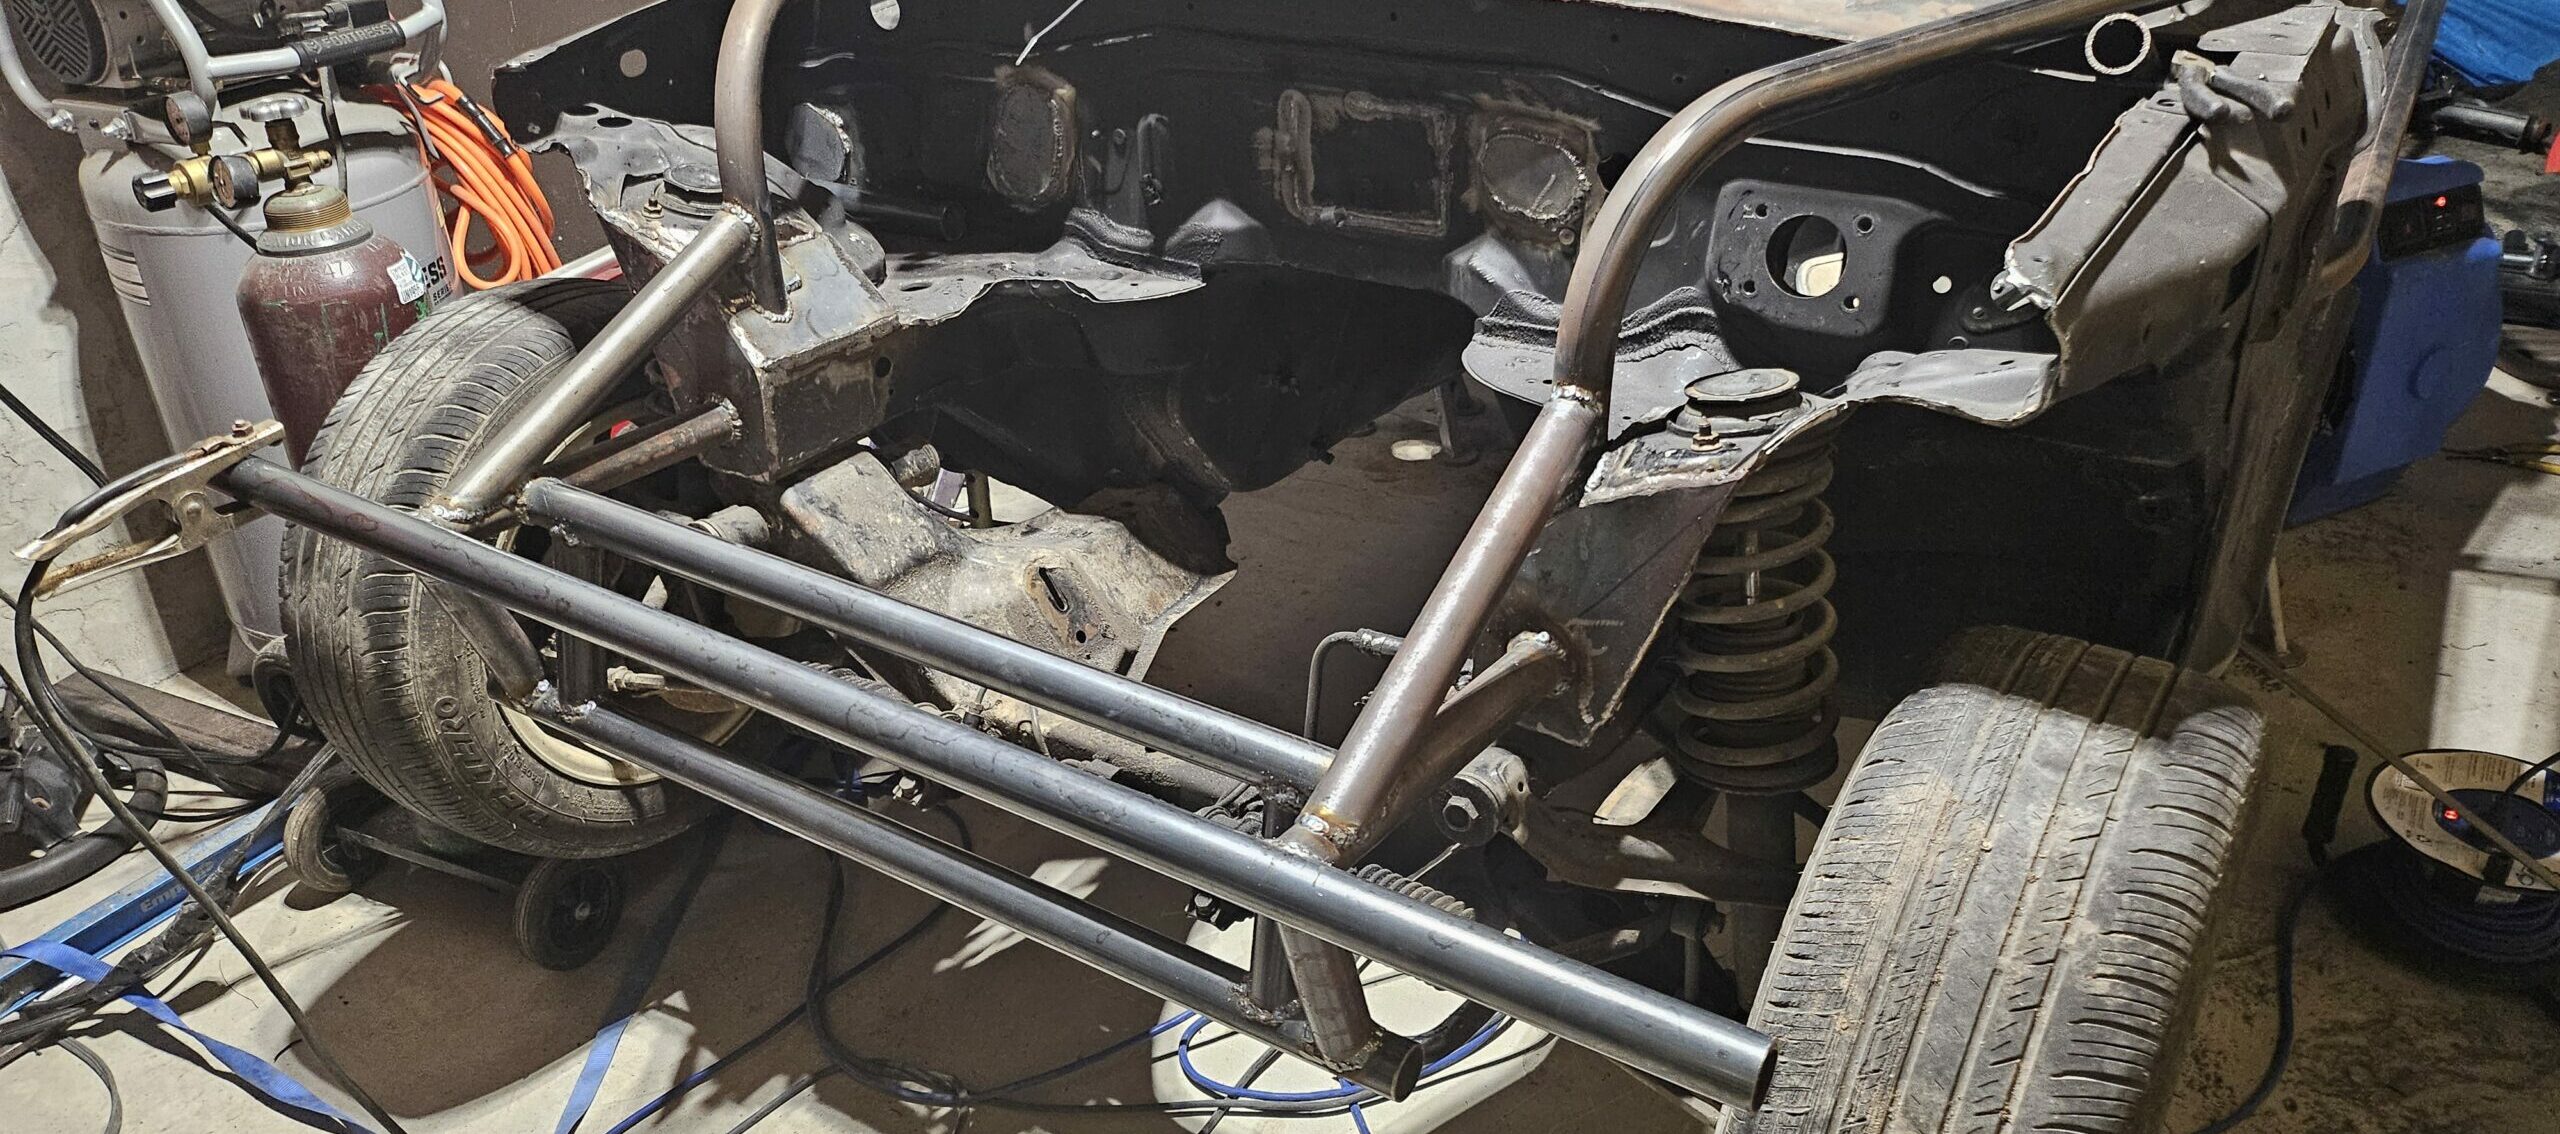
The build process was pretty straightforward. I attached two forward bars to the strut tower plates I had previously built. Then, I ran a bar perpendicular to and between these two bars right in front of the sway bar plane. Two drop bars were added to bring another horizontal bar in line with the sway bar. This lower bar is then triangulated to the front bar that was run across the end of the initial forward bars. Finally, one bar per side is run at an angle from the forwardmost bar back to the bars that attach the strut reinforcements to the main roll cage. This creates a stout, triangulated forward bumper that fully supports the sway bar load with no flex. (the pics below should make it clear)
Sway Bar Bushing Attachments
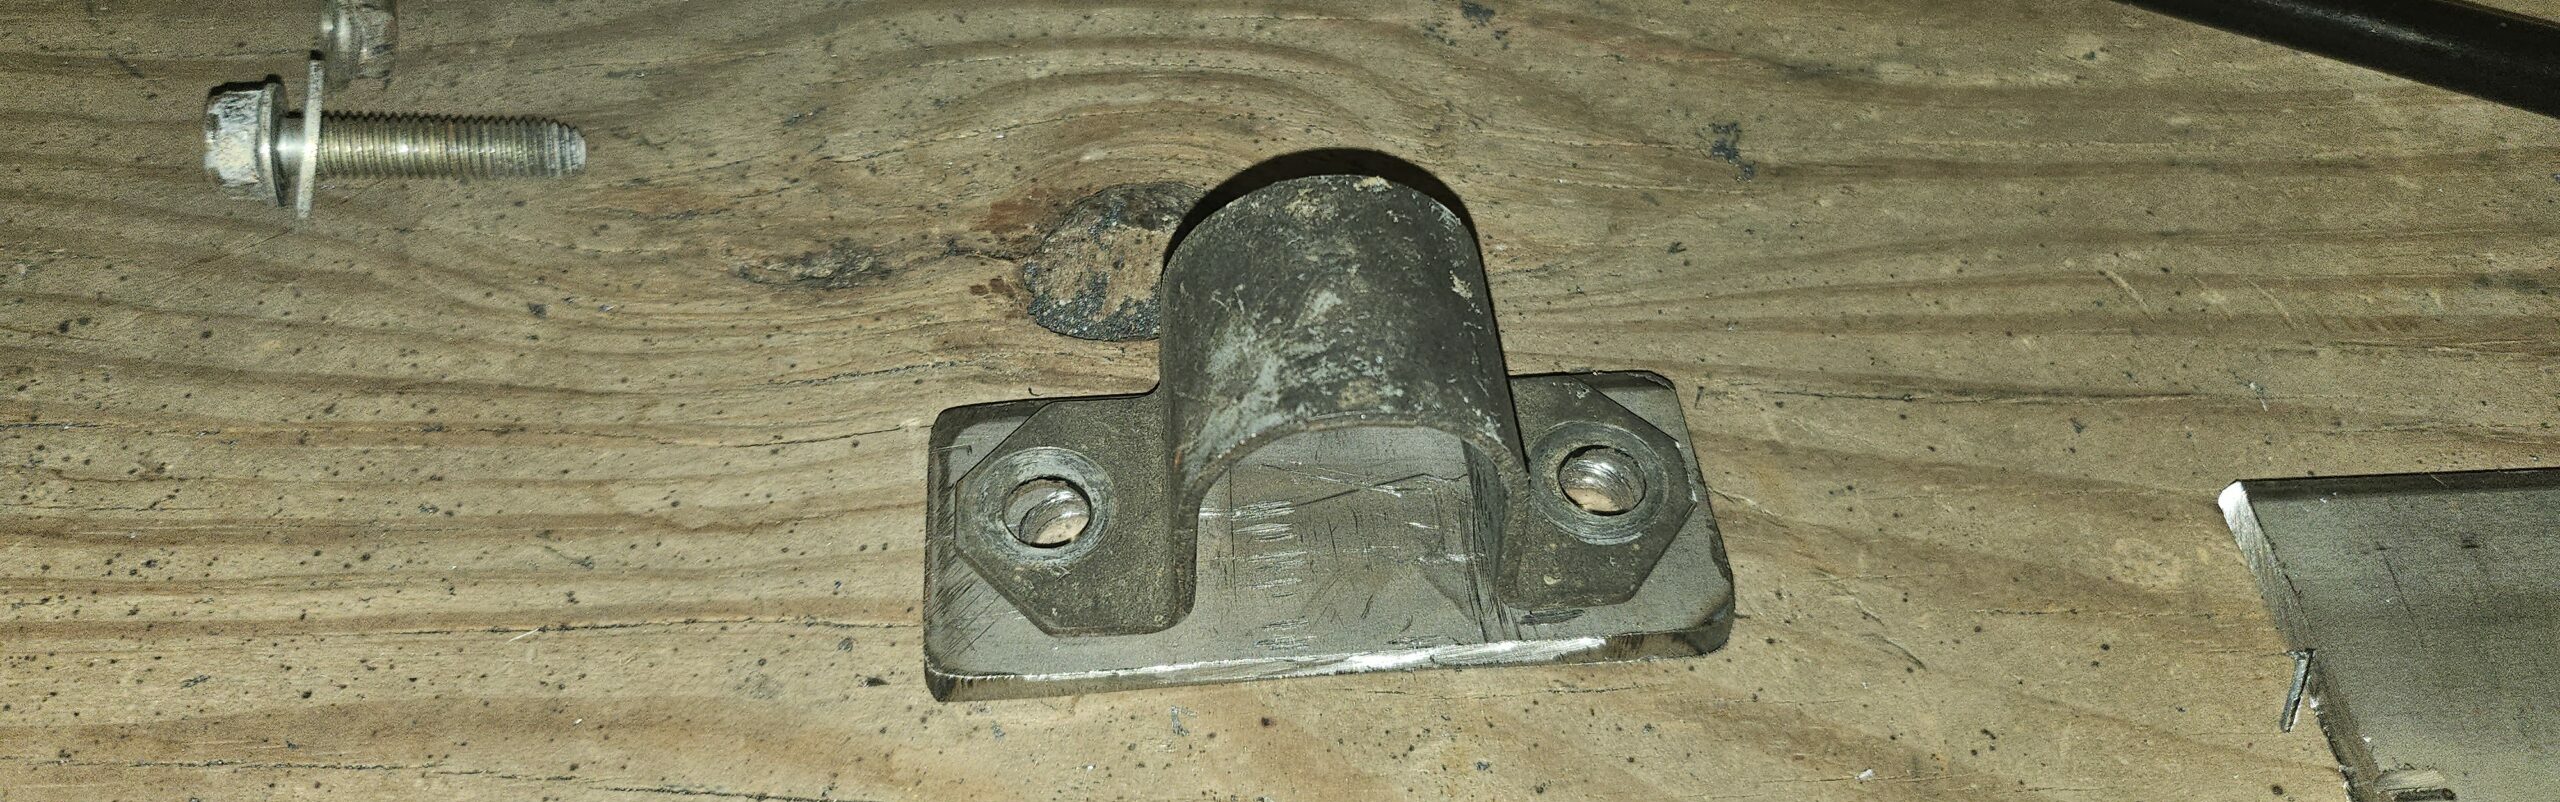
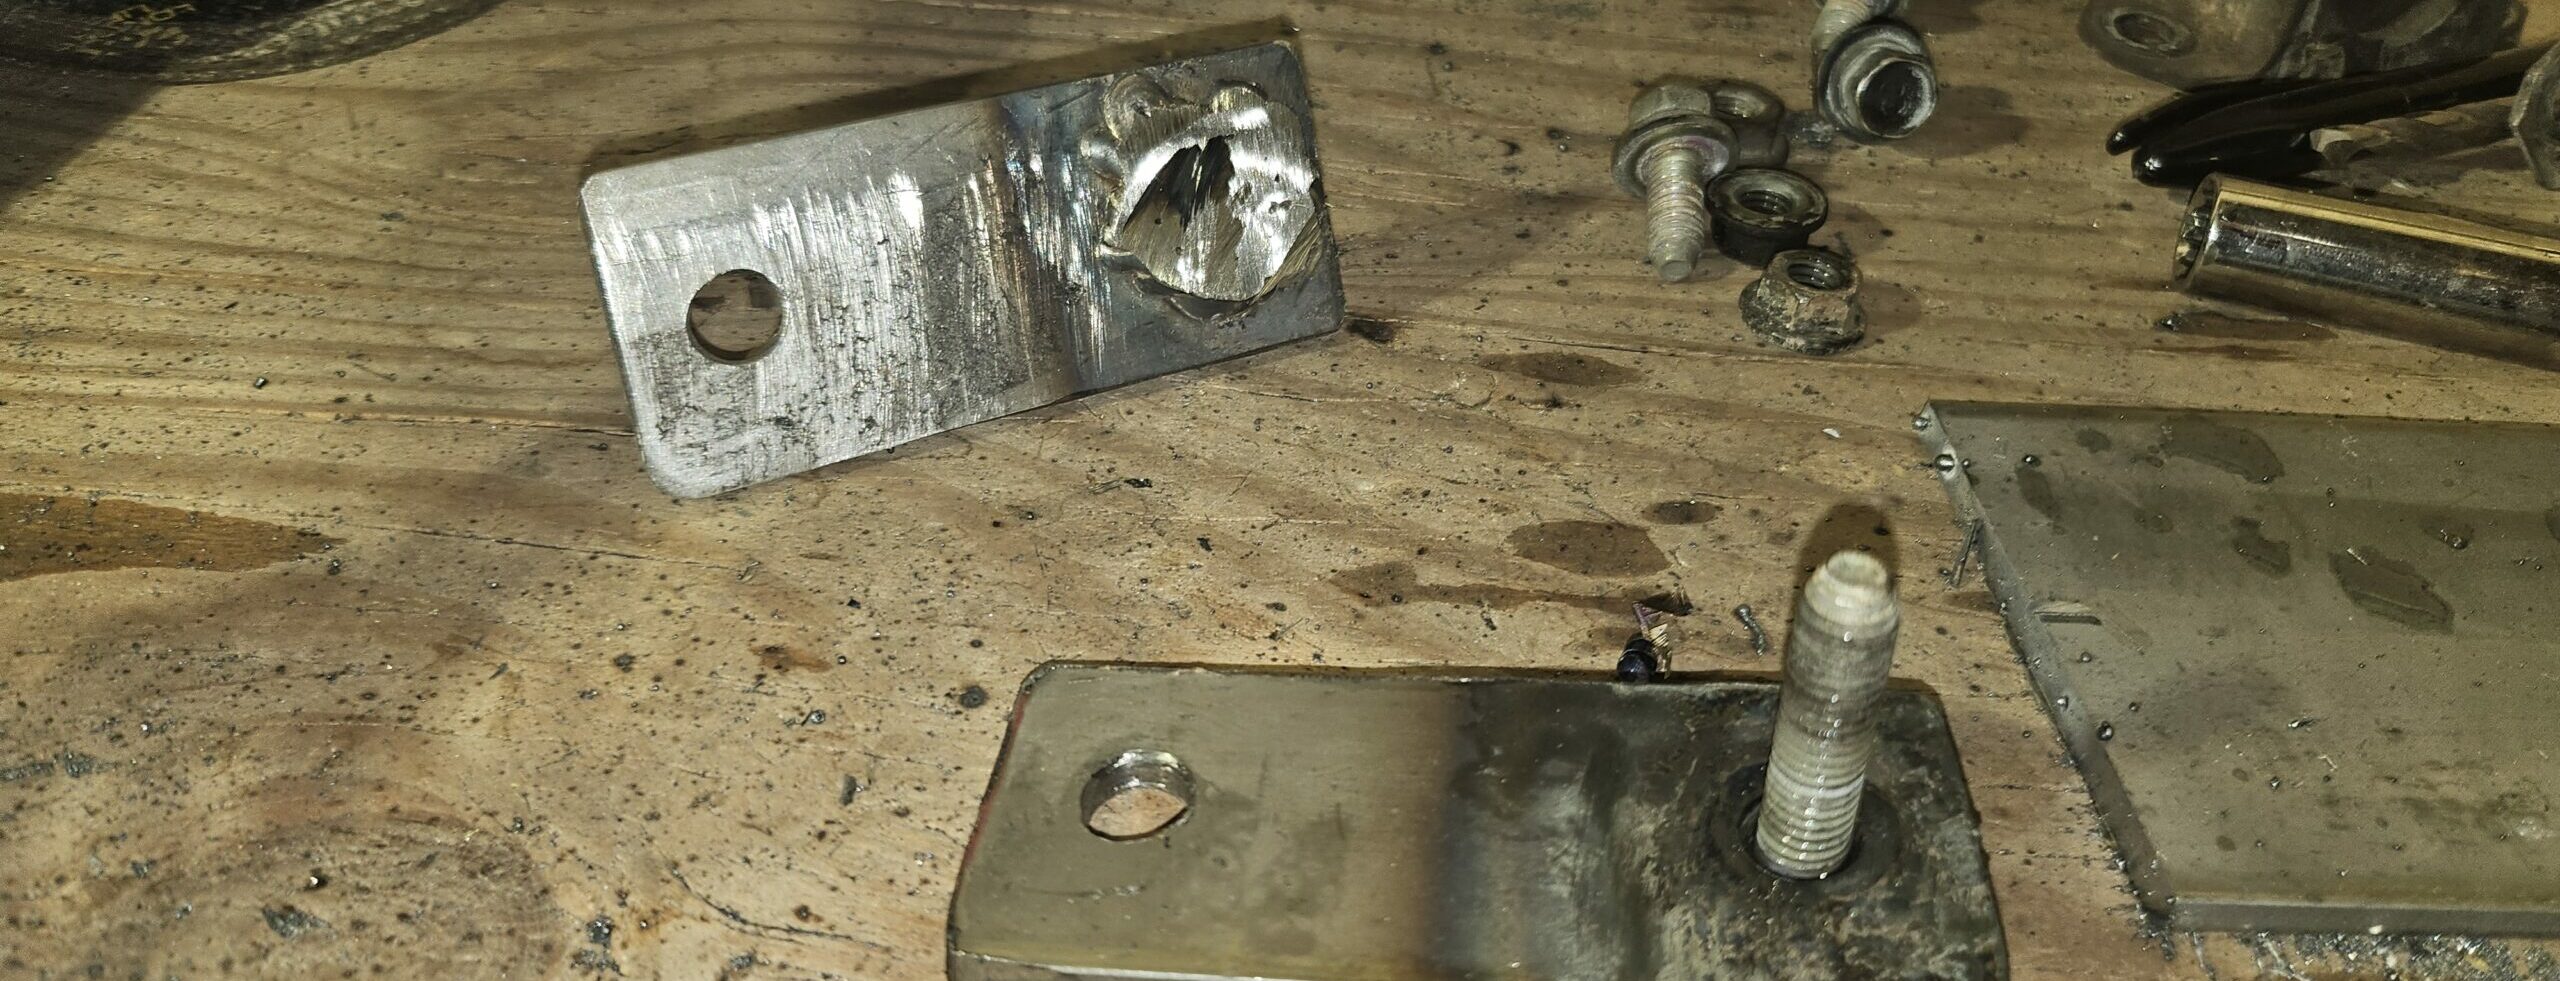
To attach the sway bar mounts to the ghettocet, I cut and formed two mounts out of 3/16″ steel. These are rectangular plates with two holes drilled in them. The upper holes have bolts inserted due to the upp clearance to the bar. These bolts were welded in place, and the backs ground down before. Then the plates were attached to the sway bar and welded in place.
Next Steps
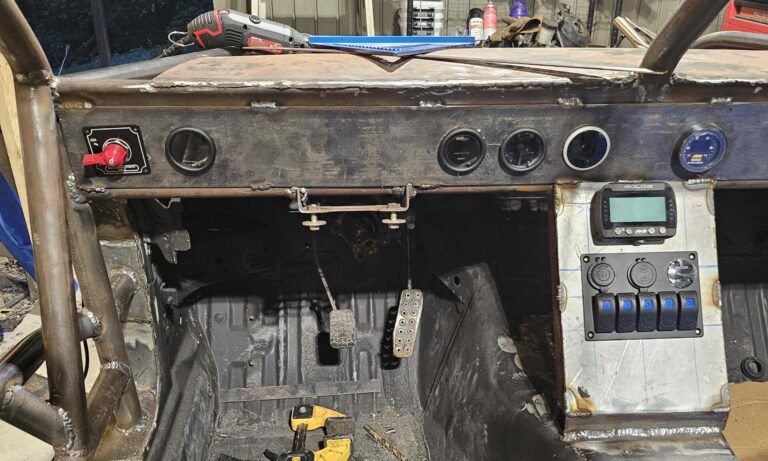
I only have three items left in the fabrication phase. Weld a crossbar to the roll cage rear to mount the radiator, attach the side window net mounts, and build and install the window and roof frame. Then it will be painted, and I can start reassembling this thing and finally get it to an event. (I also need to figure something out for wheel wells so the exo car will be legal for wheel-to-wheel racing.)