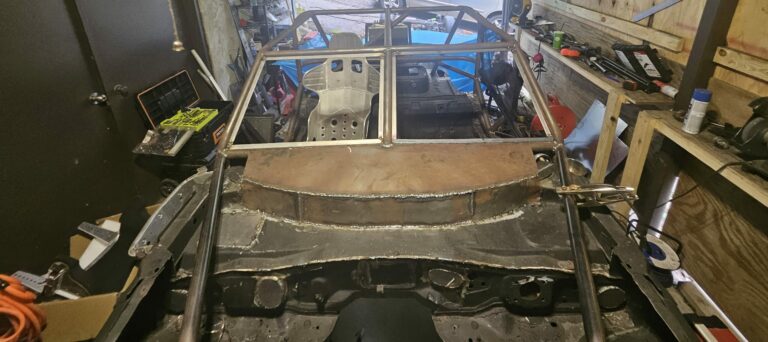
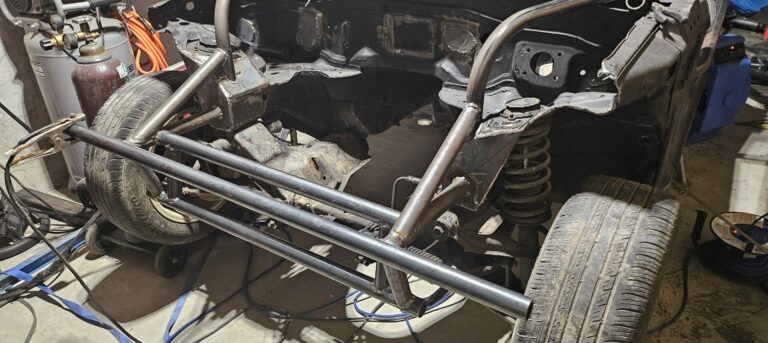
I spent way more time on the fabrication of this project than I intended, forcing myself to have a bit of a reckoning. You see, I tend not to be satisfied with my work and continually strive for improvement. That’s a roundabout way to say I can sometimes be a perfectionist. And that is why I had to recommit to the purpose of the ‘ghettocet’. Building something out of the box while forcing myself to polish off and improve my fabrication skills for future builds. Can I say I have accomplished that goal during the fabrication? …100%. Can I say I would do things differently the next time? … absolutely. That said, it is finally time to paint the Exo Car chassis and move the project onto the reassembly phase.
Paint Considerations
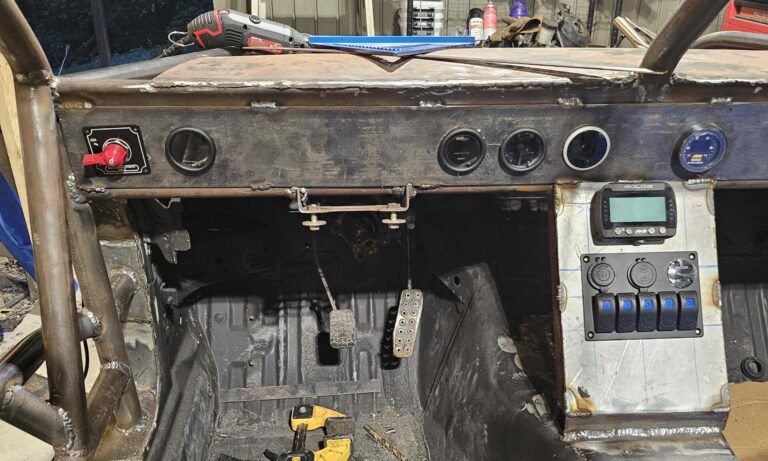
If you have seen my racecars, you know I prioritize function over form. That focus has won me many races and championships in some of the subjectively ugliest racecars in class.

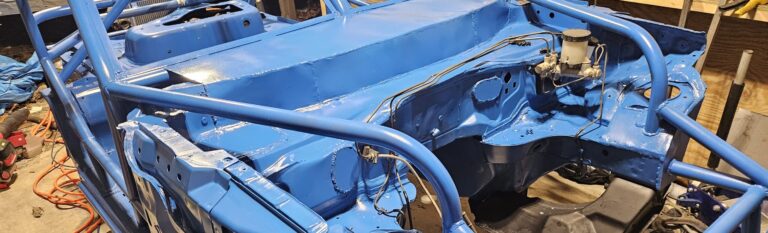
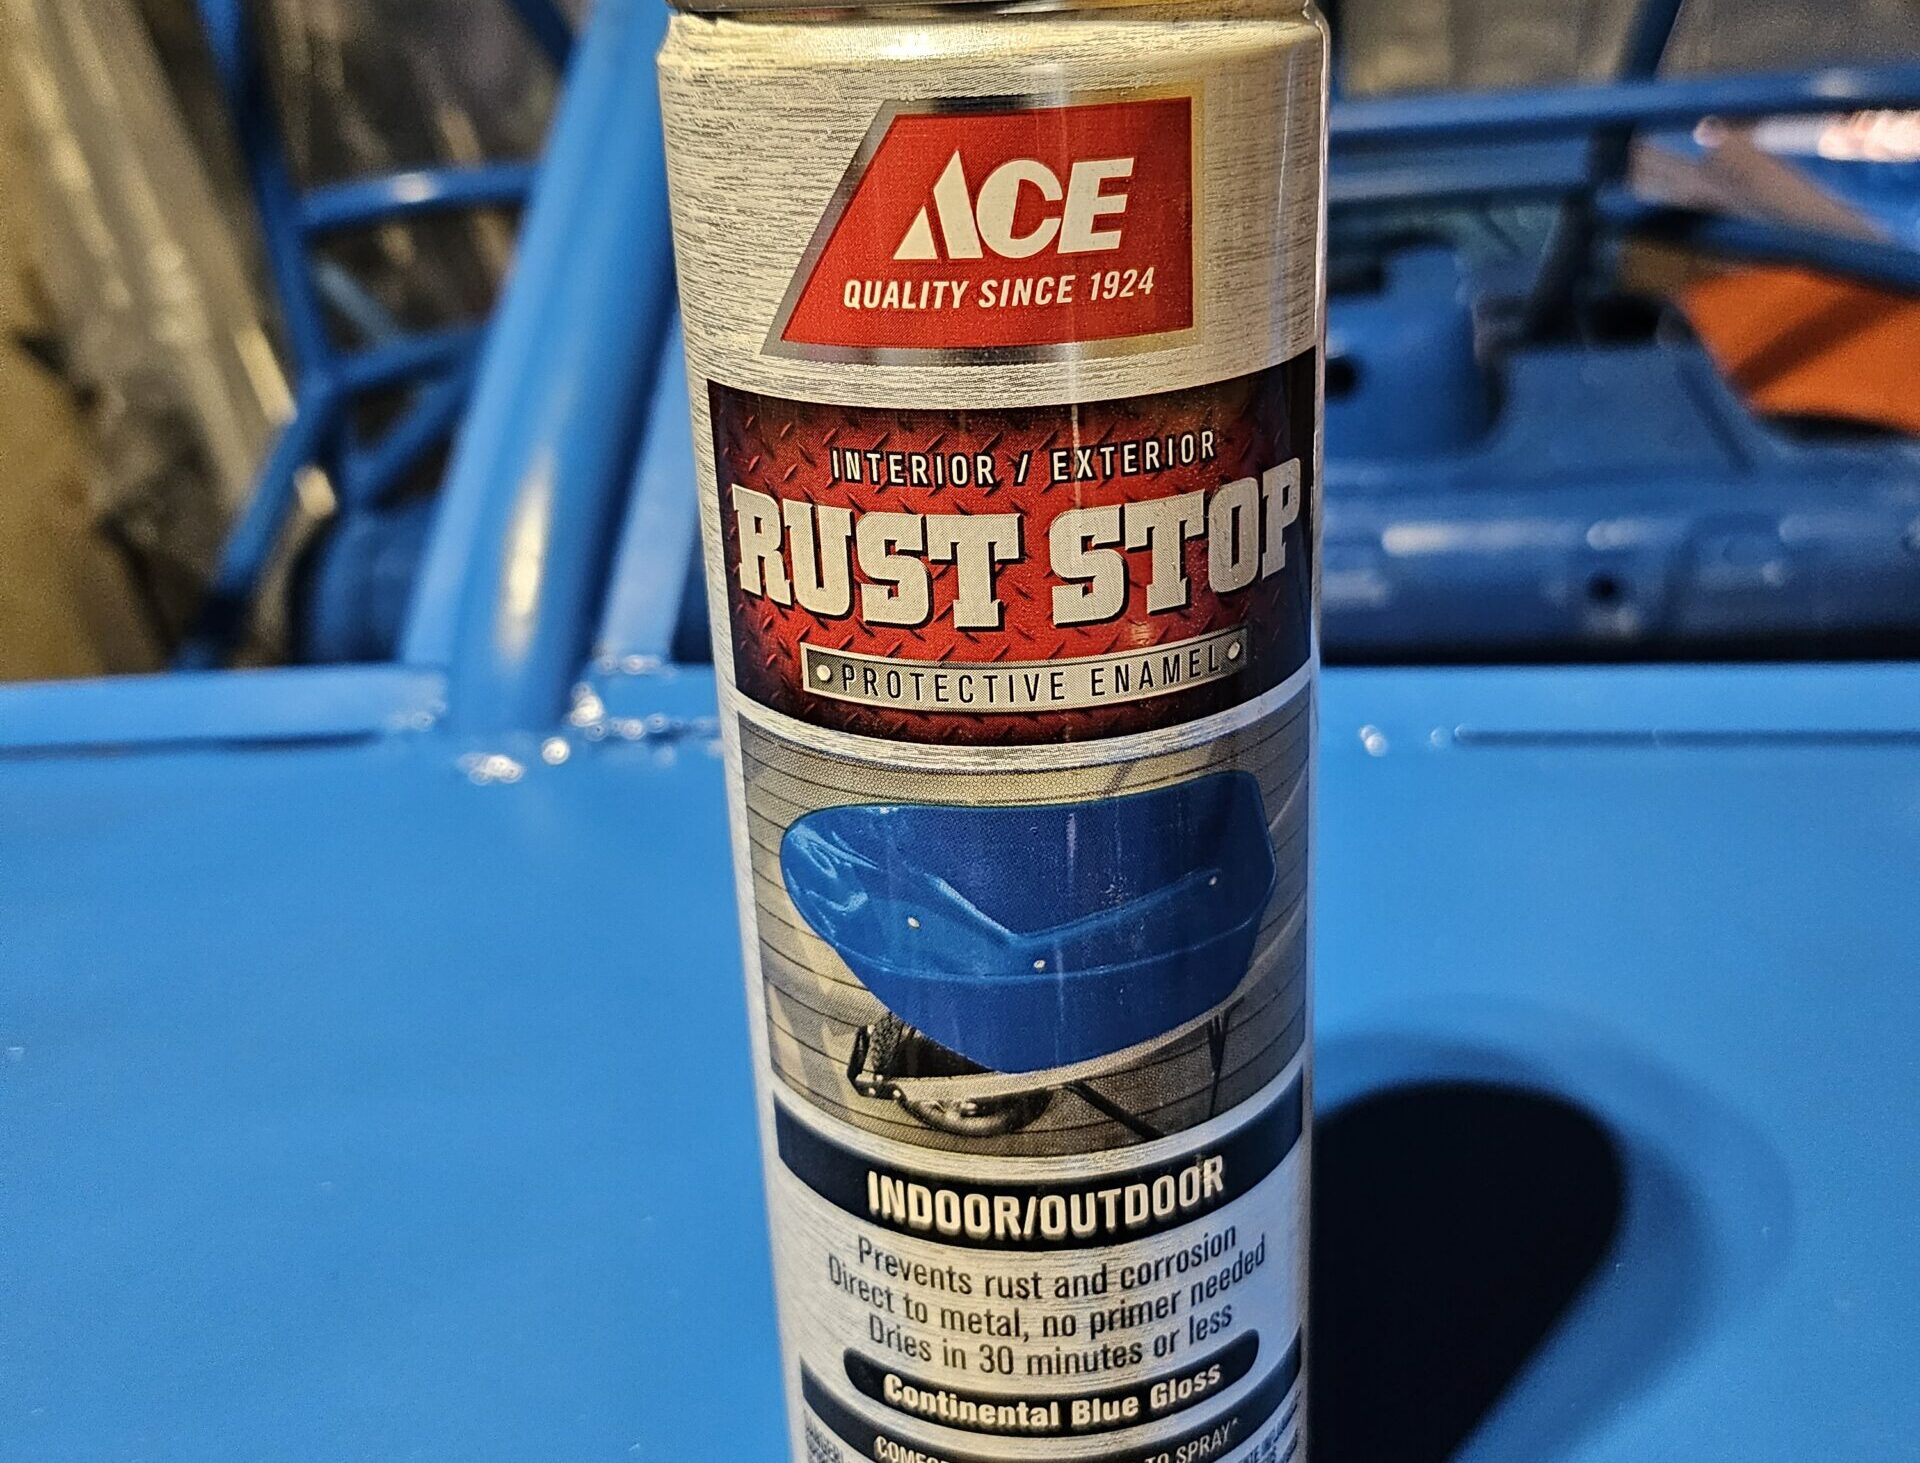
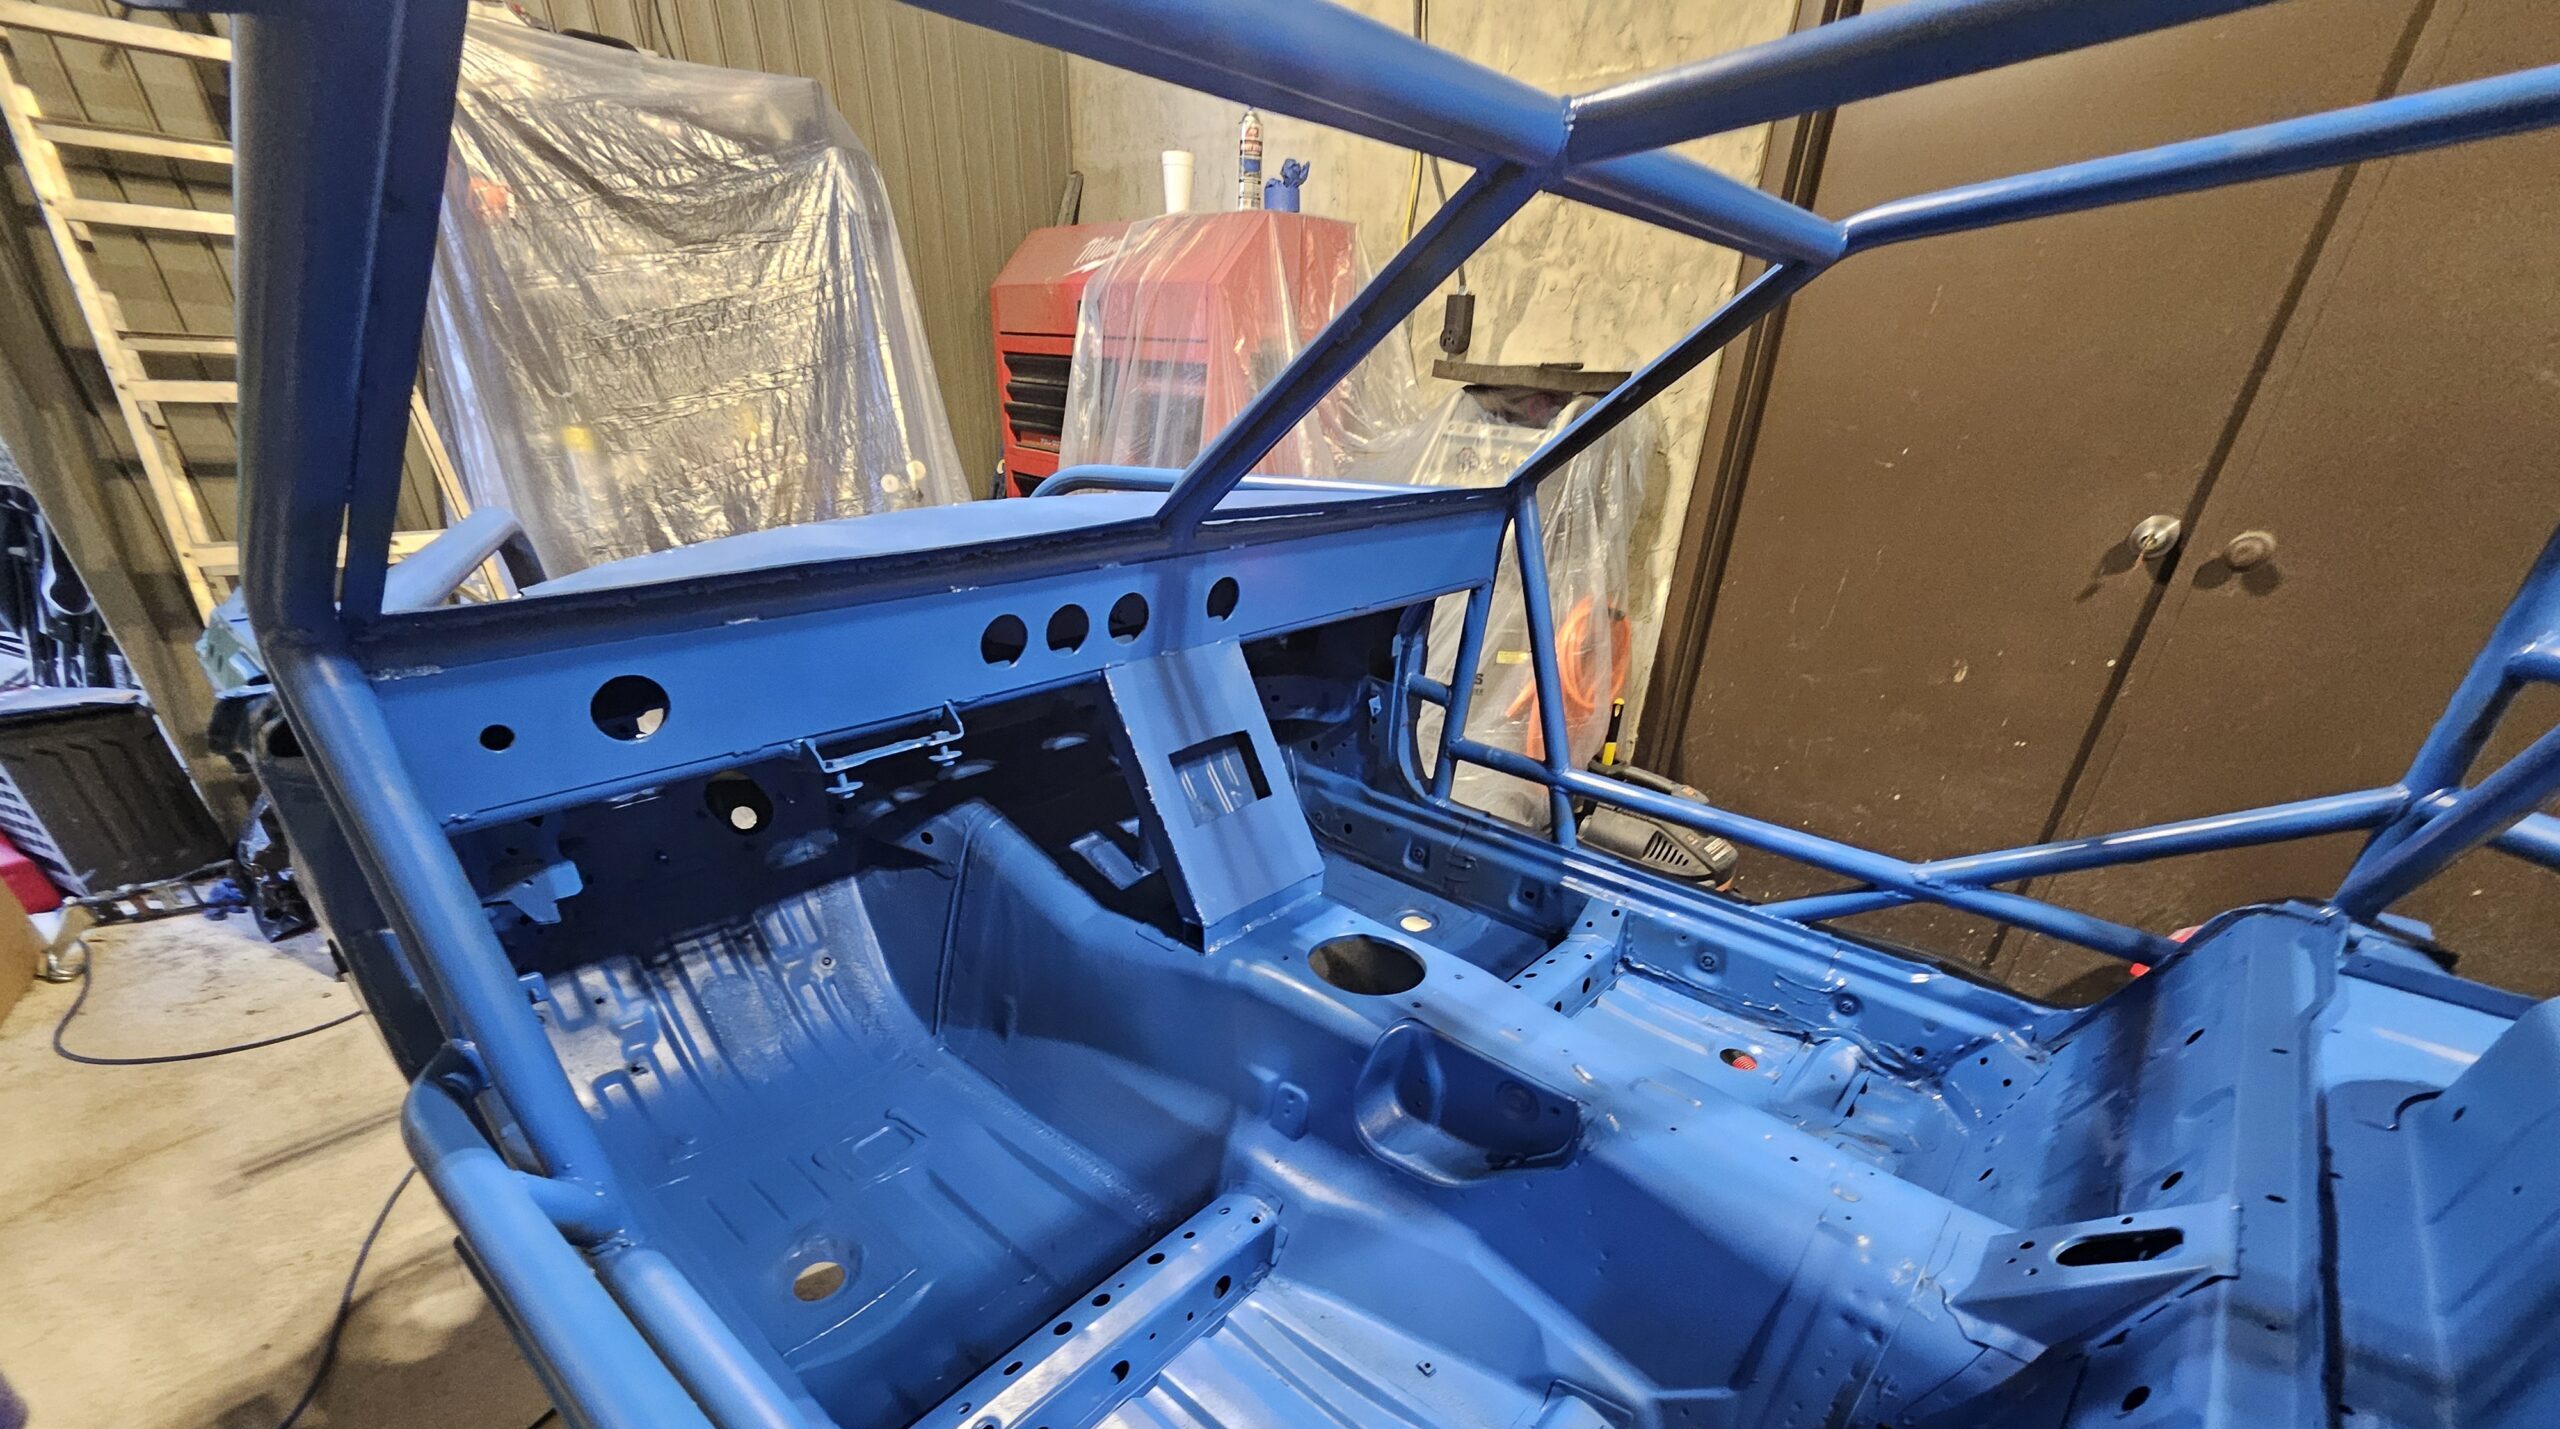
The Exo Car Miata is no exception and will get the spray paint treatment. This not only keeps costs down but also stays in line with my commitment to finish this project. For the ‘ghettocet’ I chose Rust Stop at Ace Hardware. After a few test samples, I settled on Continental Blue Gloss for the color. This paint is a rust reformer and primer, and it is a high gloss, which should make the chassis stand out without too much prep.
Painting the Chassis
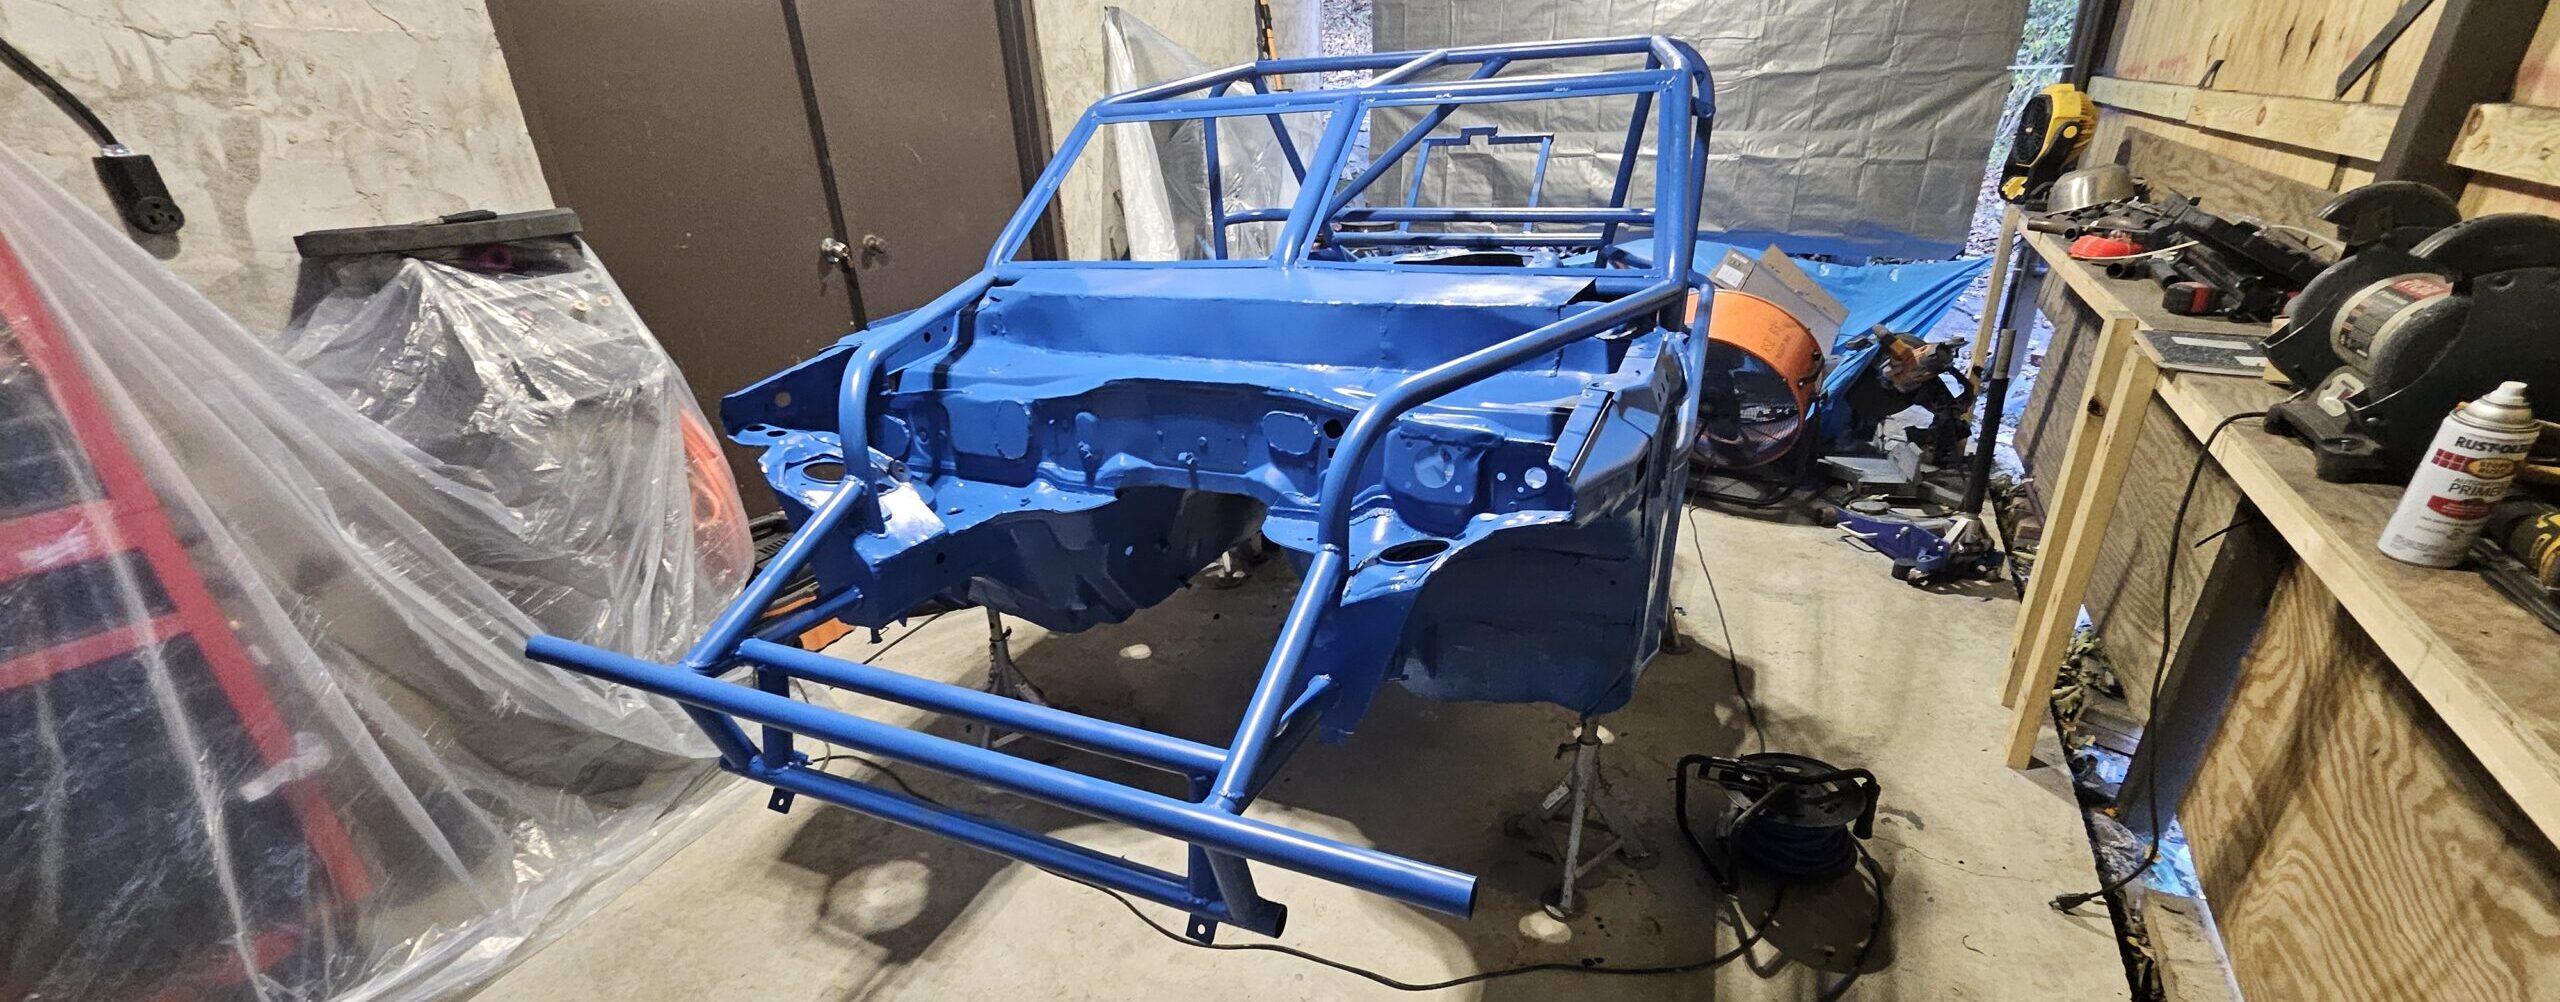
This process is straightforward. I cleaned and prepped the chassis for paint by blowing any dust off the car with a leaf blower. Then, I vacuumed the entire interior and a few nooks that like to hold dirt. And then I started spraying. I went through 4 cans on day one to lay down a base coat. After curing overnight, I used a wire brush to clean a few corners in the engine bay to accept the paint better and ran one more pass with the vacuum. Six more cans later and I consider the paint job done. Coverage is even across the whole chassis, including the underside, creating a flashy and high-vis look.
Painting the Chassis Time Lapse
What’s Next
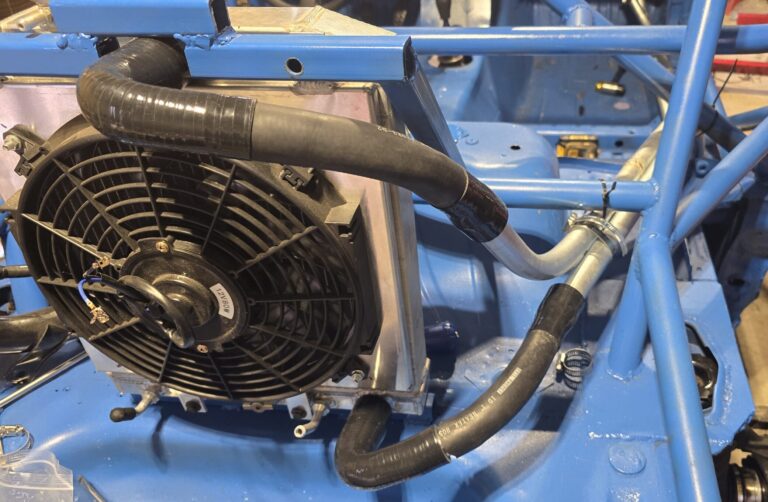
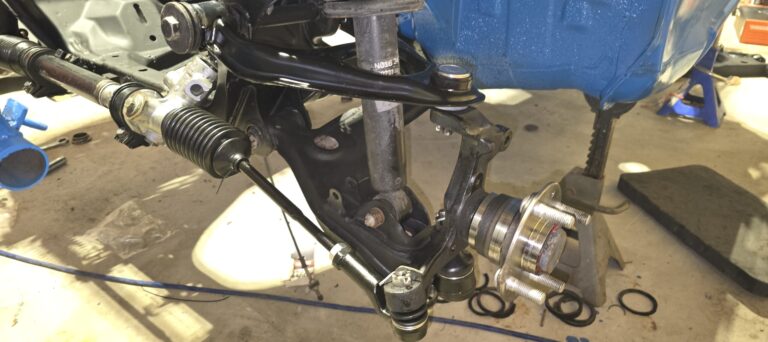
Next, I will clean and reinstall the subframe and suspension, including bushing and ball joint replacements. Afterward, it will be drivetrain and wiring time, and if everything goes smoothly, this ‘ghettocet’ will hit the road before the holidays.