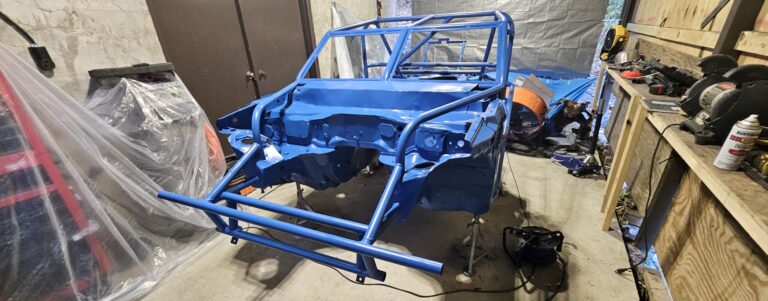
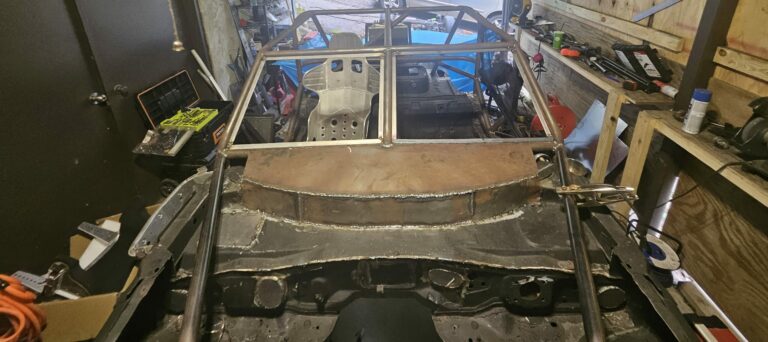
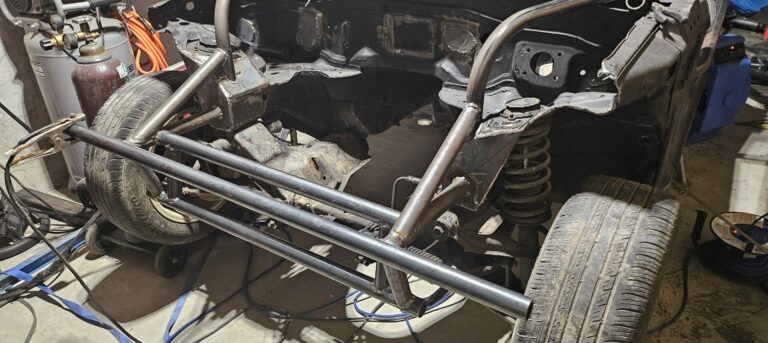
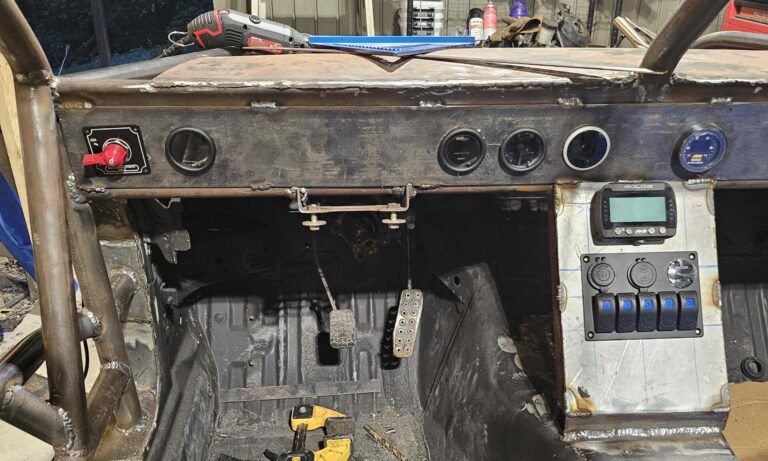
The race season is officially over, and it’s time to finish this. I have significant plans for the 2025 season and about a two-week window during which I can devote considerable time to the exo car build. That said, there are a lot of miscellaneous items to address before the final assembly. First up is the subframes and driver inputs.
Prepping Components
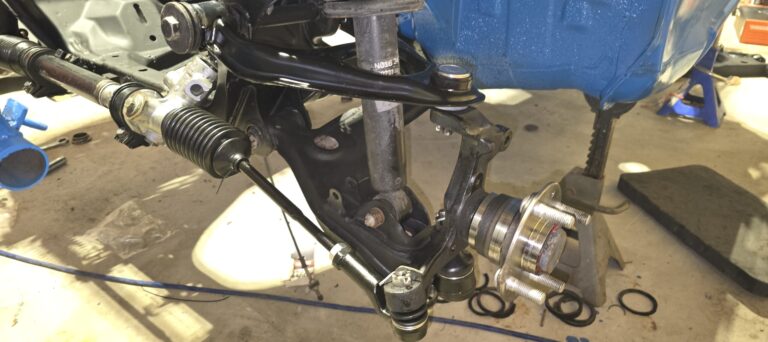
I took the time to completely disassemble the subframes and suspension members for inspection before installation. I also found a few bushings that needed replacement and torn tie-rod ends. But while I was getting ready to put these systems back together, I went ahead and set the components out, pressure-washed them to remove any surface dirt and grime, and then sprayed them with rust-neutralizing black spray paint. Most of the components had slight hints of surface rust, and the paint ensures they don’t become a problem down the road.
(Note: I took a very rough approach to this application. If you wanted a better finish, you could sandblast or wire-wheel the components and bring the surface to a bare finish first. This would also take significantly more time.)
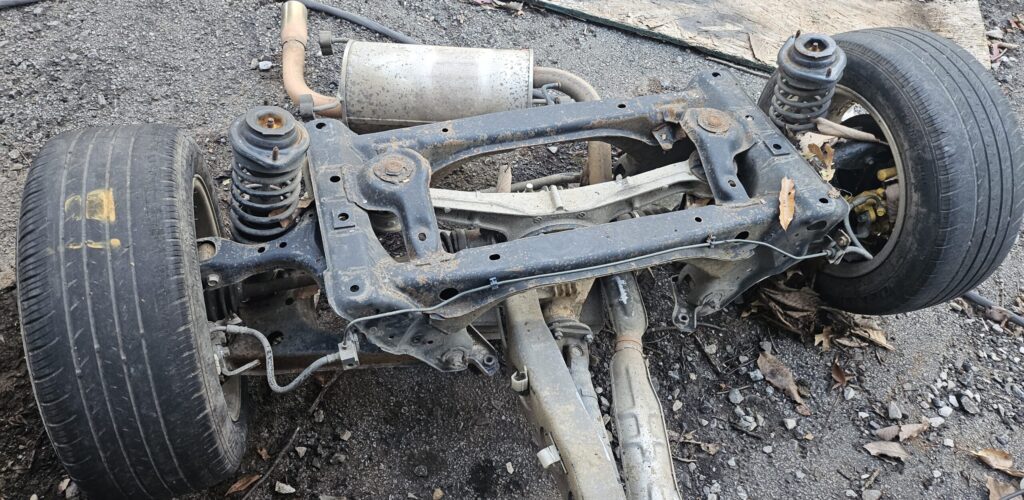
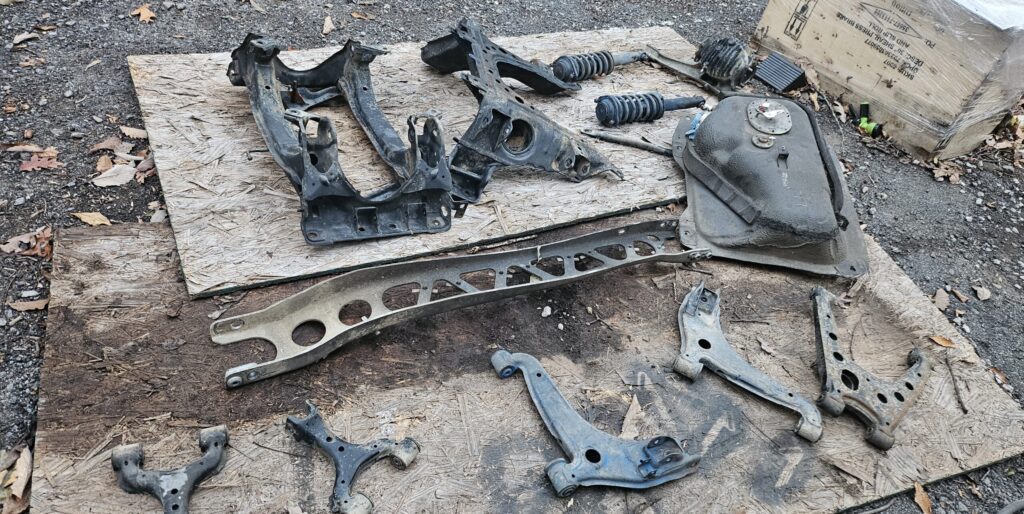

Reinstalling the Fuel Tank and Subframes
Reinstallation is the reverse order of disassembly, so the fuel tank and lines are installed before the subframes. As the car sits now, I stopped at the subframe reinstall, as the suspension arms still need new bushings, which will be addressed in a future update. For now, there are other systems to focus on.
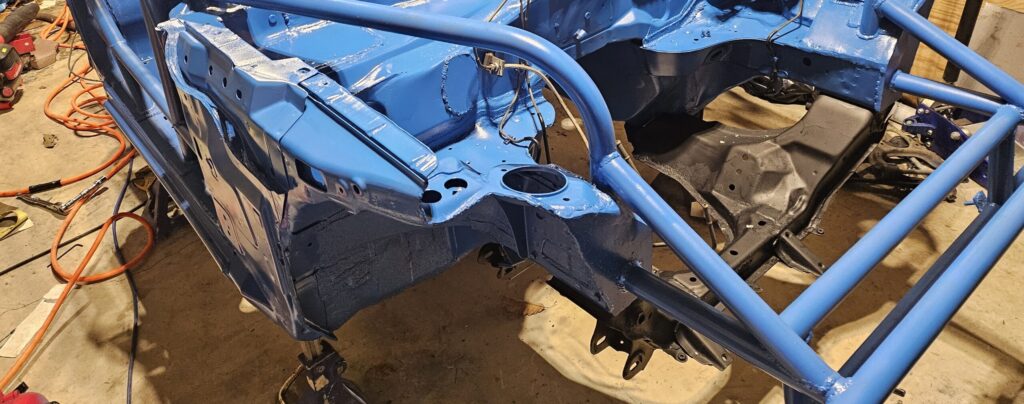
Driver Inputs Prep and Install
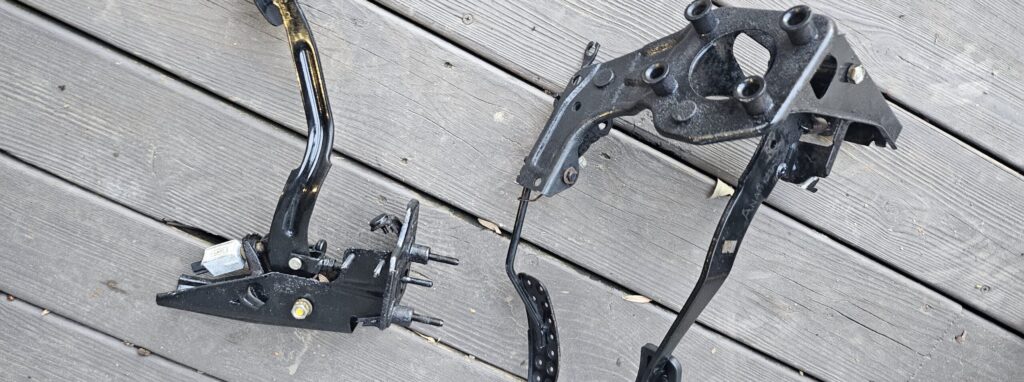
Unlike the subframe spots, the driver inputs, namely the pedals, were completely covered with surface rust. This meant disassembling the pedals to clean and then paint the bases. There is nothing too difficult here, but it is essential to remember where all of the little pieces go.

The same treatment was given to the steering column as well.
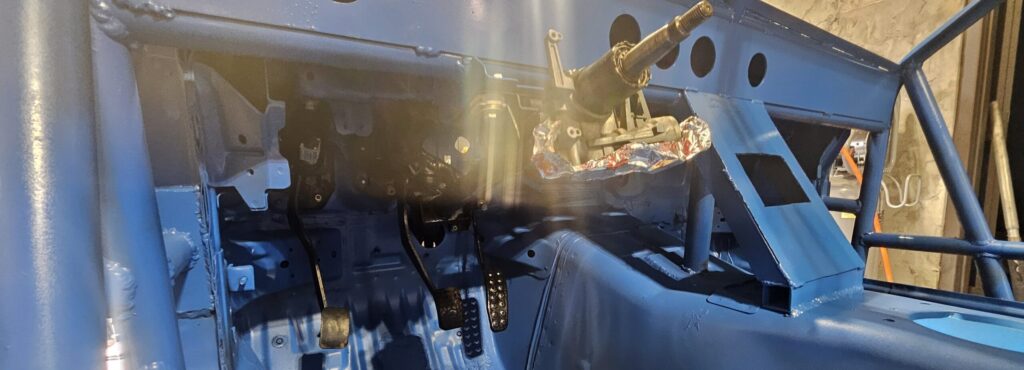
Master and Clutch Cylinder
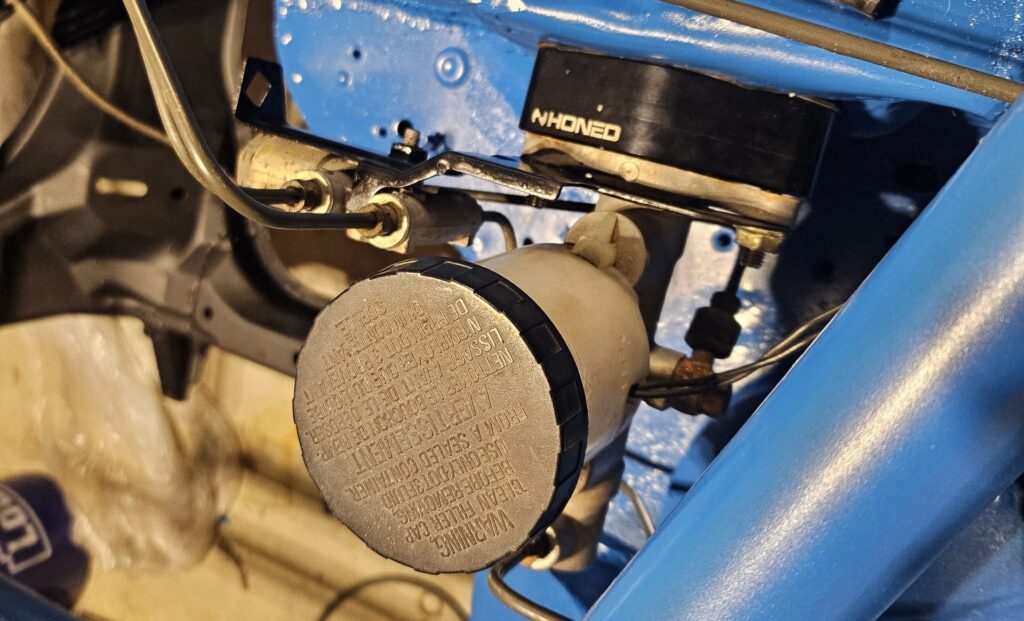
Last up are the master and clutch cylinders. To simplify things further, I ordered the brake booster delete kit from Honed Developments. This removes the brake booster and the vacuum line that feeds it. I will post a review of the delete once I start driving the ‘ghettocet.’ I will also need to find a way to secure the hard lines better since I removed the upper firewall they used to mount on.

Next Steps
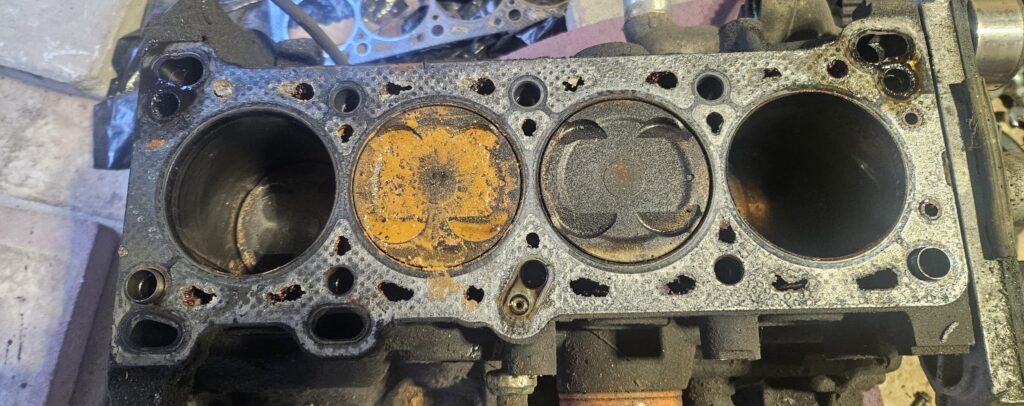
Up next is the engine. Which, unfortunately, isn’t pretty. Suffice it to say the initial leak-down test indicated a severely blown head gasket. So, I am in the process of breaking it down and rebuilding it. But once the engine is in, I can wire the car up, and things will move quickly. We are only a few more installments from taking the ‘ghettocet’ Miata out for a spin.
