Welcome to the chassis build of project 240sx. The following photos document the complete gutting and restoration of project 240sx to include roll cage installatio0n as well as painting of the inside, outside and underside of the chassis. Simply scroll down to view the images or jump straight to the Gallery.
Prep

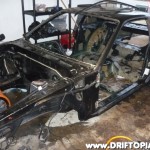
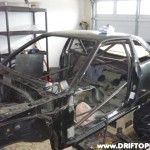
The bare s13 chassis sitting on the garage floor.

In order to separate the sheet metal, the spot welds must be drilled out.

After drilling, the panels begin to separate.

Another image showing the sheet metal separation.

The front of the s13 after cutting the front of the wheel wells out.

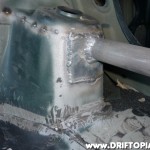
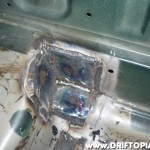
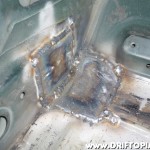
After stitch welding, the new welds are ground down to present a cleaner finish.

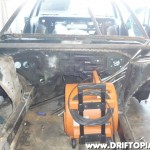
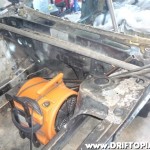
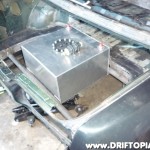
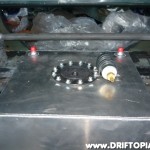
The fuel cell is mounted in the trunk by attaching to two structural steel cross members that span the rear frame rails.

The cross members are attached by first welding a 1/8″ steel plate to the rail and then attaching the tube to the plate.

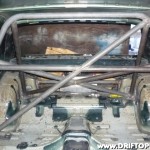
A permanent strut tower brace has been weld in place between the rear strut towers.

Another image showing the mounted fuel cell as well as the strut tower brace.

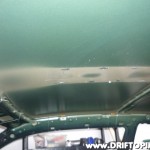
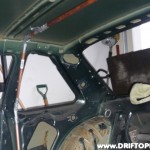
The center roof beam has been removed to allow more head room.
Rollcage

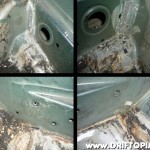
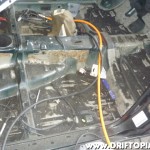
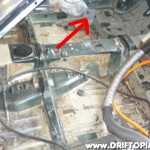
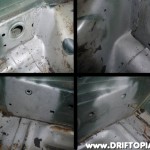
The main roll cage mounts will be placed in these four locations where they will tie into the factory structural rails.

The corners are thoroughly sandblasted. This makes quite a mess but is the easiest way to prep the hard to reach corners for welding.

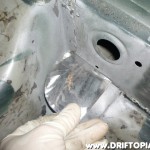
After vacuuming the blast media you can see the clean corner (highlighted).

The four mount points now look like this.

Using 3″ x 3″ pieces of 1/8″ thick steel, I began to shape the rear mounts with a table grinder

The finished driver’s side rear mount

The less complex driver’s side front mount. This will be reinforced underneath after the roll cage is mounted.

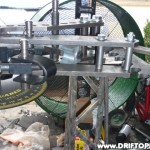
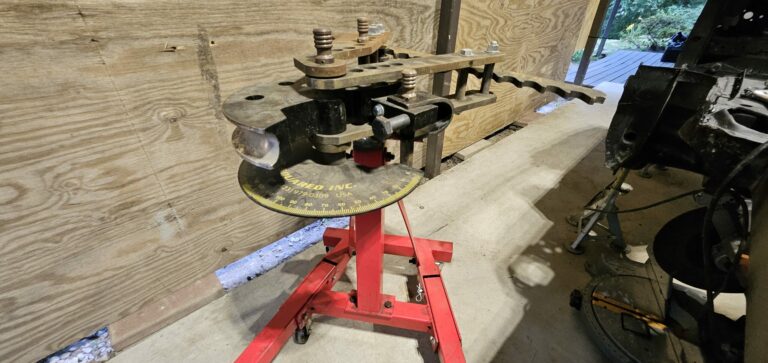
JD2 Model 3 tube bender mounted to the custom stand.

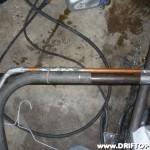
3/8″ copper pipe is used as a rough template for the main hoop.

“The main hoop is marked by laying the tube template and the copper template over the straight piece. Marks are made to indicate where the bends will start.

After installing the main hoop, it is then triangulated with the chassis.
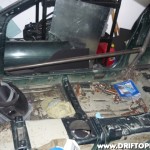
The main door bars added to the cage.
The door bars pass through the “A” pillar and into the door sill to maximize interior space.
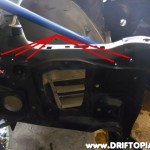
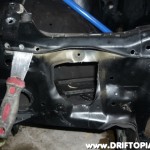
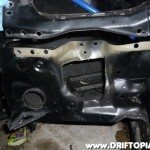
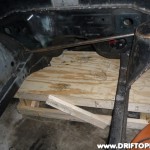
The chassis now rests on 2 wooden platforms as I prepare to replace the 2 crimped portions of the frame rails.


