Introduction
Let’s start with semantics. With the mid-engined, transversely mounted Spyder, you basically have a fwd Corolla engine sitting behind the passenger compartment driving the rear wheels. This means the transmission and differential are part of the same unit and sit in the same housing together. So changing the transmission fluid in the Spyder is the same as changing the differential fluid.
Interval and Oils
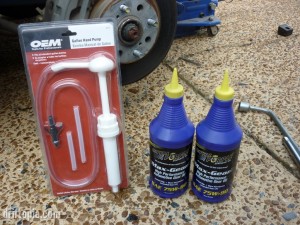
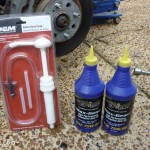
The manual recommends changing the transmission fluid every (x) miles. However, if you are more than a Sunday driver I would recommend changing the transmission fluid more frequently. Since this Spyder sees track and auto-x sessions, I change the fluid at 15000 mile intervals. But whatever change frequency you use, I highly recommend using a high quality synthetic transmission fluid like Mobile 1, Redline or Royal Purple. In this guide I am using a 75w-90 Royal Purple fully synthetic transmission fluid. Royal Purple is available at the local Autozones and is one of a handful of premium oils available. (Note: If your Spyder is equipped with a LSD, make sure the fluid you choose is compatible.)
Supplies and Tools
Required:
- 2 quarts compatible transmission fluid
- hand pump
- oil pan
- 24mm socket
- torque wrench
Optional:
- ramps
- hydraulic jack
- jack stand
Considerations
If you have the proper socket extensions along with enough dexterity and/or patience, you can change the transmission fluid without lifting the rear of the car. However, if you find you cannot reach the transmission plugs you can lift the car by using drive on ramps or setting the car on jack stands (link to follow).
Procedure
Step 1
Before beginning you will need to remove both engine diapers. These diapers are the black panels under the motor. They are held onto the car by 10mm bolts and a few pop rivets around the perimeter of the panels. (I haven’t had the rear diaper on the Spyder for a very long time so I don’t have any images illustrating this process.) Just take your time and once you have all of the bolts and rivets removed the diapers will simply fall to the ground. (Note: If you are having to tug on the diapers something is still connected.)
Step 2
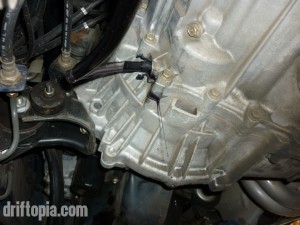
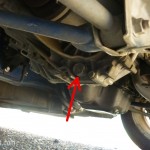
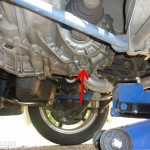
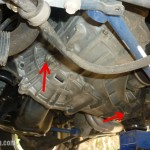
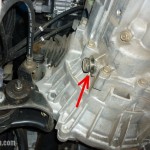
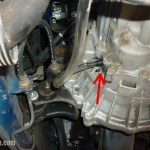
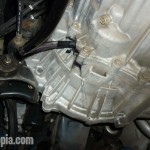
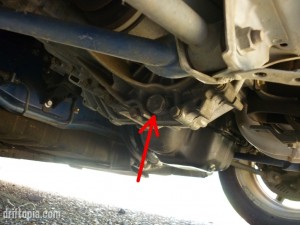
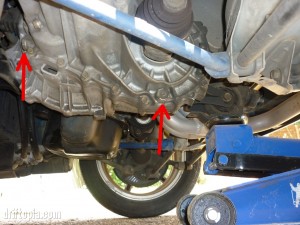
Locate the transmission fill and drain plugs. These are 24mm plugs with the drain plug on the lower portion of the transmission (facing the driver’s side rear wheel and the fill plug midway up the housing facing the firewall.
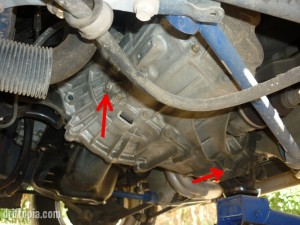
Step 3
At this stage it is important that you loosen the fill plug before removing the drain plug and draining the transmission. Sometimes the fill plugs can seize due to over-tightening (or rust on older vehicles) and you want to ensure that you will be able fill the transmission before draining.
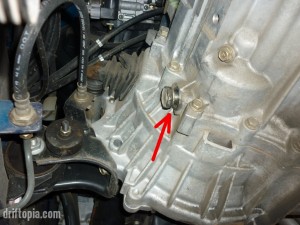
Step 4
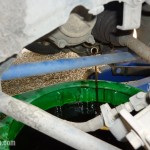
Remove the drain plug and drain the oil to the oil pan. Clean the drain plug with a rag. (ensure no debris remains on the threads and make sure the washer is on the plug) Then replace the plug into the drain hole and tighten to 27-29 ft-lbs. (It is very important to use the torque wrench here.)
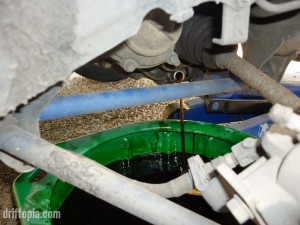
Step 5
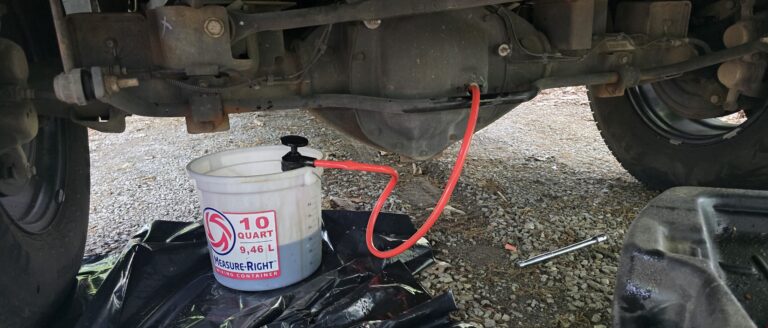
Fully remove the fill plug. Assemble the hand pump and attach the fill tube end to the transmission fill hole. The hand pump I used has a small clip on the end that secures it to the opening. Place the pickup end of the pump into the new quart of oil and pump the oil into the transmission. Continue adding oil until oil just begins to overflow the fill hole. At this point the transmission is topped off. Wipe off any excess oil, clean the fill plug and re-tighten the plug with washer to 27-29ft-lbs.
